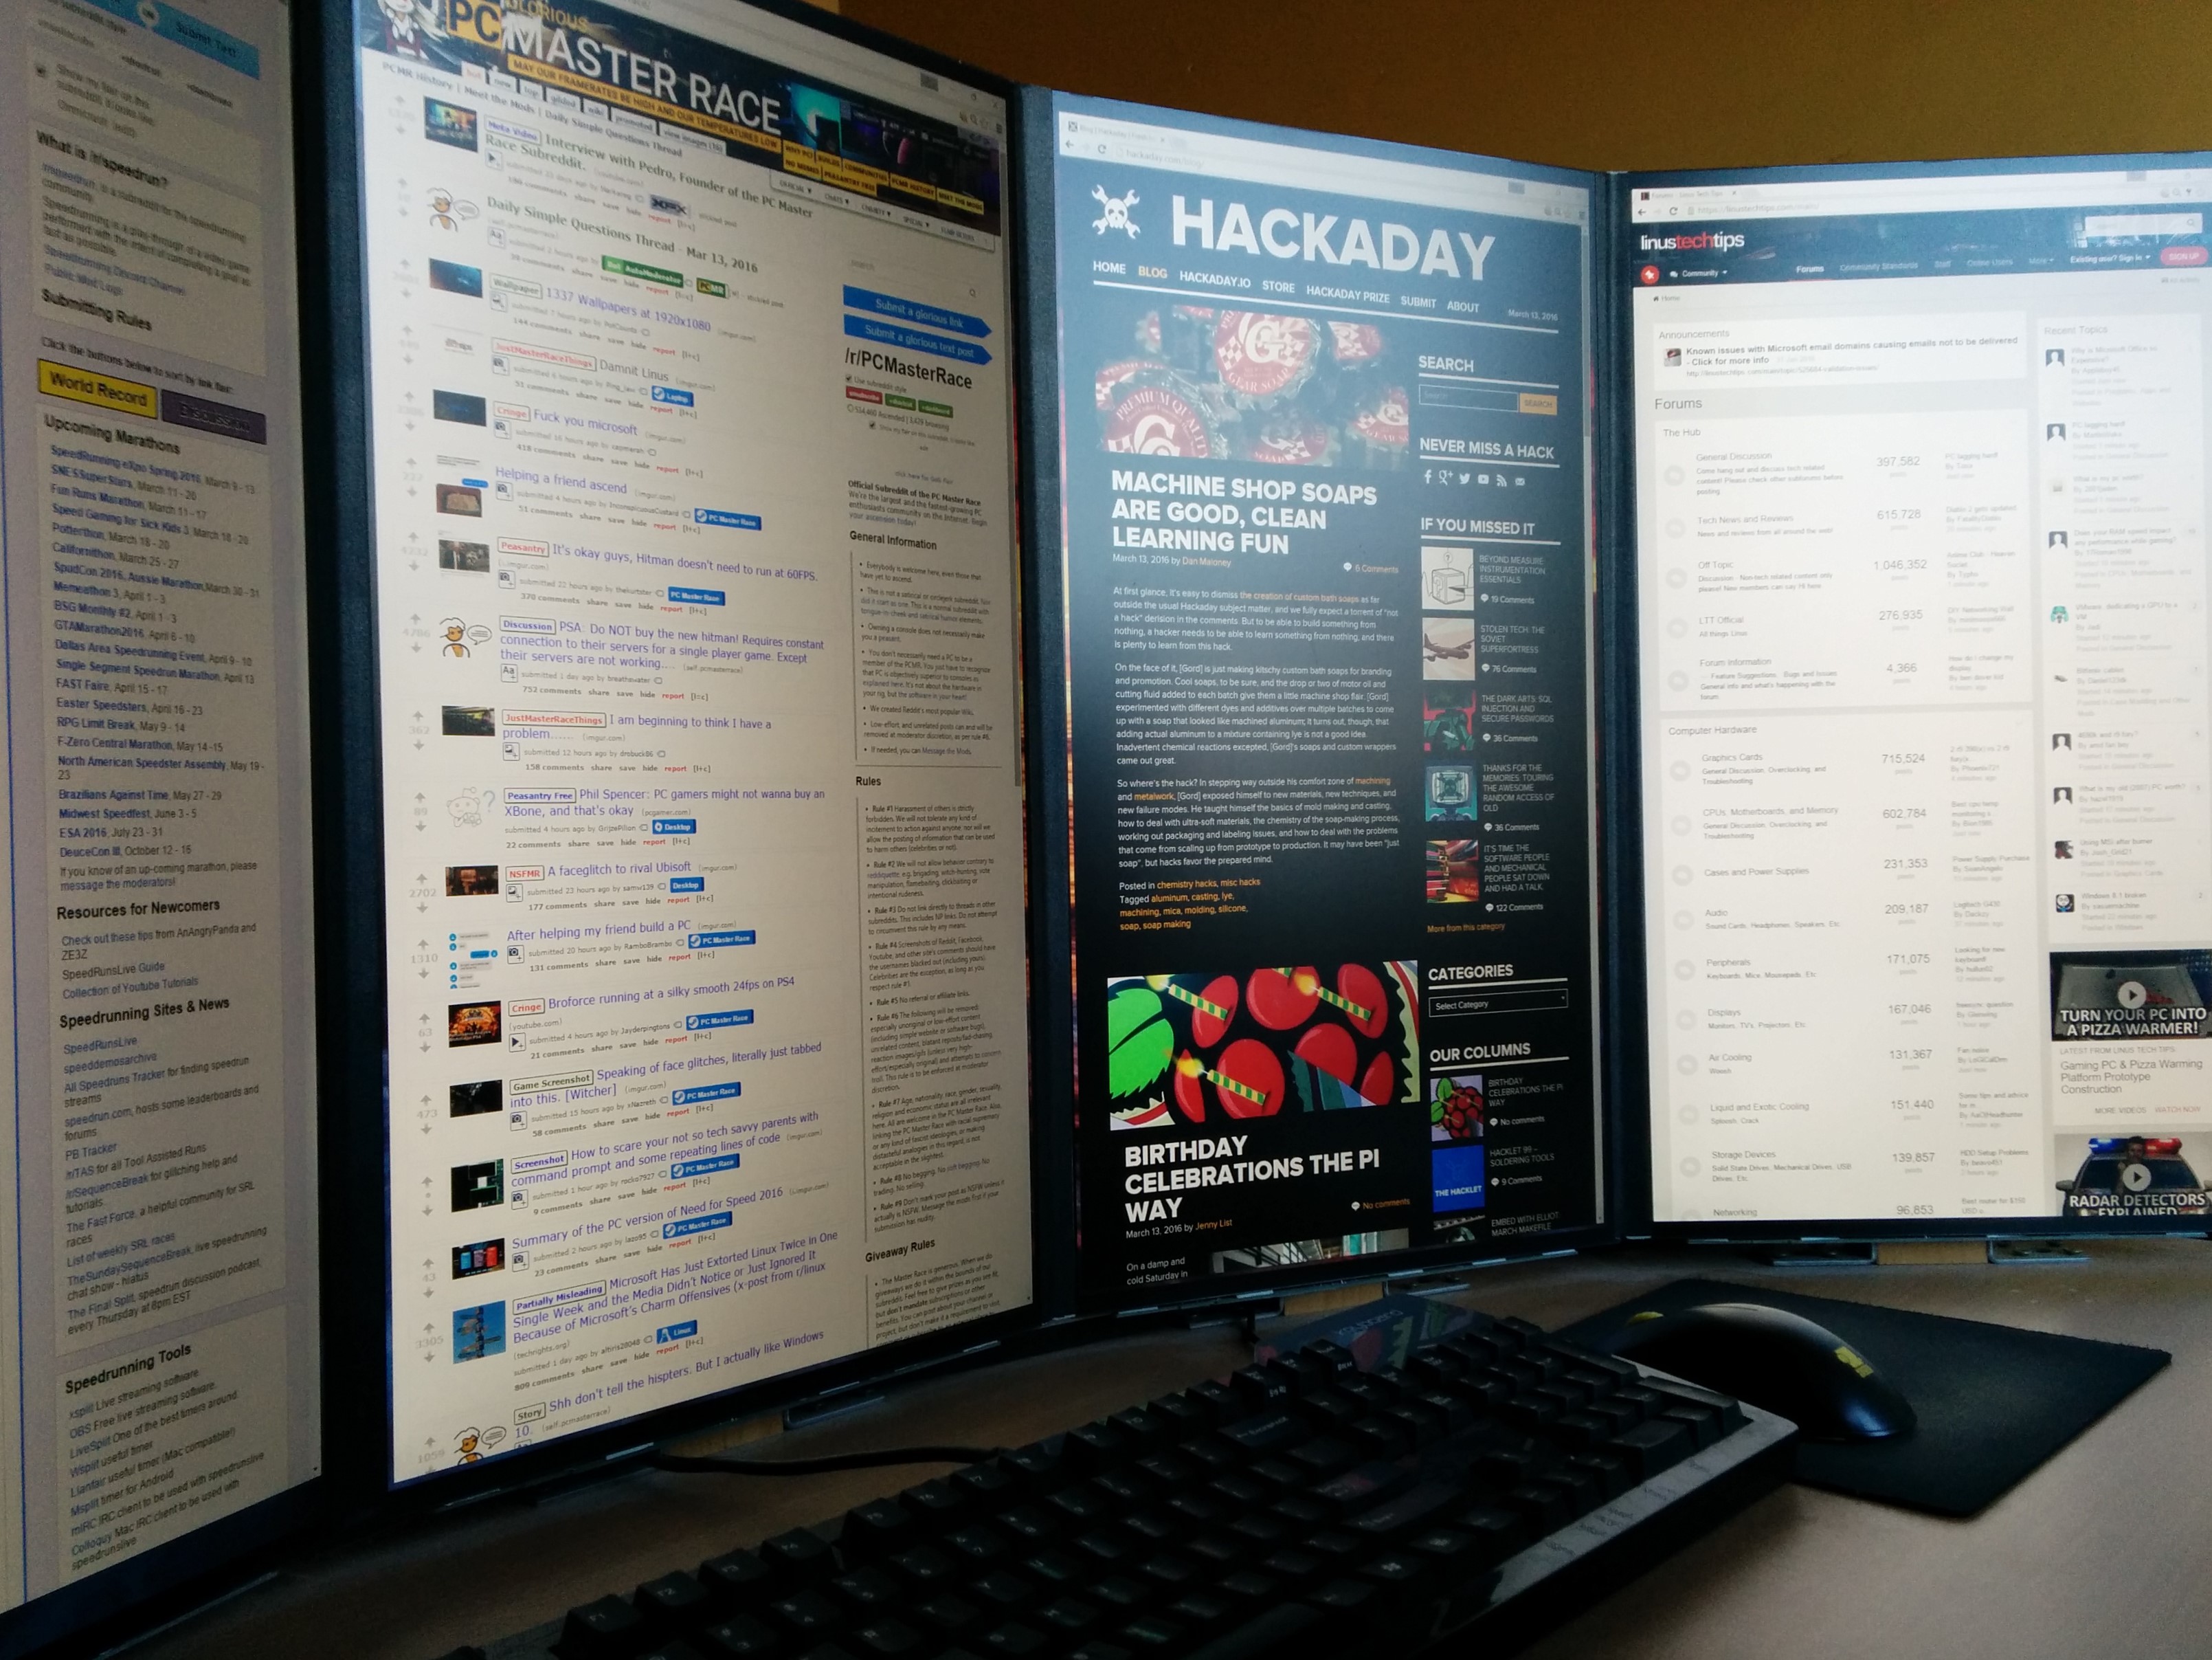
I upgraded to a DIY mounted 5-monitor setup almost two years ago. Since I’m planning to switch to another setup I figured it was about time I’d share my build log, as well as the pros and cons of using an all-portrait 5400×1920 (or as I like to refer to it: 5K) setup on a daily basis for programming, browsing, gaming, video and general productivity.
Concept
My previous setup was a little bit more conventional: 3 monitors in landscape and a TV above them. It worked pretty well, but I was getting more and more interested in a portrait setup for programming, and with modern websites tailored for phones and tablets it would work at least as well. That, and having a TV that high up was a very literal pain in the neck, even when sitting further back on my couch. So my plan was to move my desk, lower the TV, and put the monitors in portrait.
-
- Old ‘conventional’ setup.
-
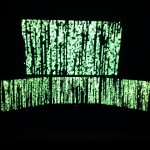
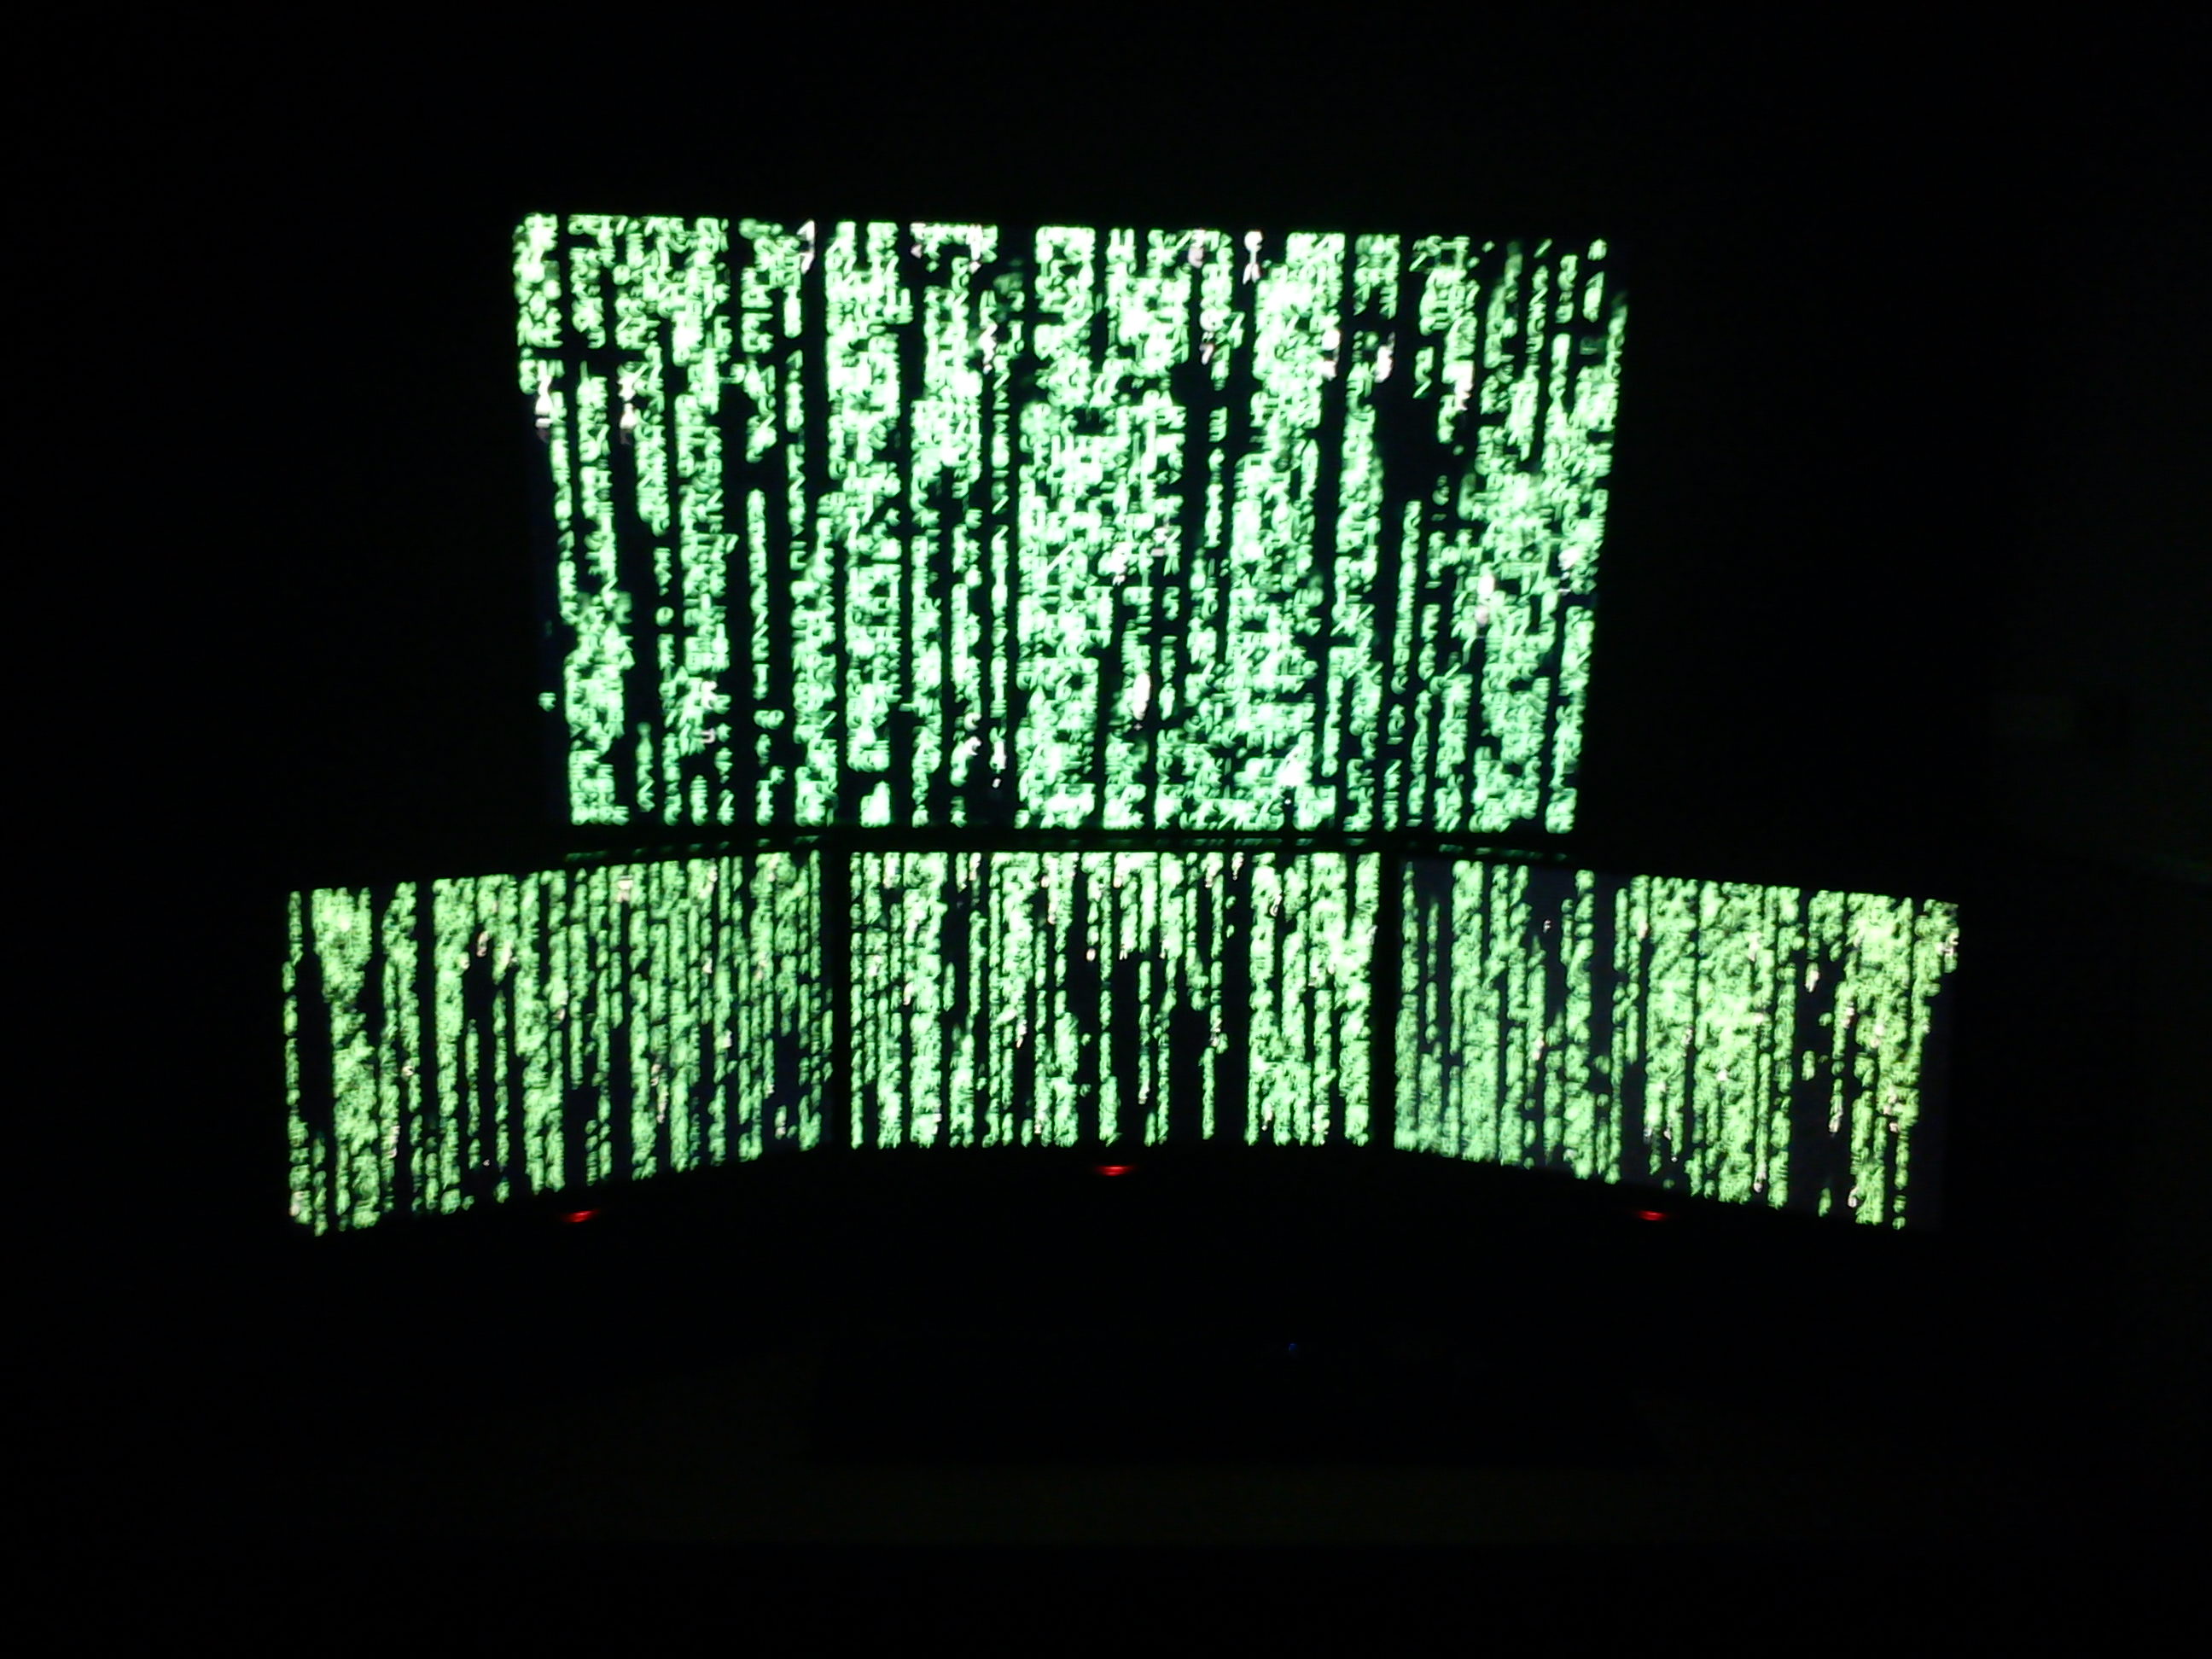
- Matrix mode!
-

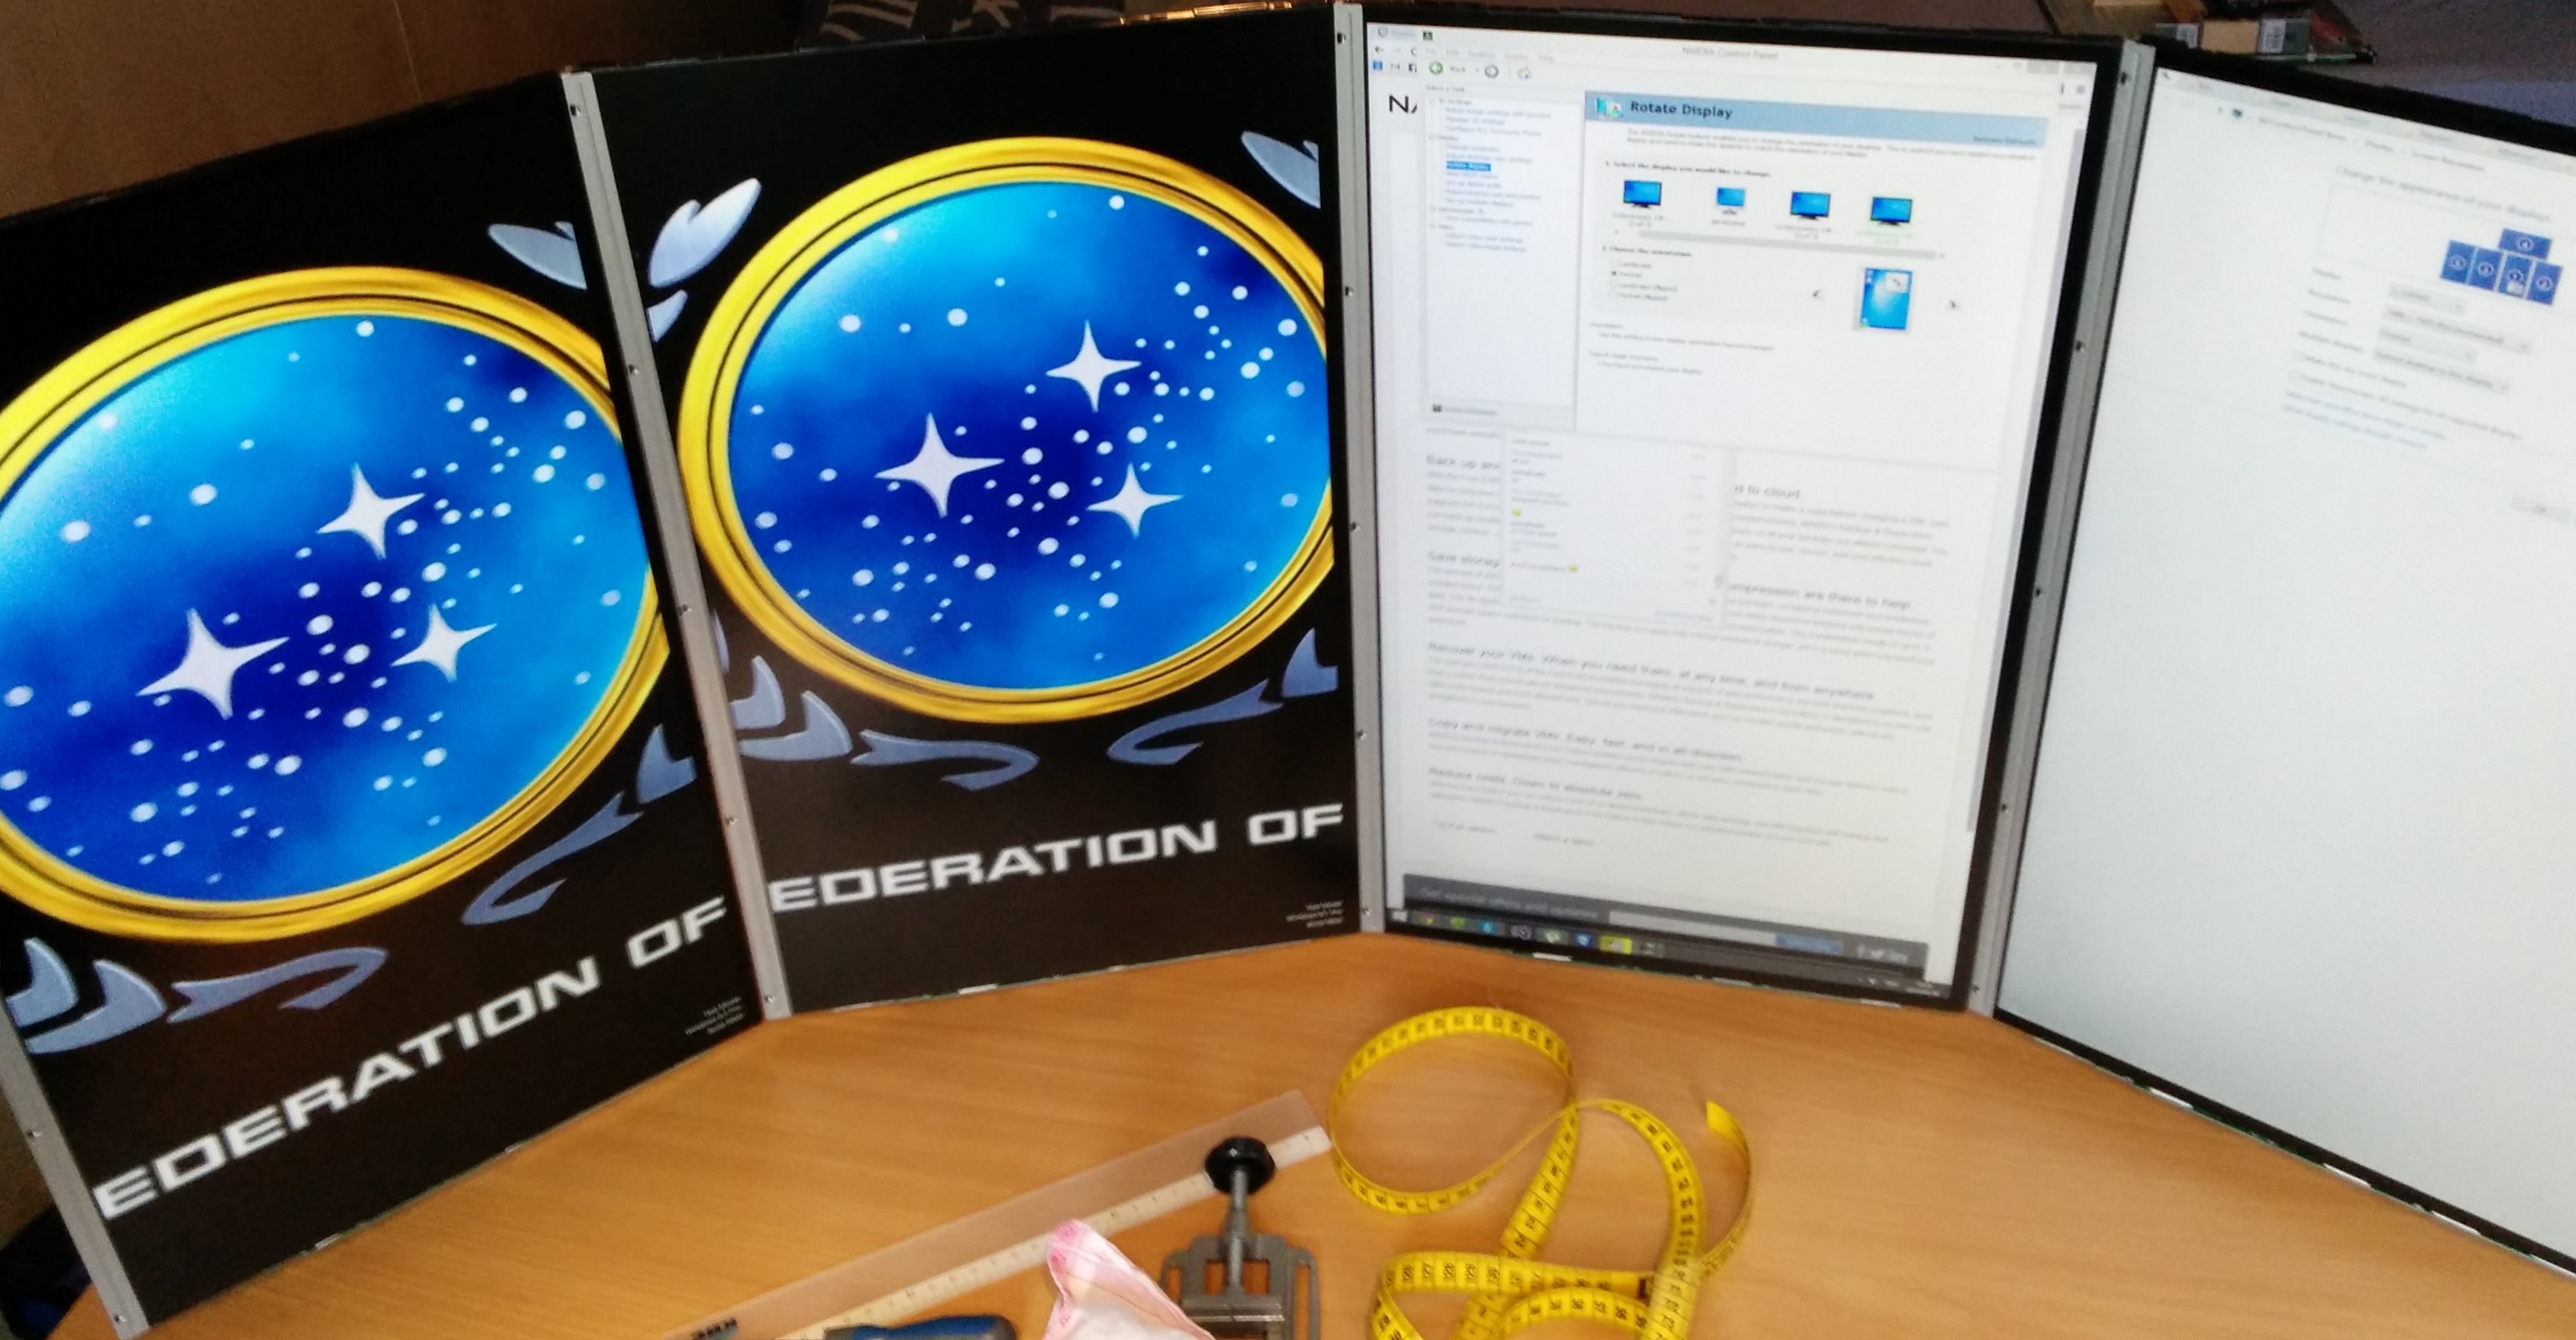
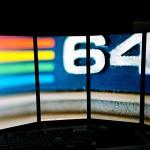
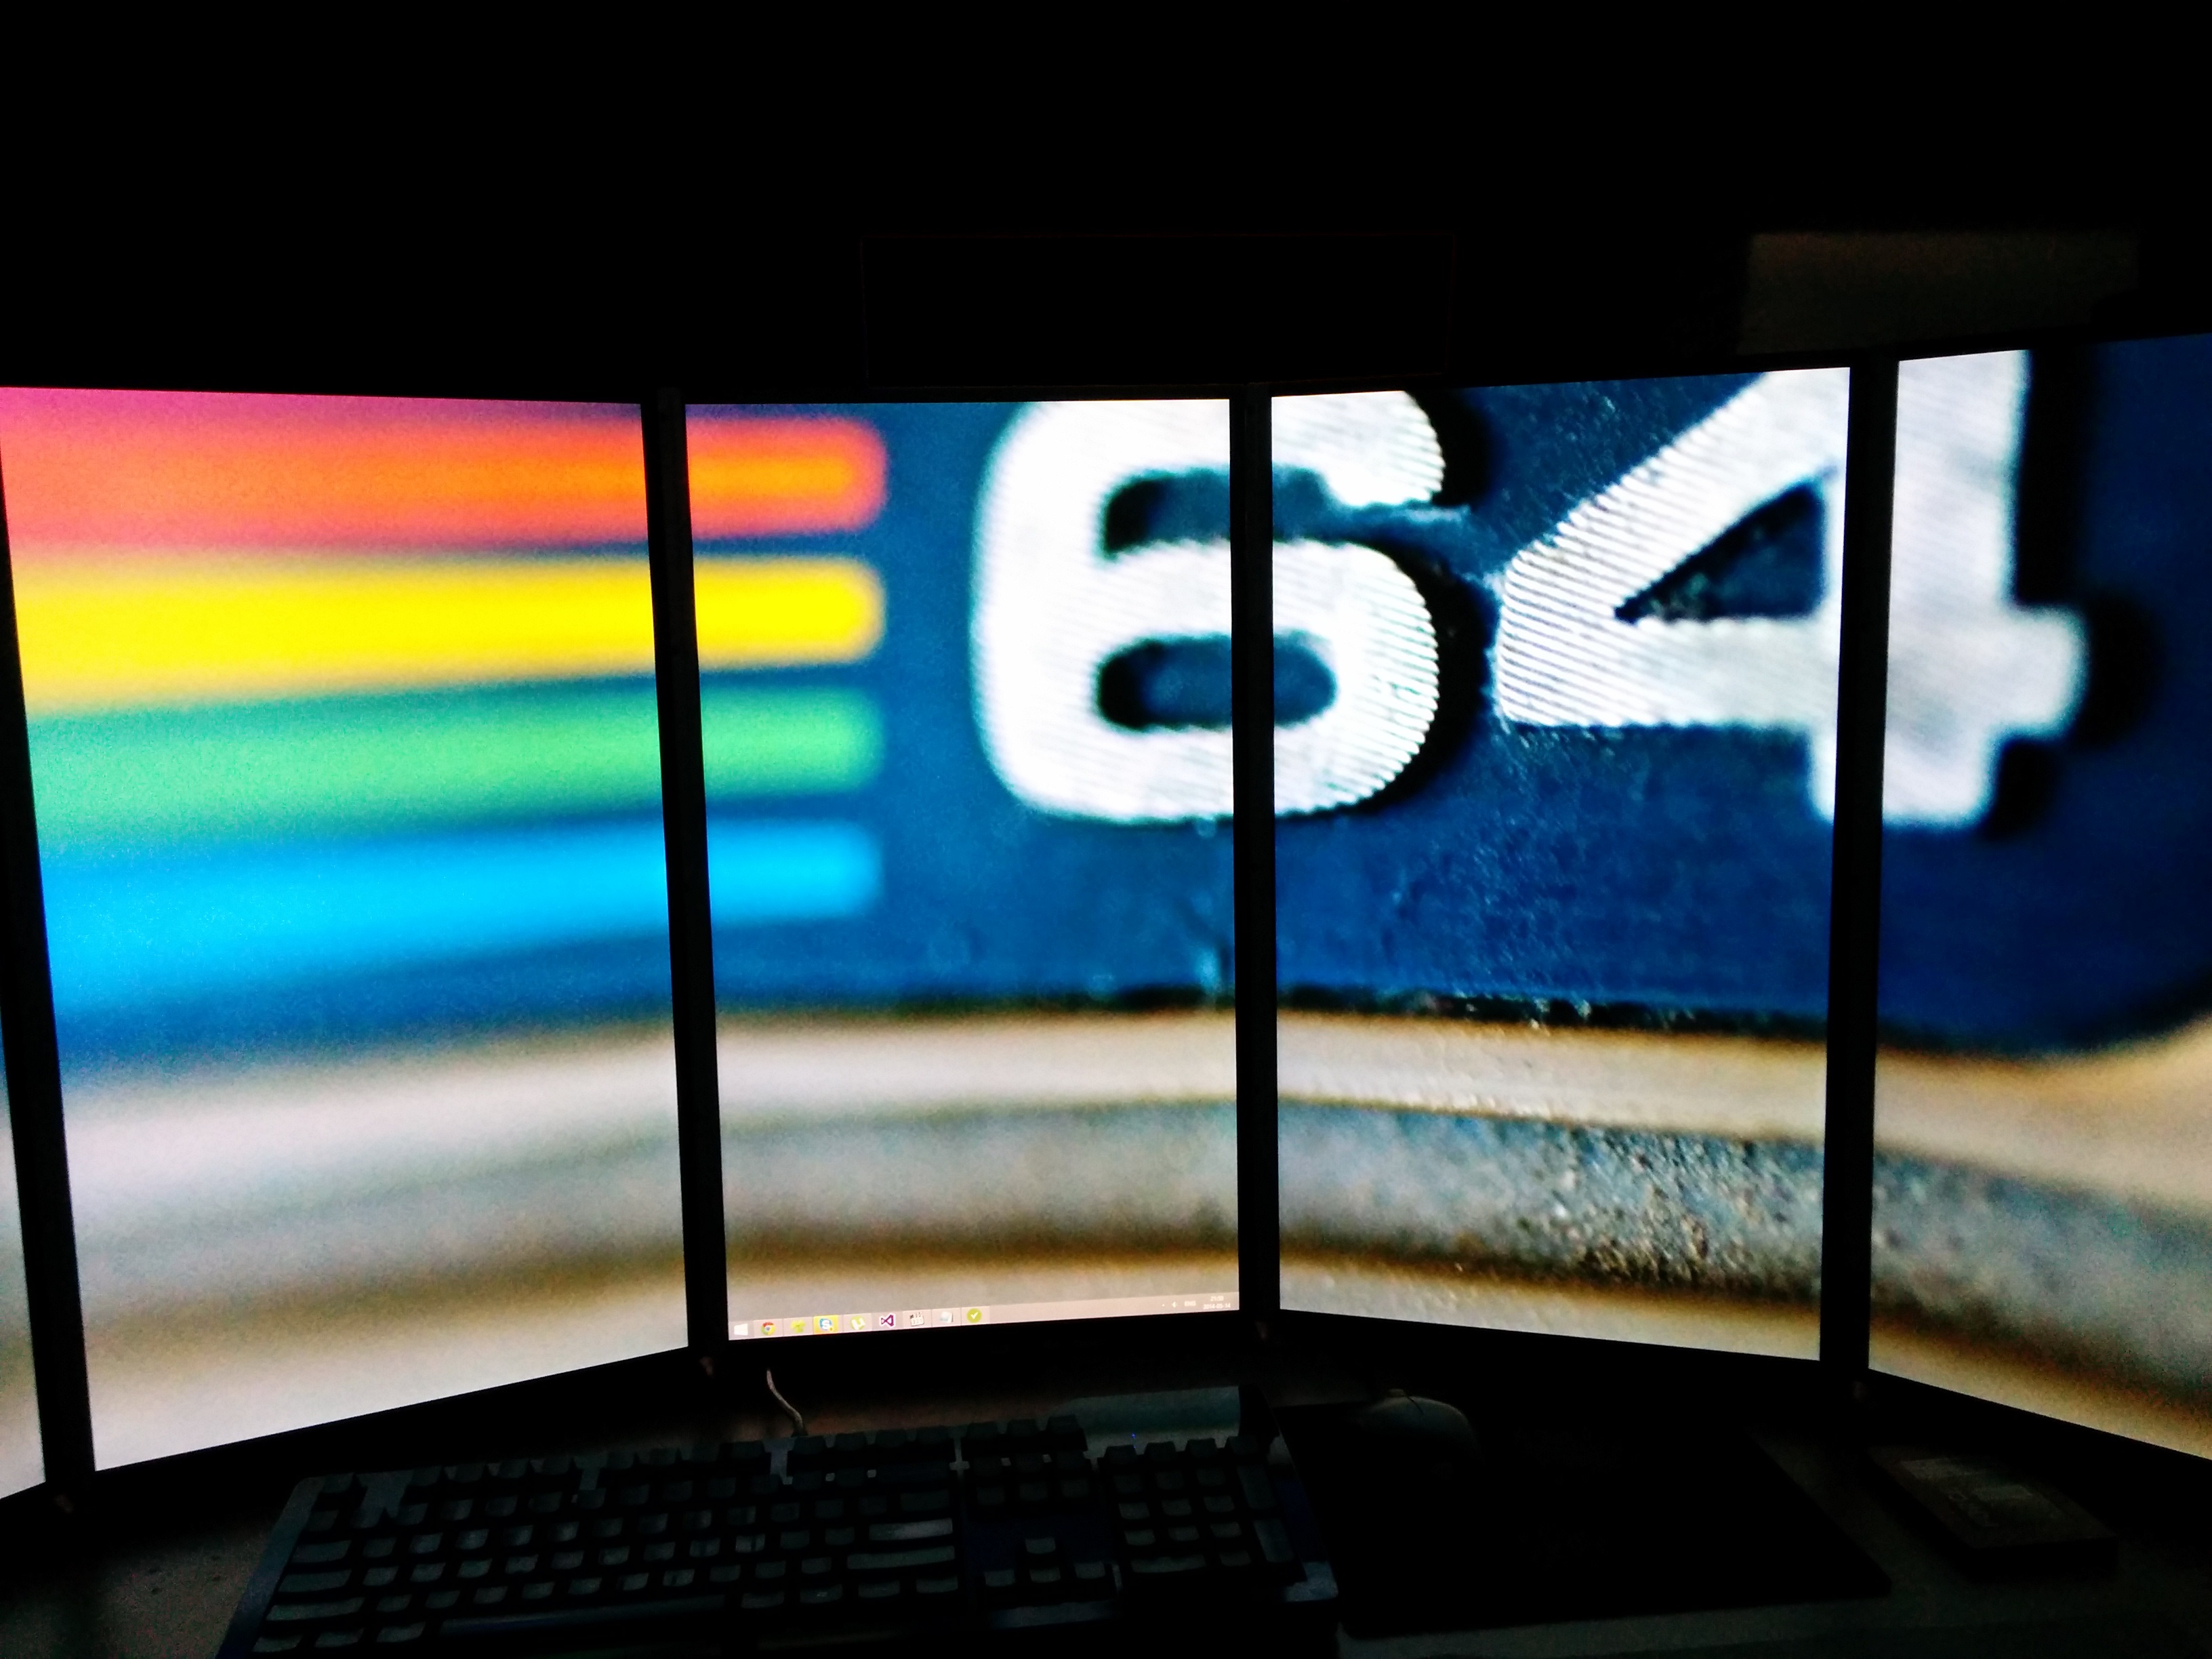
- Quick surround test.

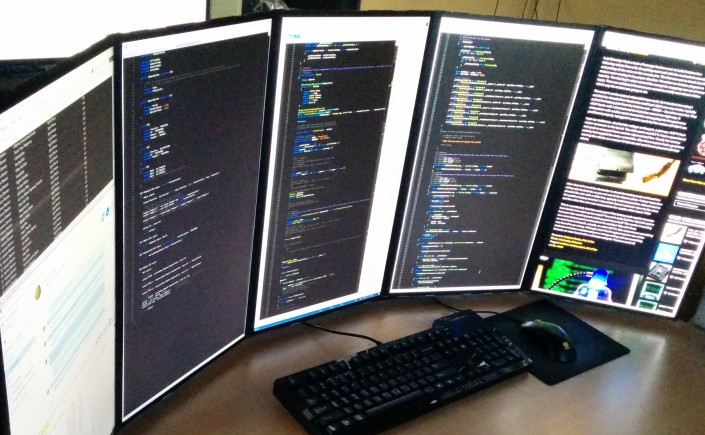
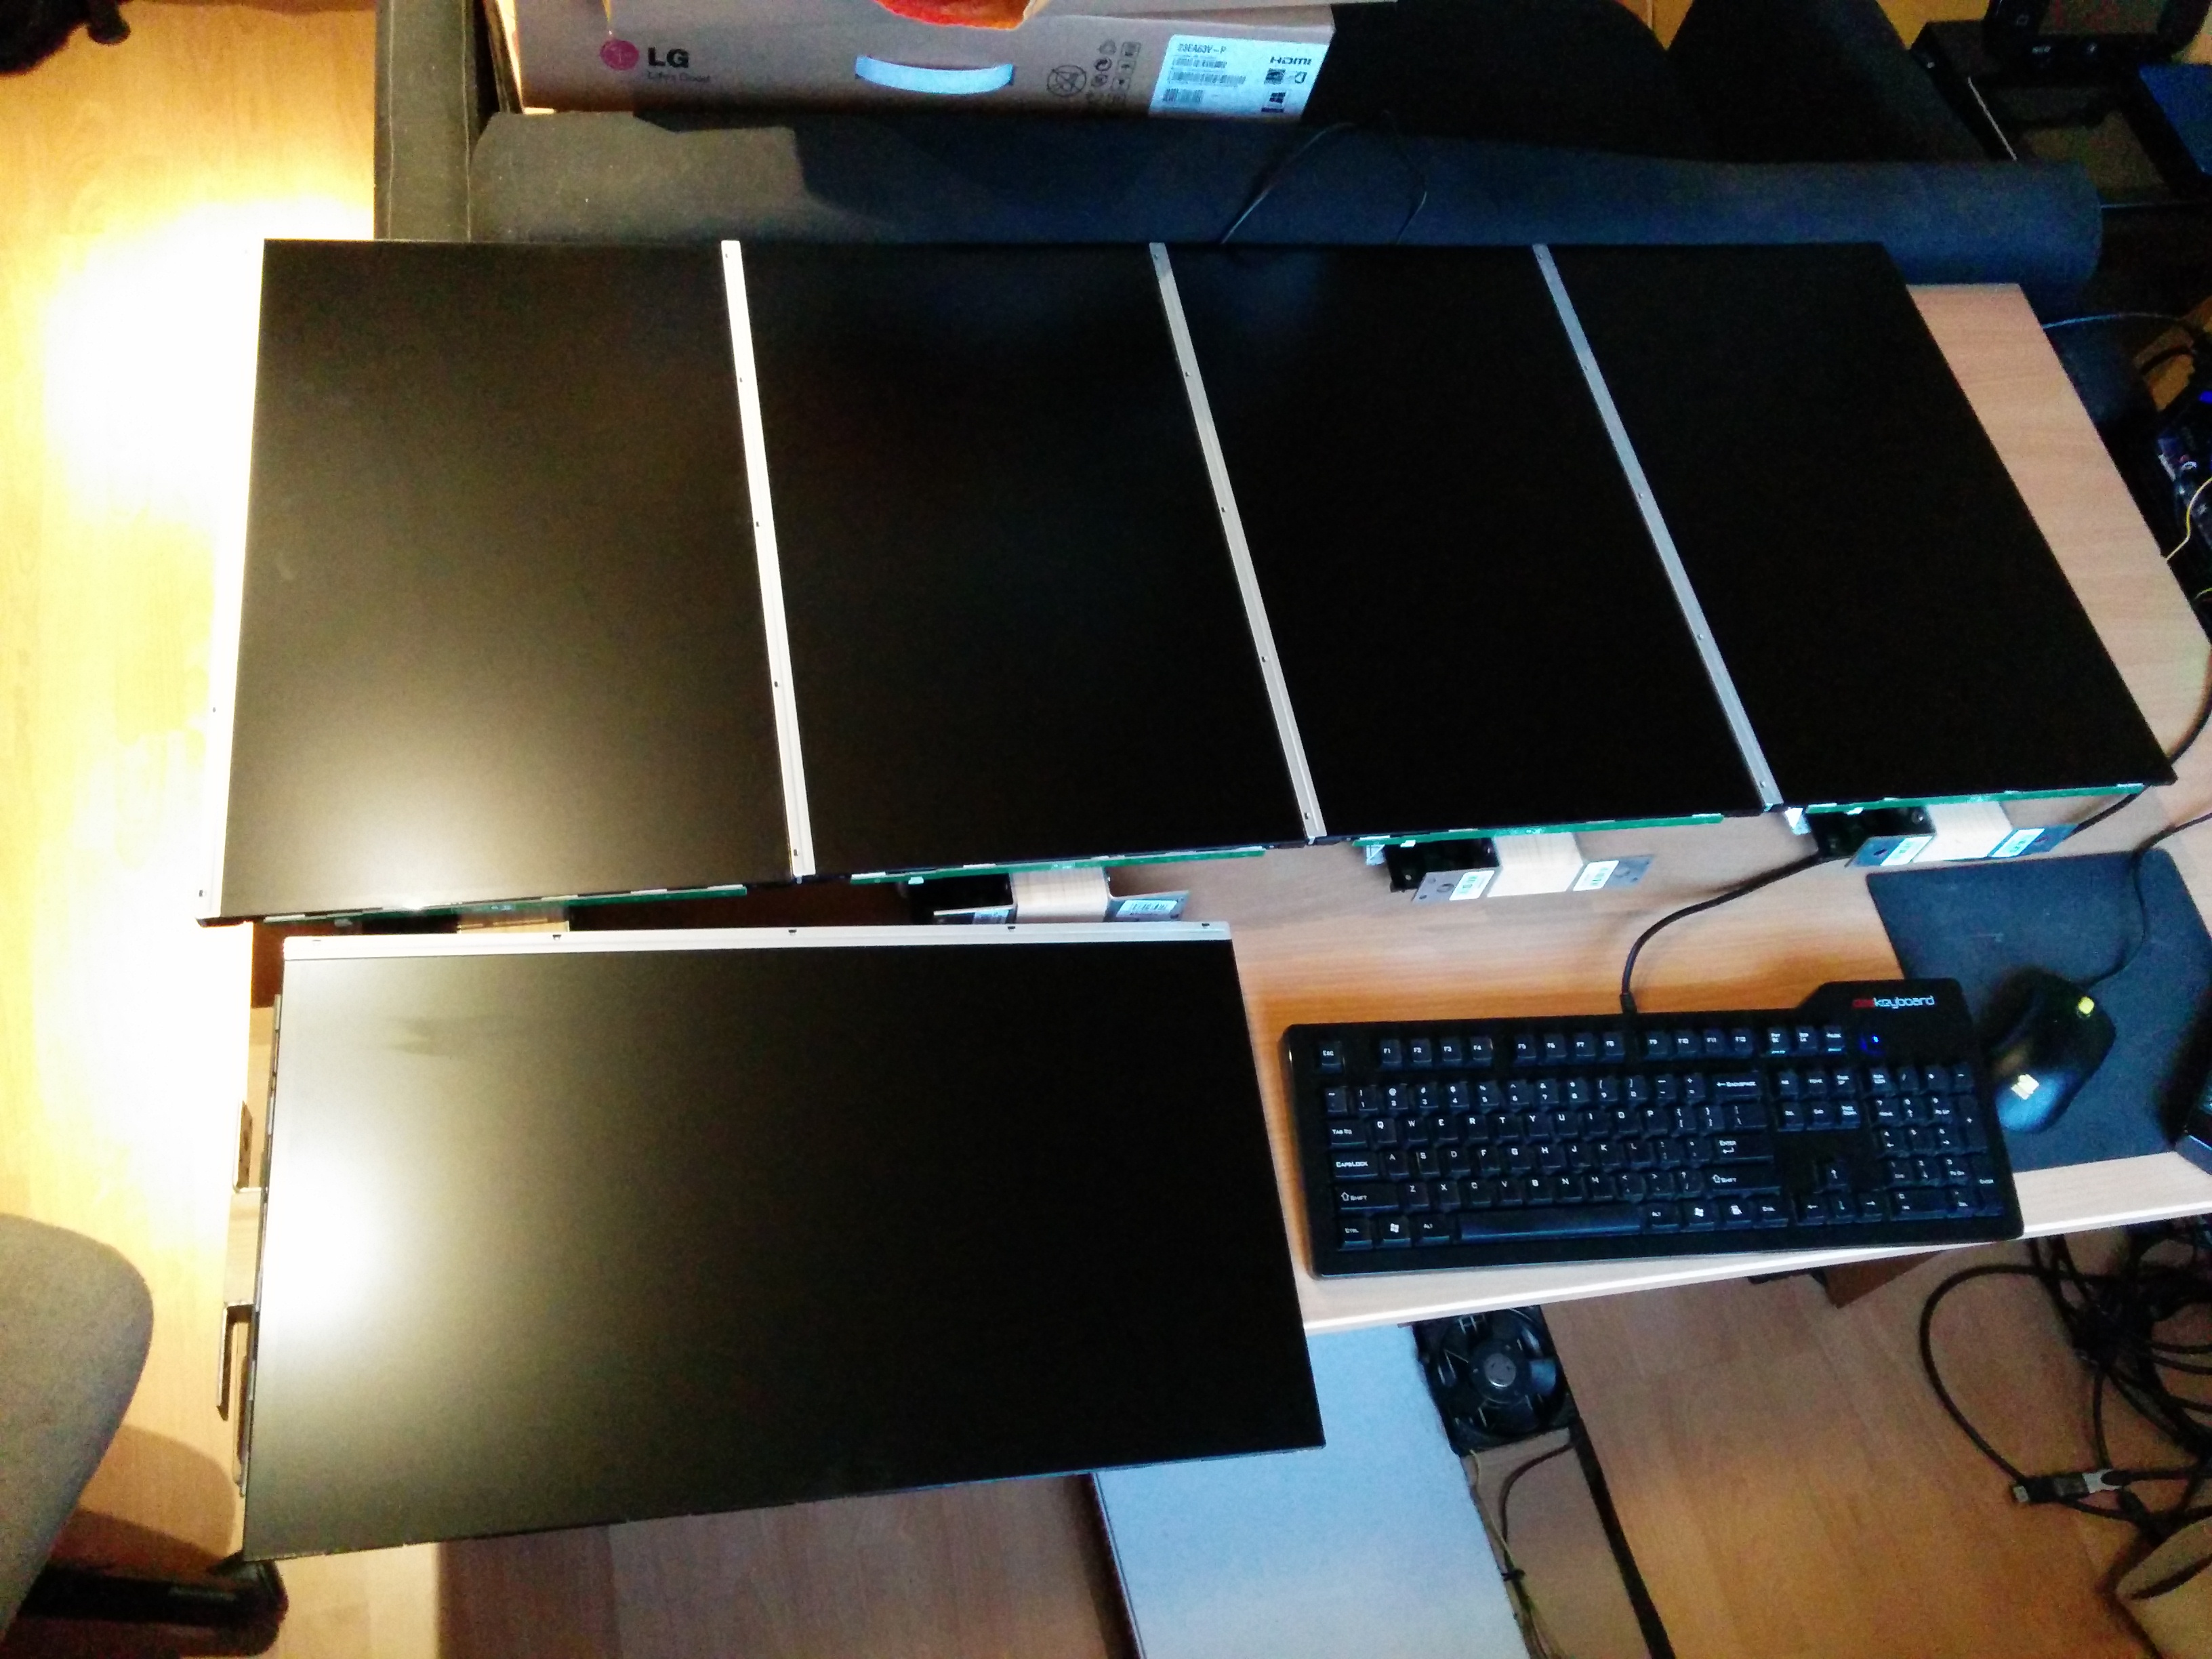
I ended up replacing the 21.5″ LG IPS monitors with their slightly bigger 23″ versions (LG 23EA63V-P) since I found them slightly on the small side, and buying two more. At 150€ for a total of 750€ (plus about 50€ extra for construction materials) it’s not a bad price for a setup this size. The monitors have great contrast and are fairly evenly calibrated.
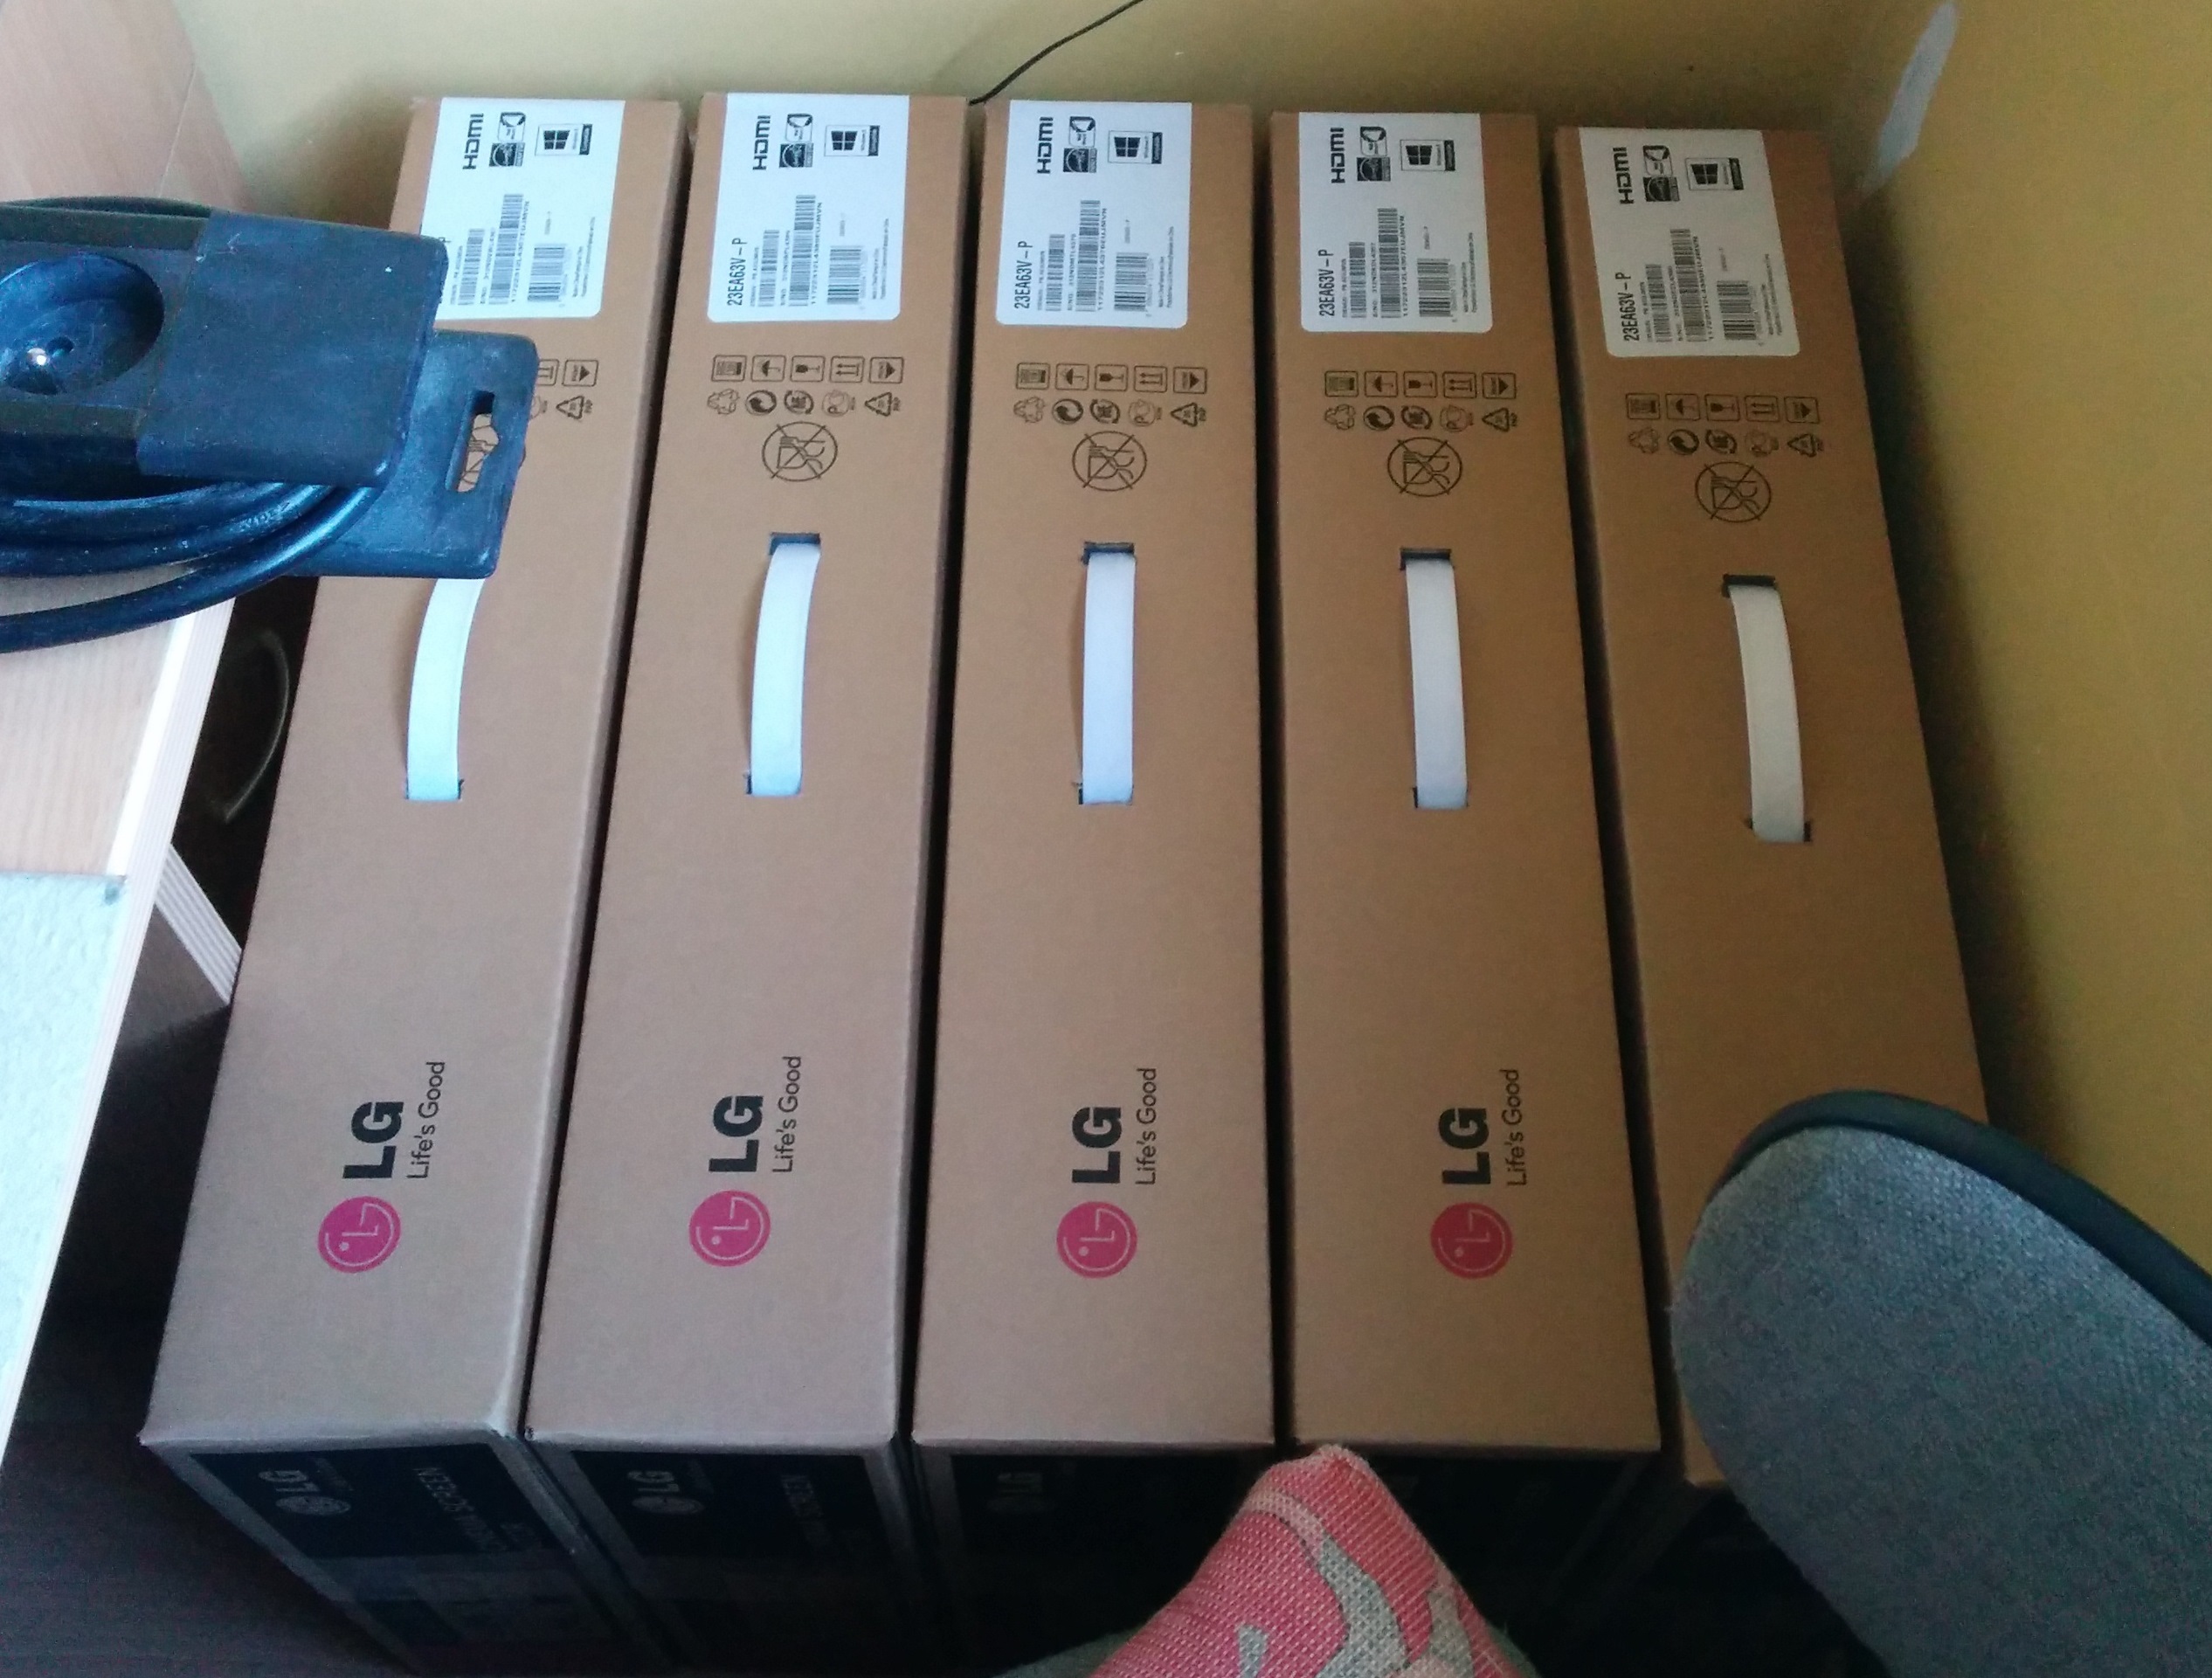
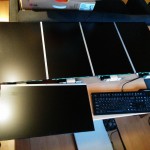
Ready to be unboxed and debezeled.
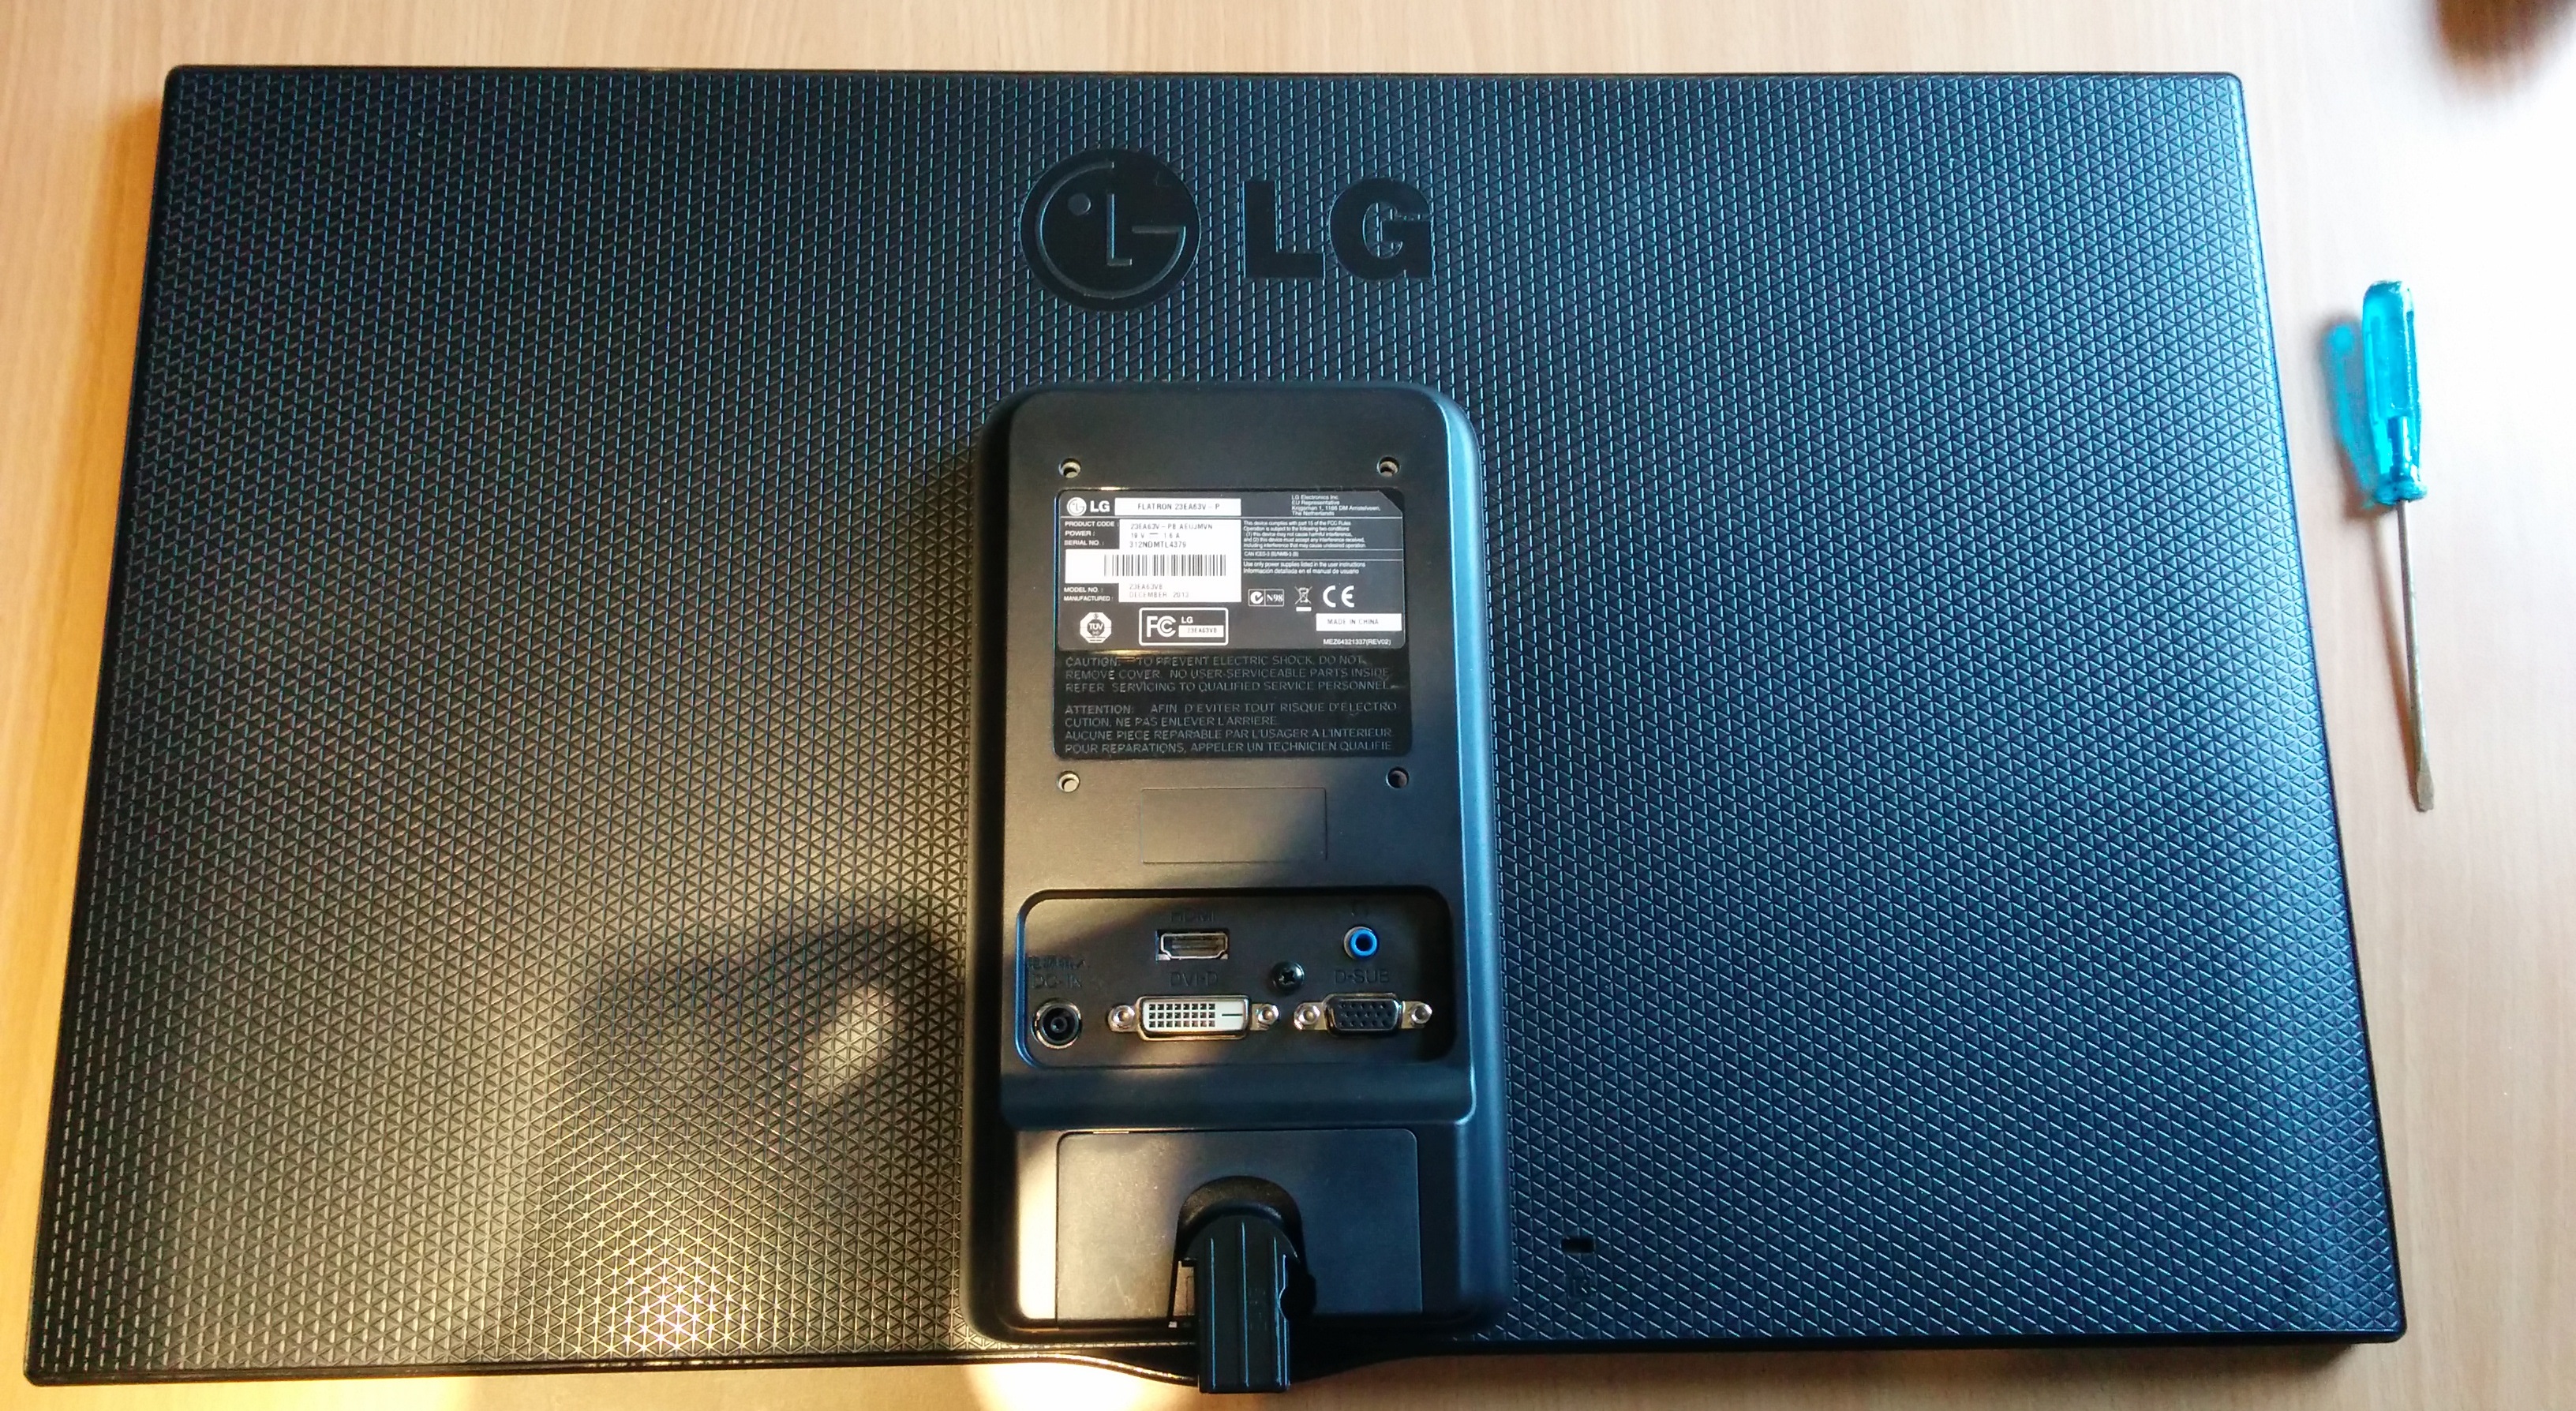
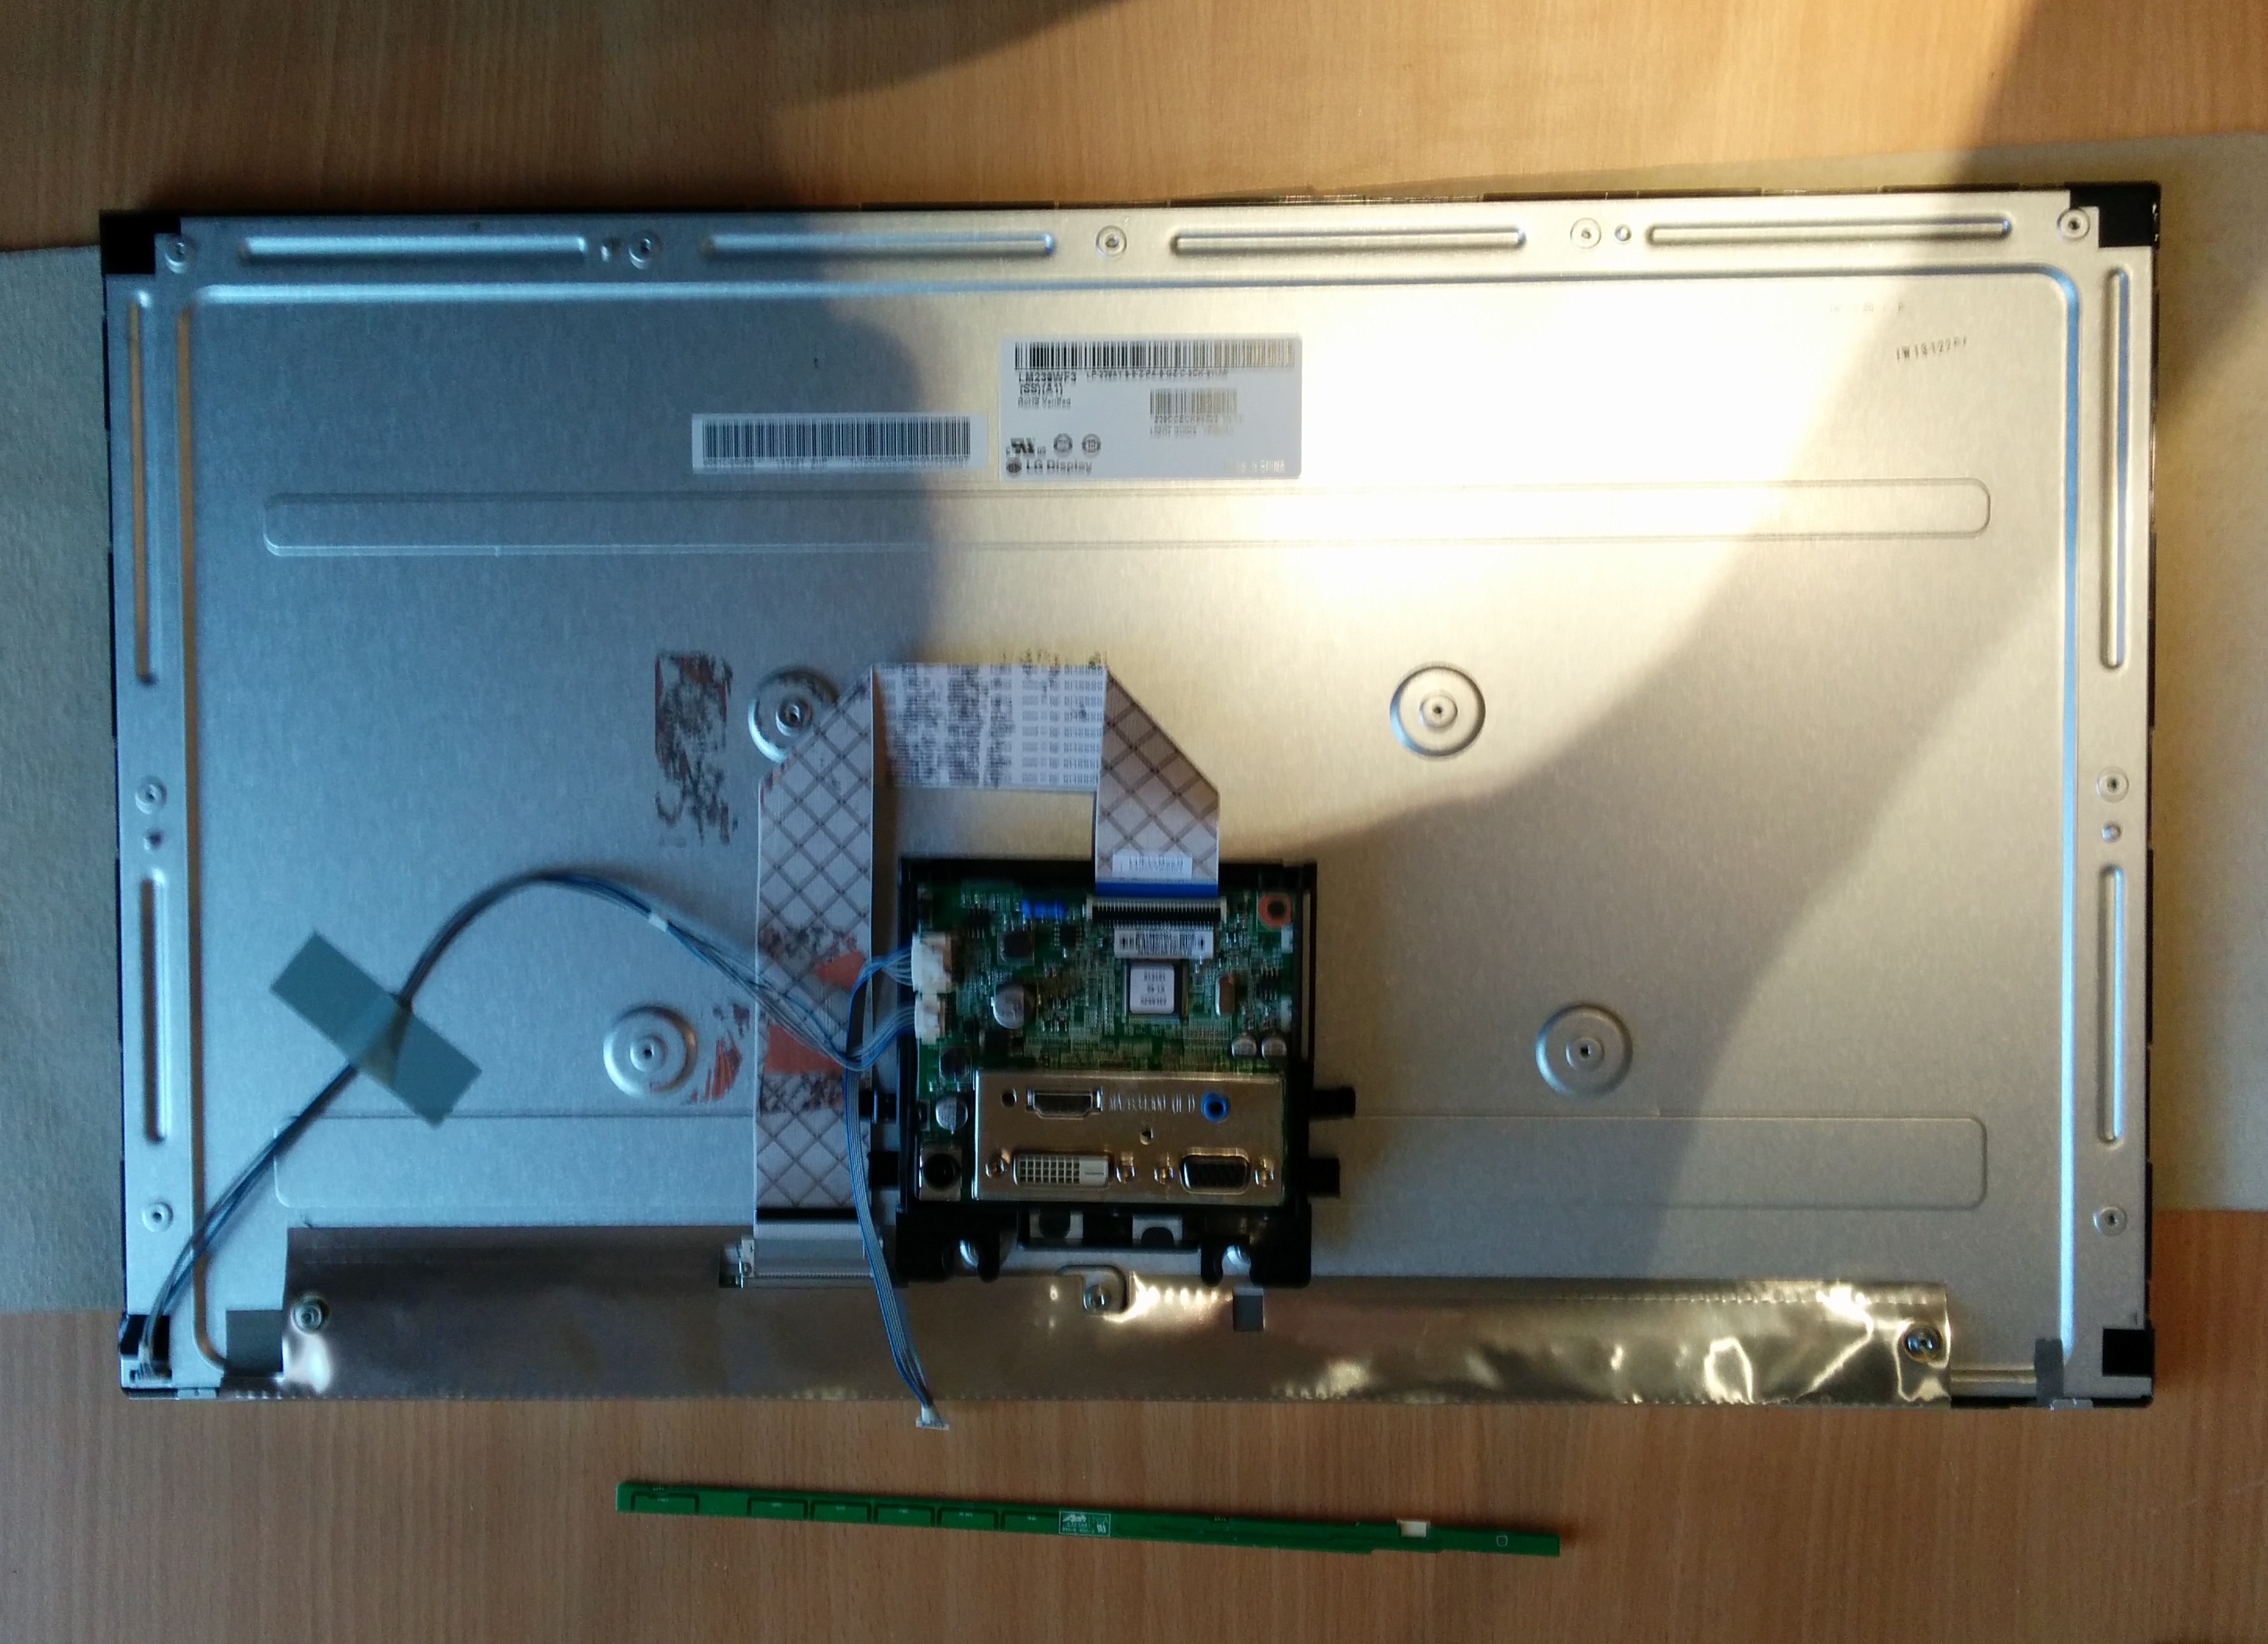
My plan for the construction was to have as little bezel as possible, so I’d end up stripping the housing from the panels and electronics. It should be noted that these monitors have a very thin bezel already, but when you put them in portrait there is this little bump containing the power LED in the bottom that will get in the way.
Build
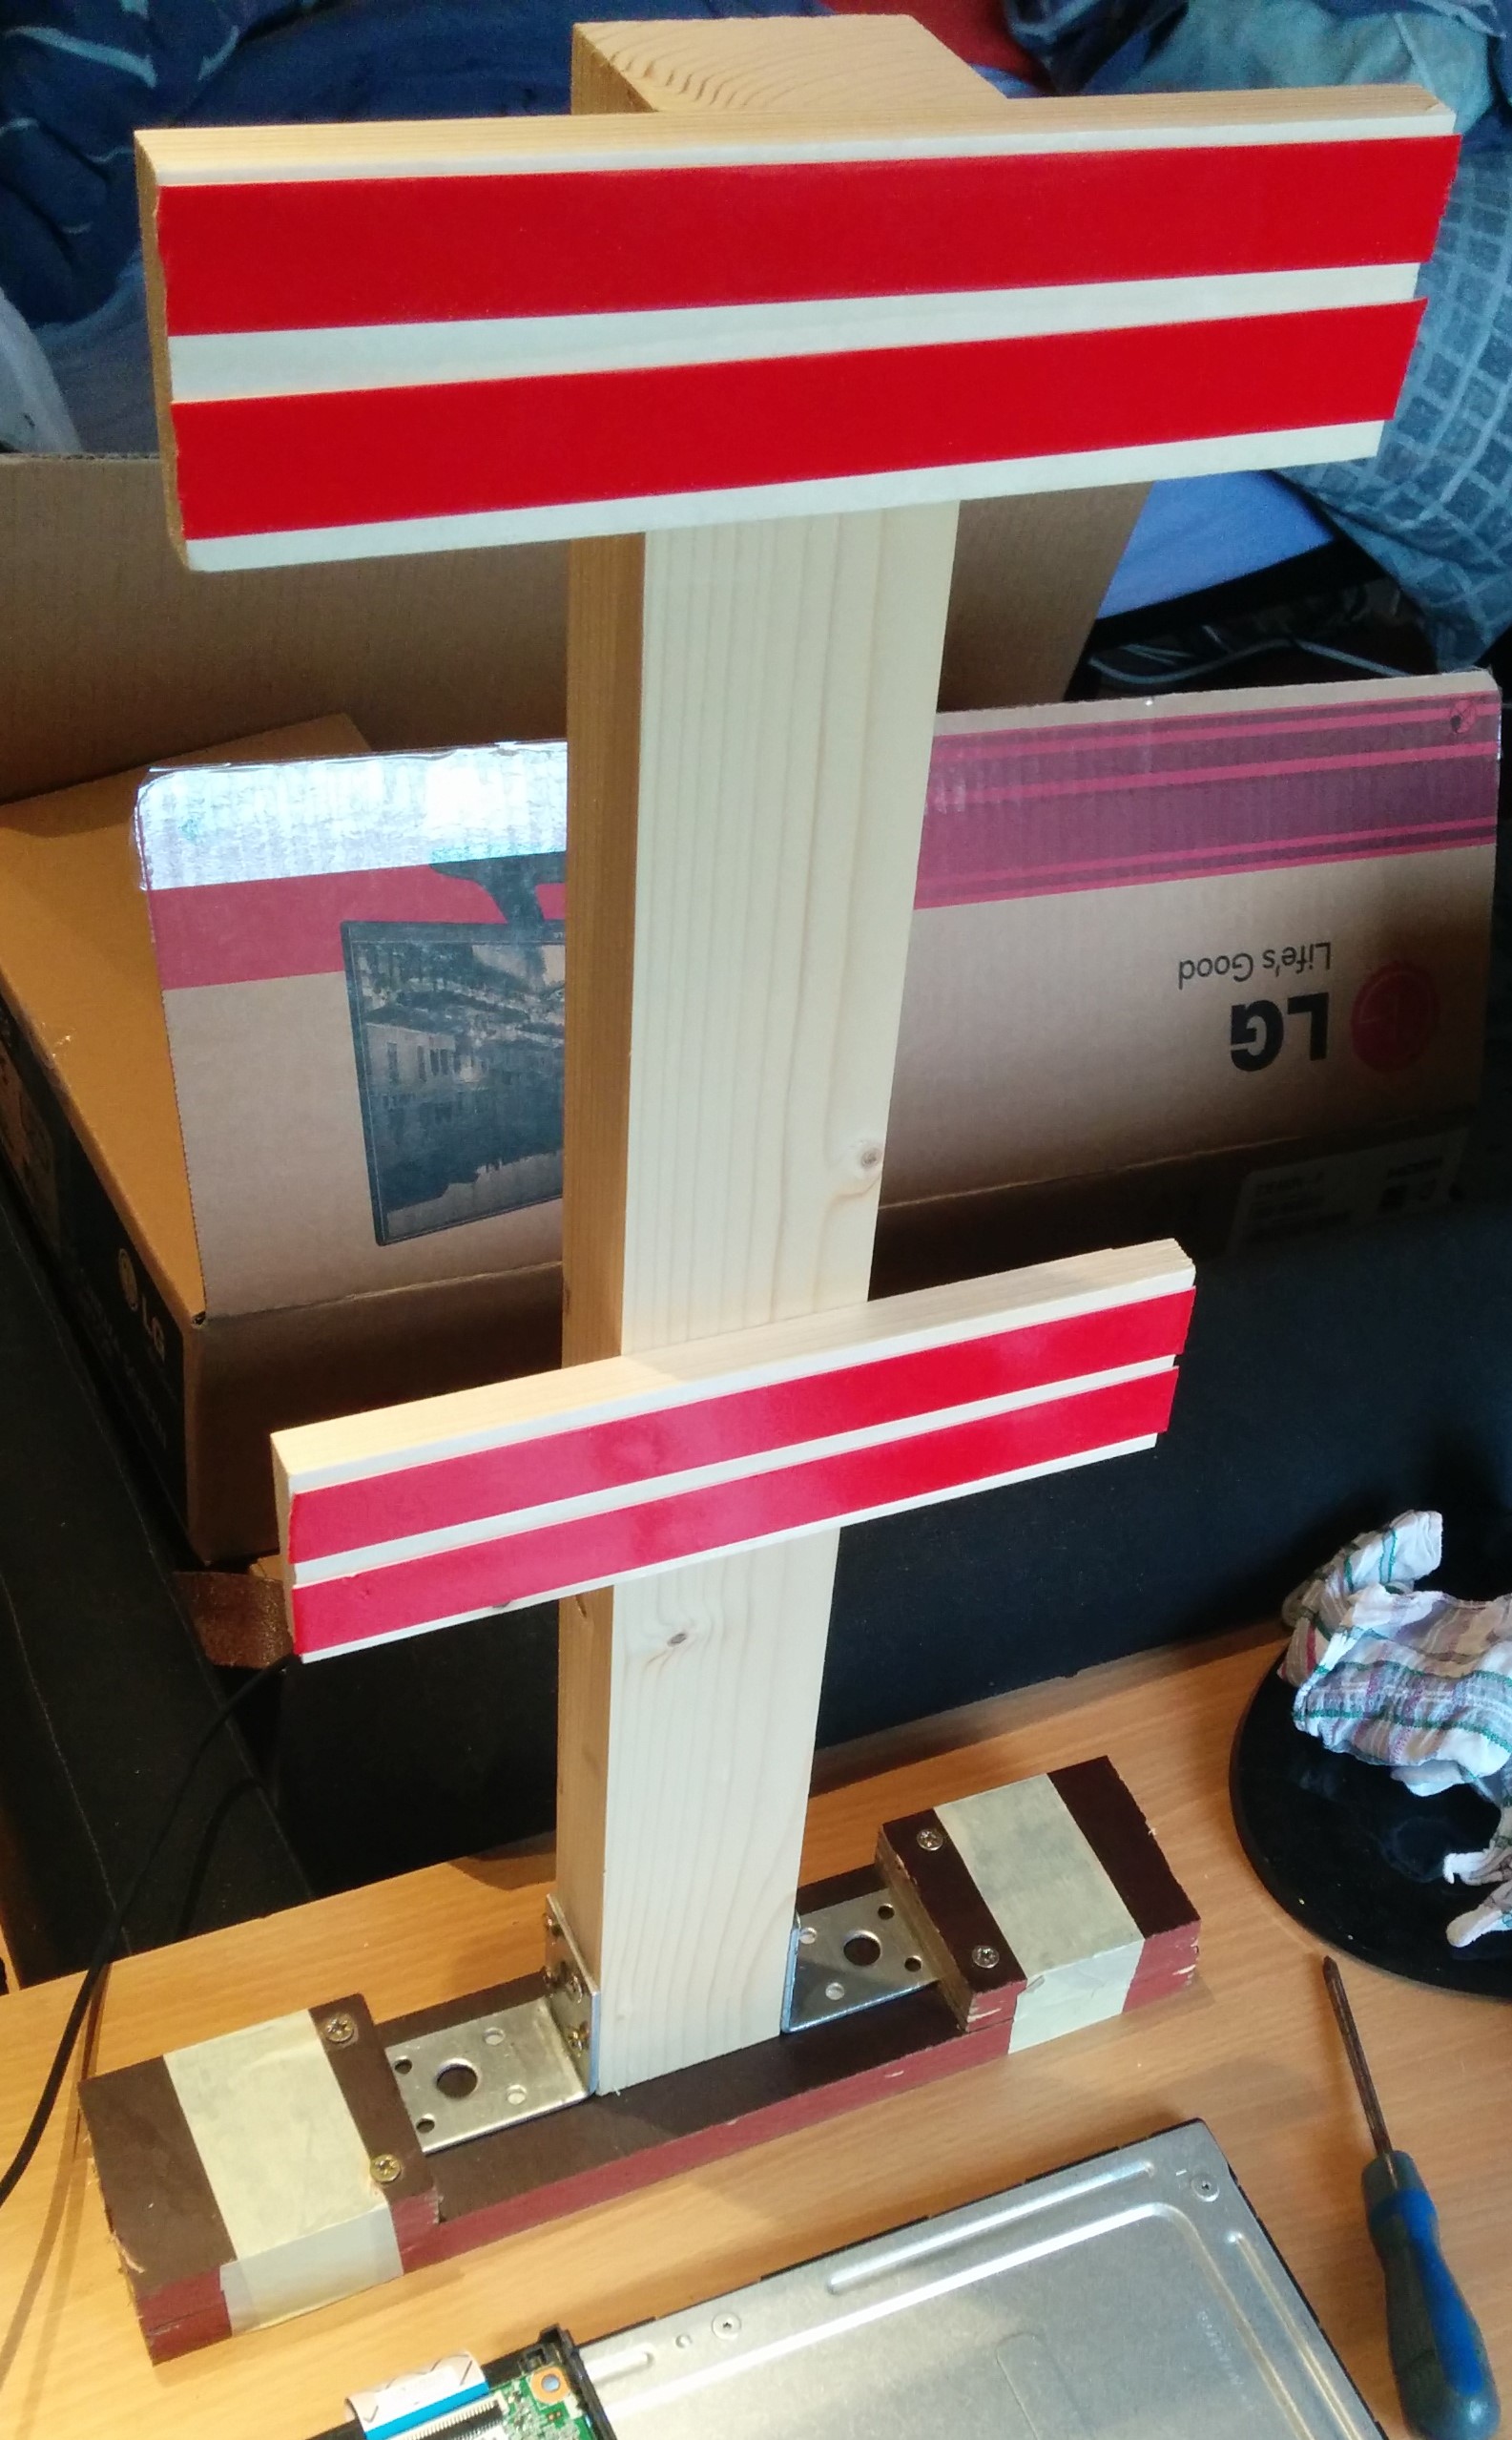
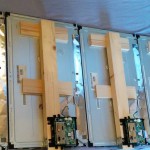
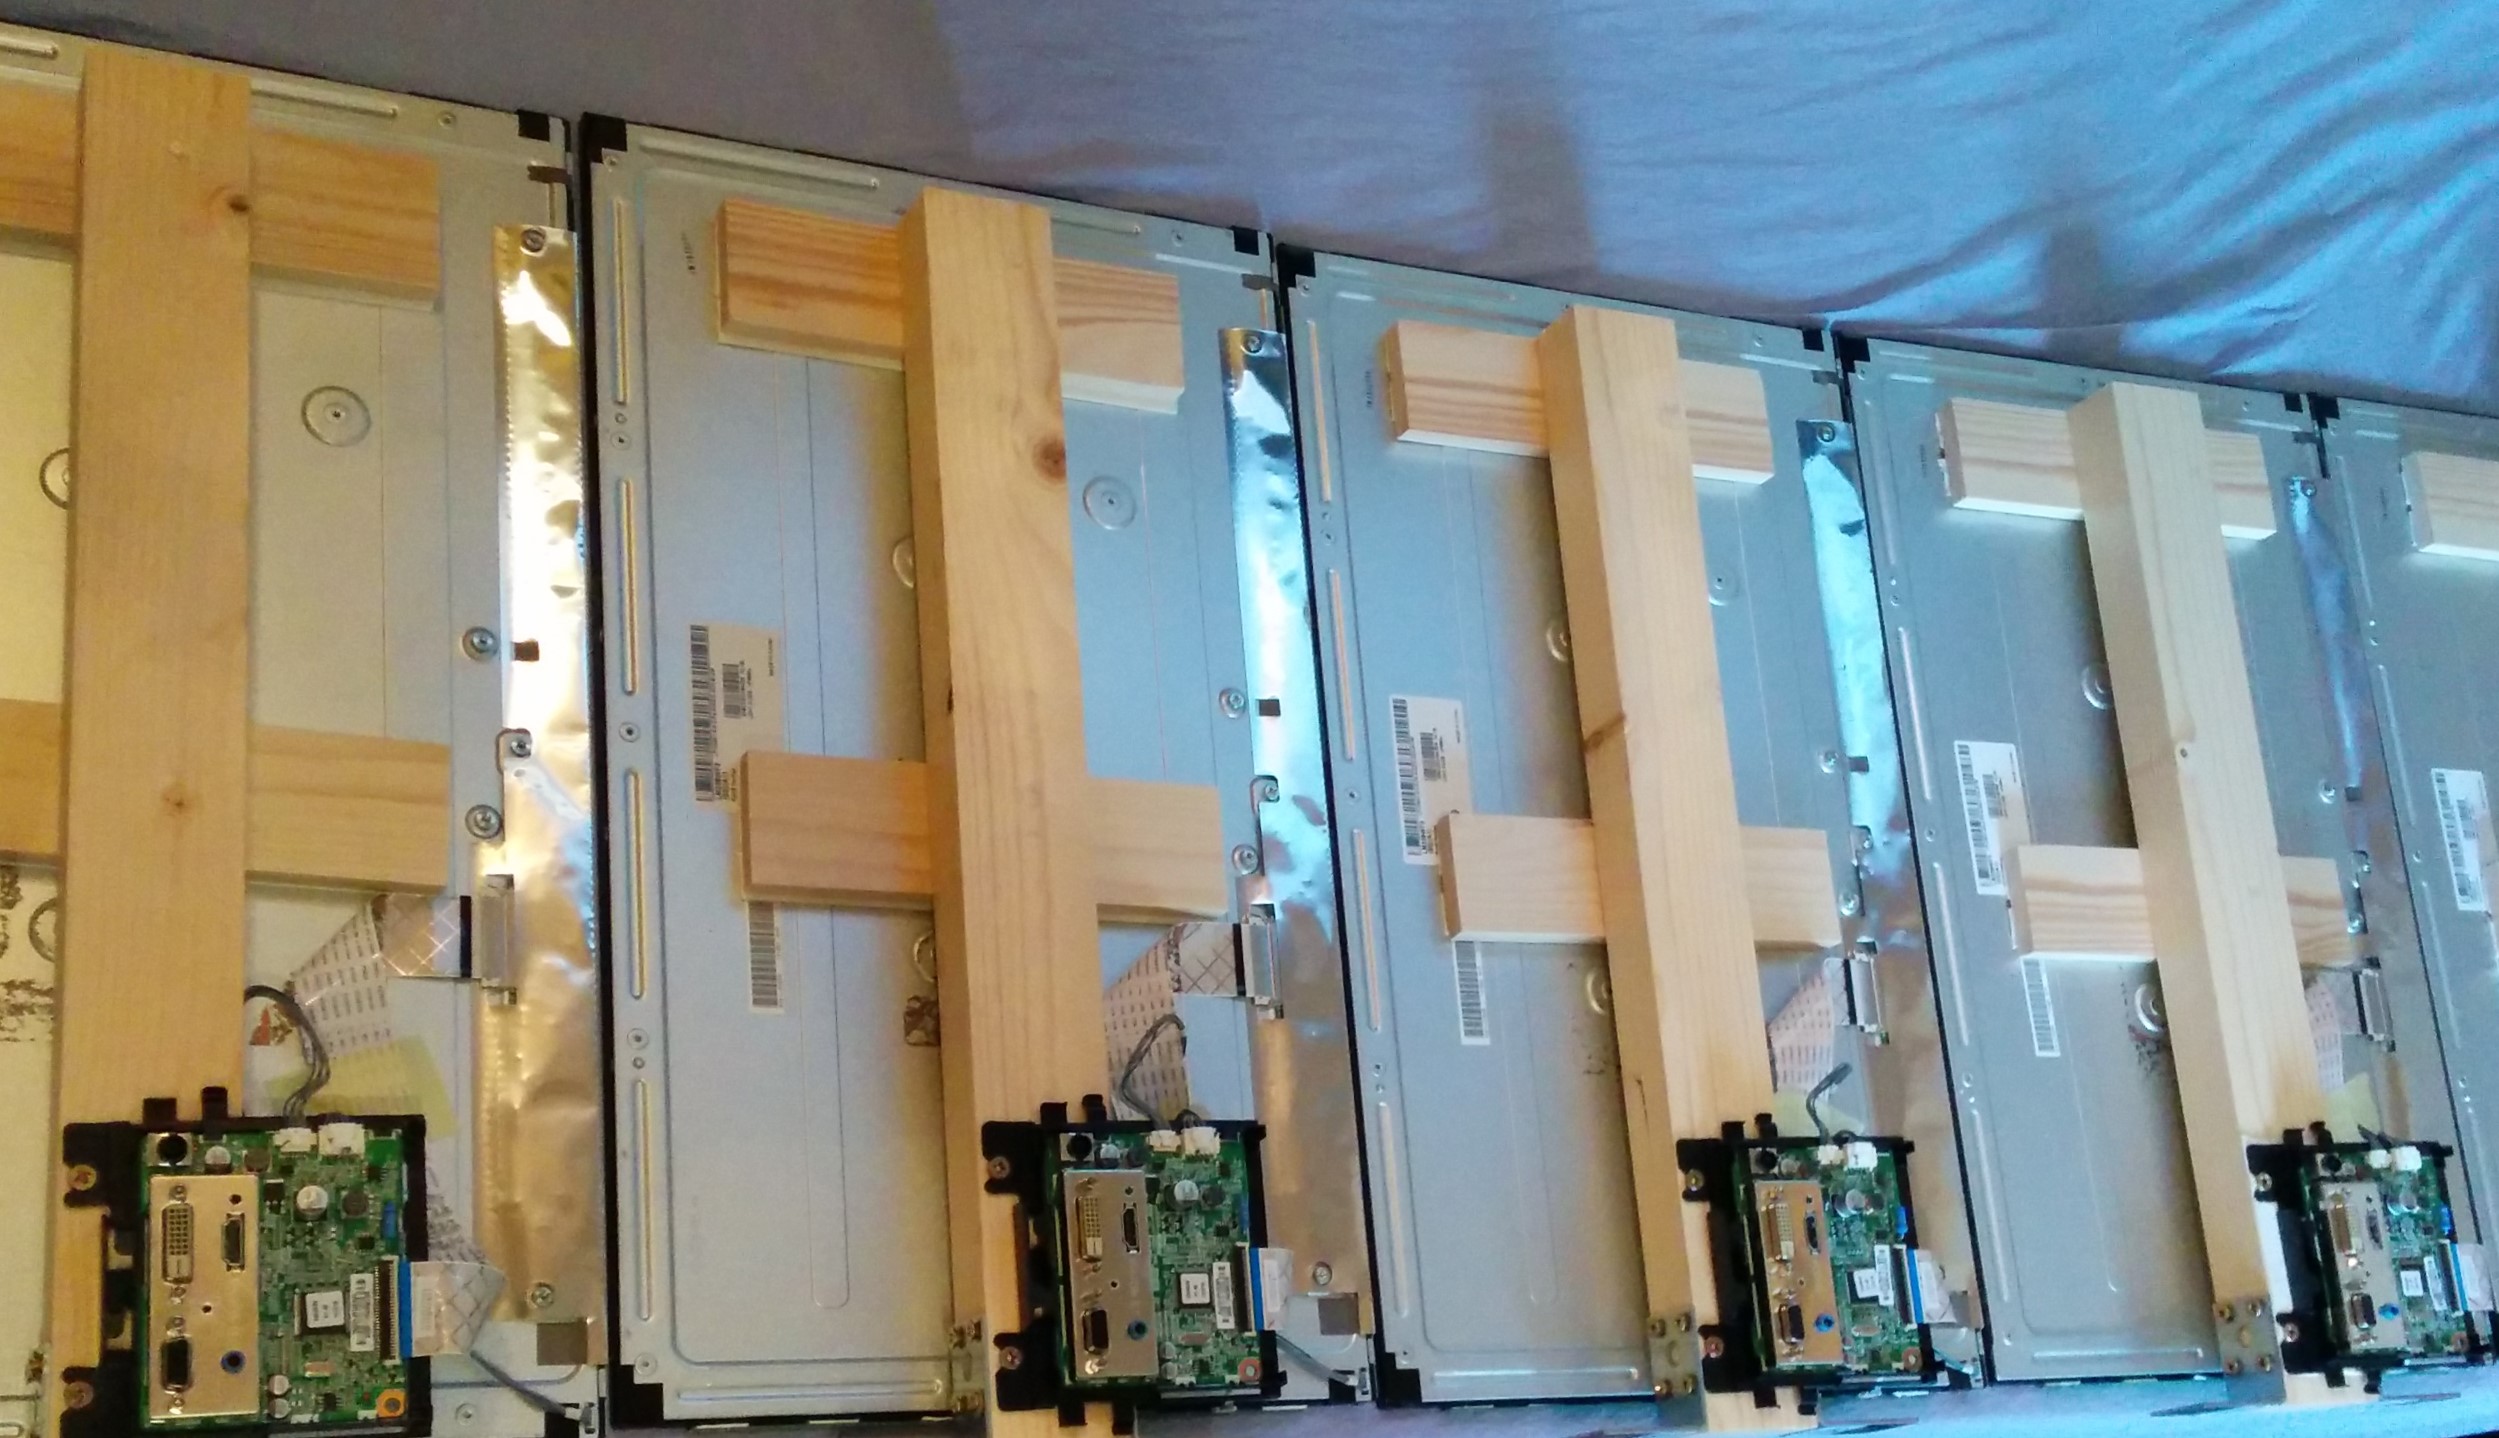
The assembled supports in the alignment tool.
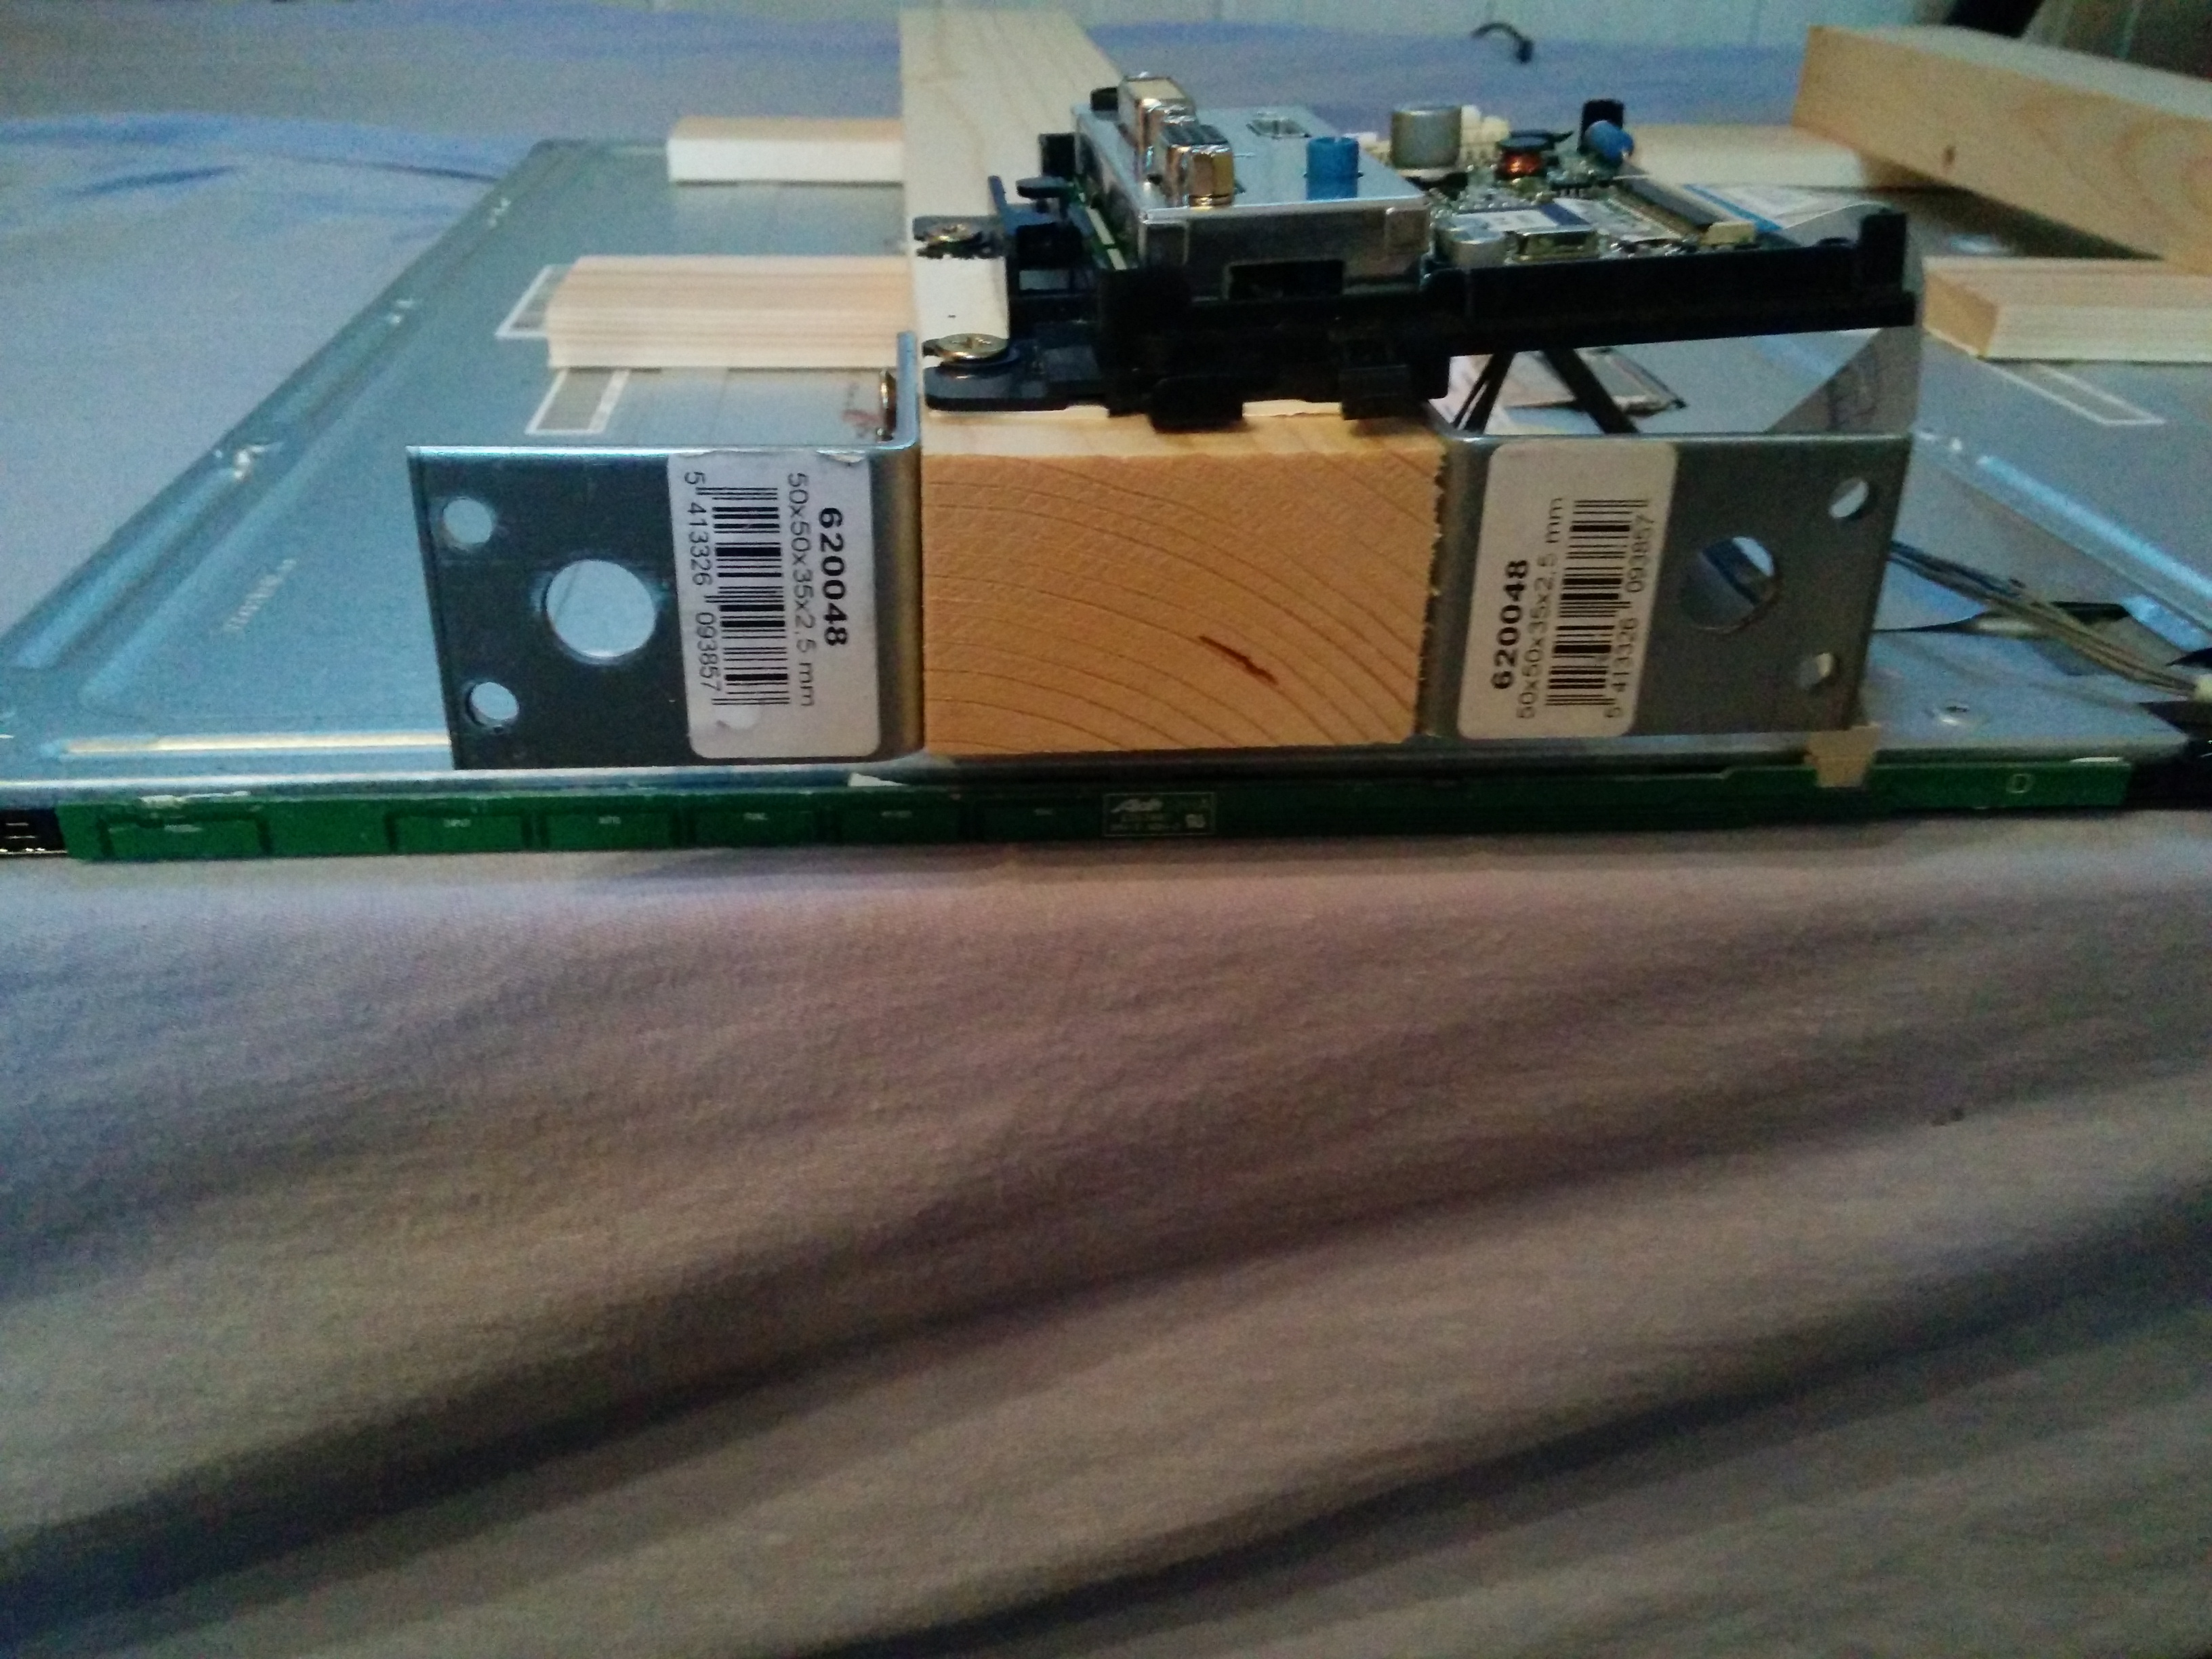
After a few iterations on paper and one ‘test-build’ I ended up simply using wooden supports glued to the displays using strong double sided tape, and screwed into the desk. The electronics are just mounted to the back of the supports using some screws.
I also constructed a simple mounting tool, to align each support to the base of the monitor when gluing them on. Height differences are pretty noticeable especially in a larger setup, and with permanent wood supports there’s no room for tweaking afterwards.
-

- Freshly unboxed.
-
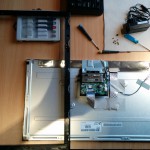
- Removed the housing.
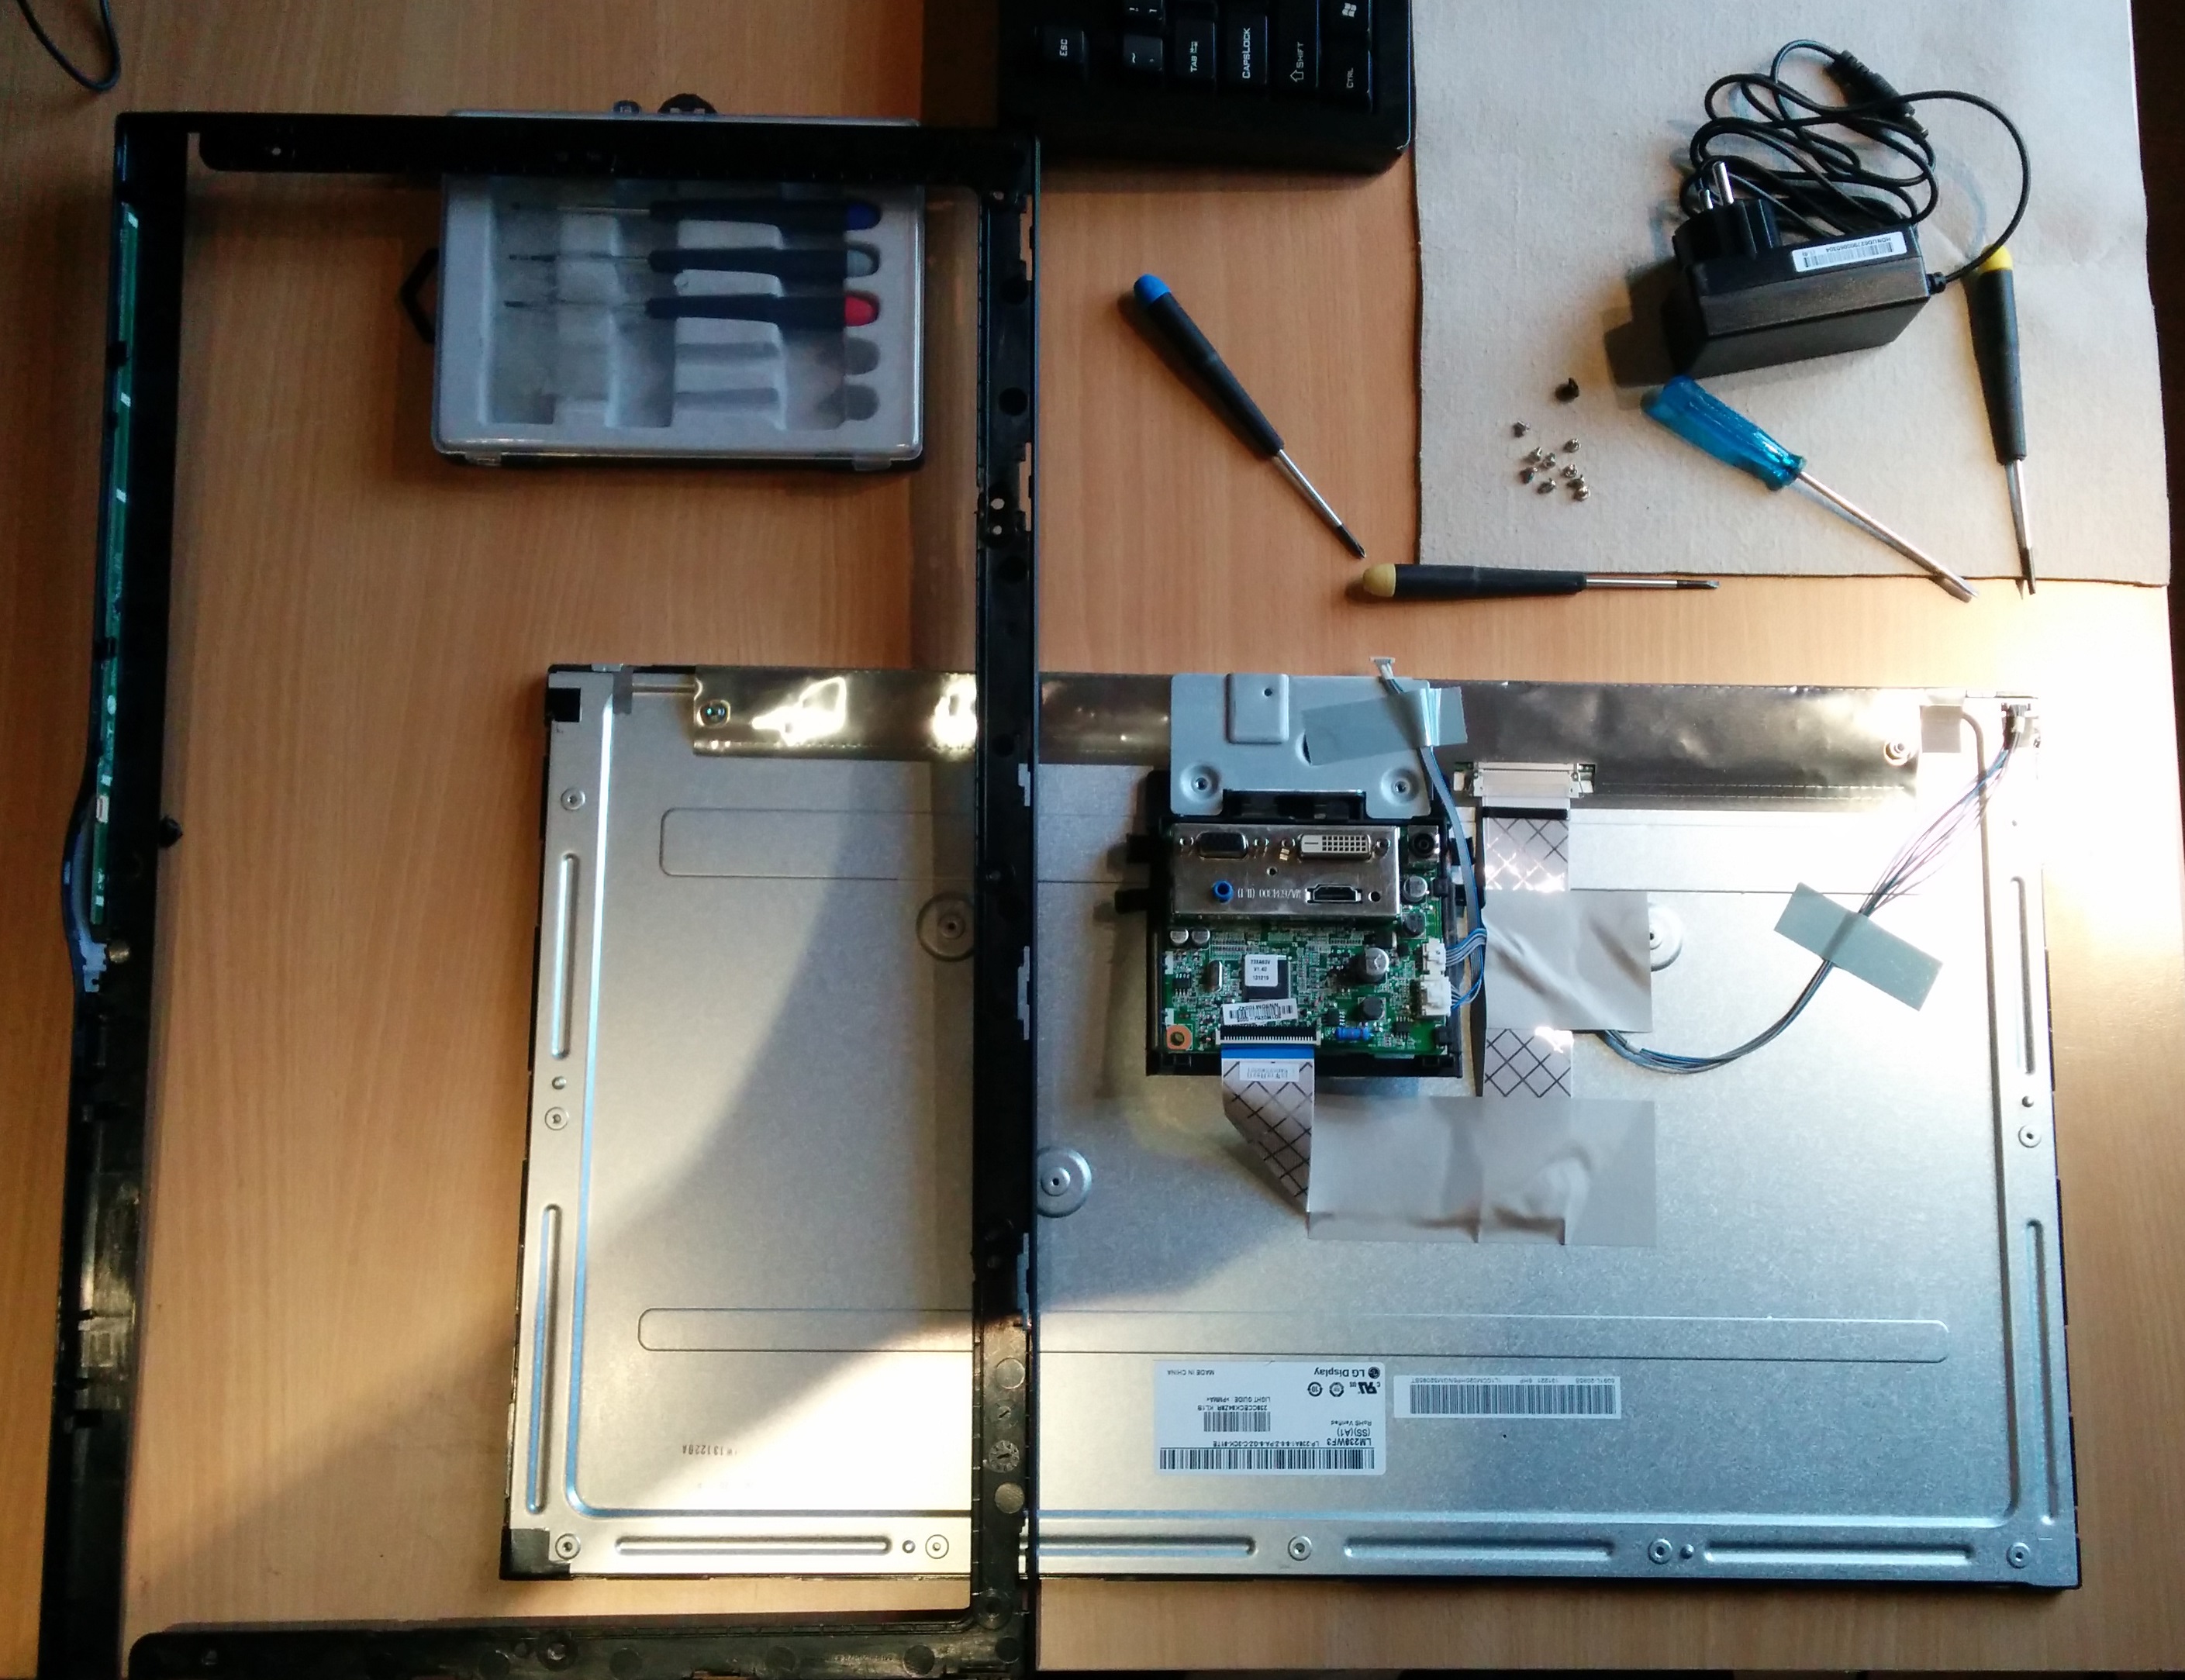
-
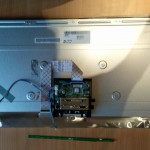
- Removed tape & screws from the electronics.
-
- Attached all supports.
-
- Buttons attached.
Removing the capacitive (?) touch sensor bar was a little bit tricky since it was fully glued in, but some hot air did the trick. I did calibrate all the monitors before removing this to avoid the extra hassle afterwards and of course to test them fully before voiding the warranty. The interesting thing about this thing was that initially, I had no idea how it was supposed to work. Apparently it detects touches through all the glue and plastic as if by magic! I ended up gluing it to the bottom of the monitors again after they were finished. As a side effect of being exposed, the sensors are now way too sensitive, and sometimes the cable from my mouse will trigger a button.
To mount the screens, I first estimated a good distance for the middle monitor to be
put starting from the edge of the desk, so that I’d have a comfortable amount of space for
my keyboard and mouse. Then, I’d lay out the screens on one side to check it’s orientation so that
it would curve enough to fit the width of the desk. After putting in one of the side monitors, I
simply measured the distance from it’s edge to the edge of the desk, and I’d use that to align the
opposing monitor so it’d have the same rotation.
Afterwards I still ended up re-mounting them a bit further back because the curve of the
screens ended up pushing both my keyboard & mouse too close for comfort.
-
- Preparing to mount.
-

- Mounted 2 screens…
-
- Just one more…
-

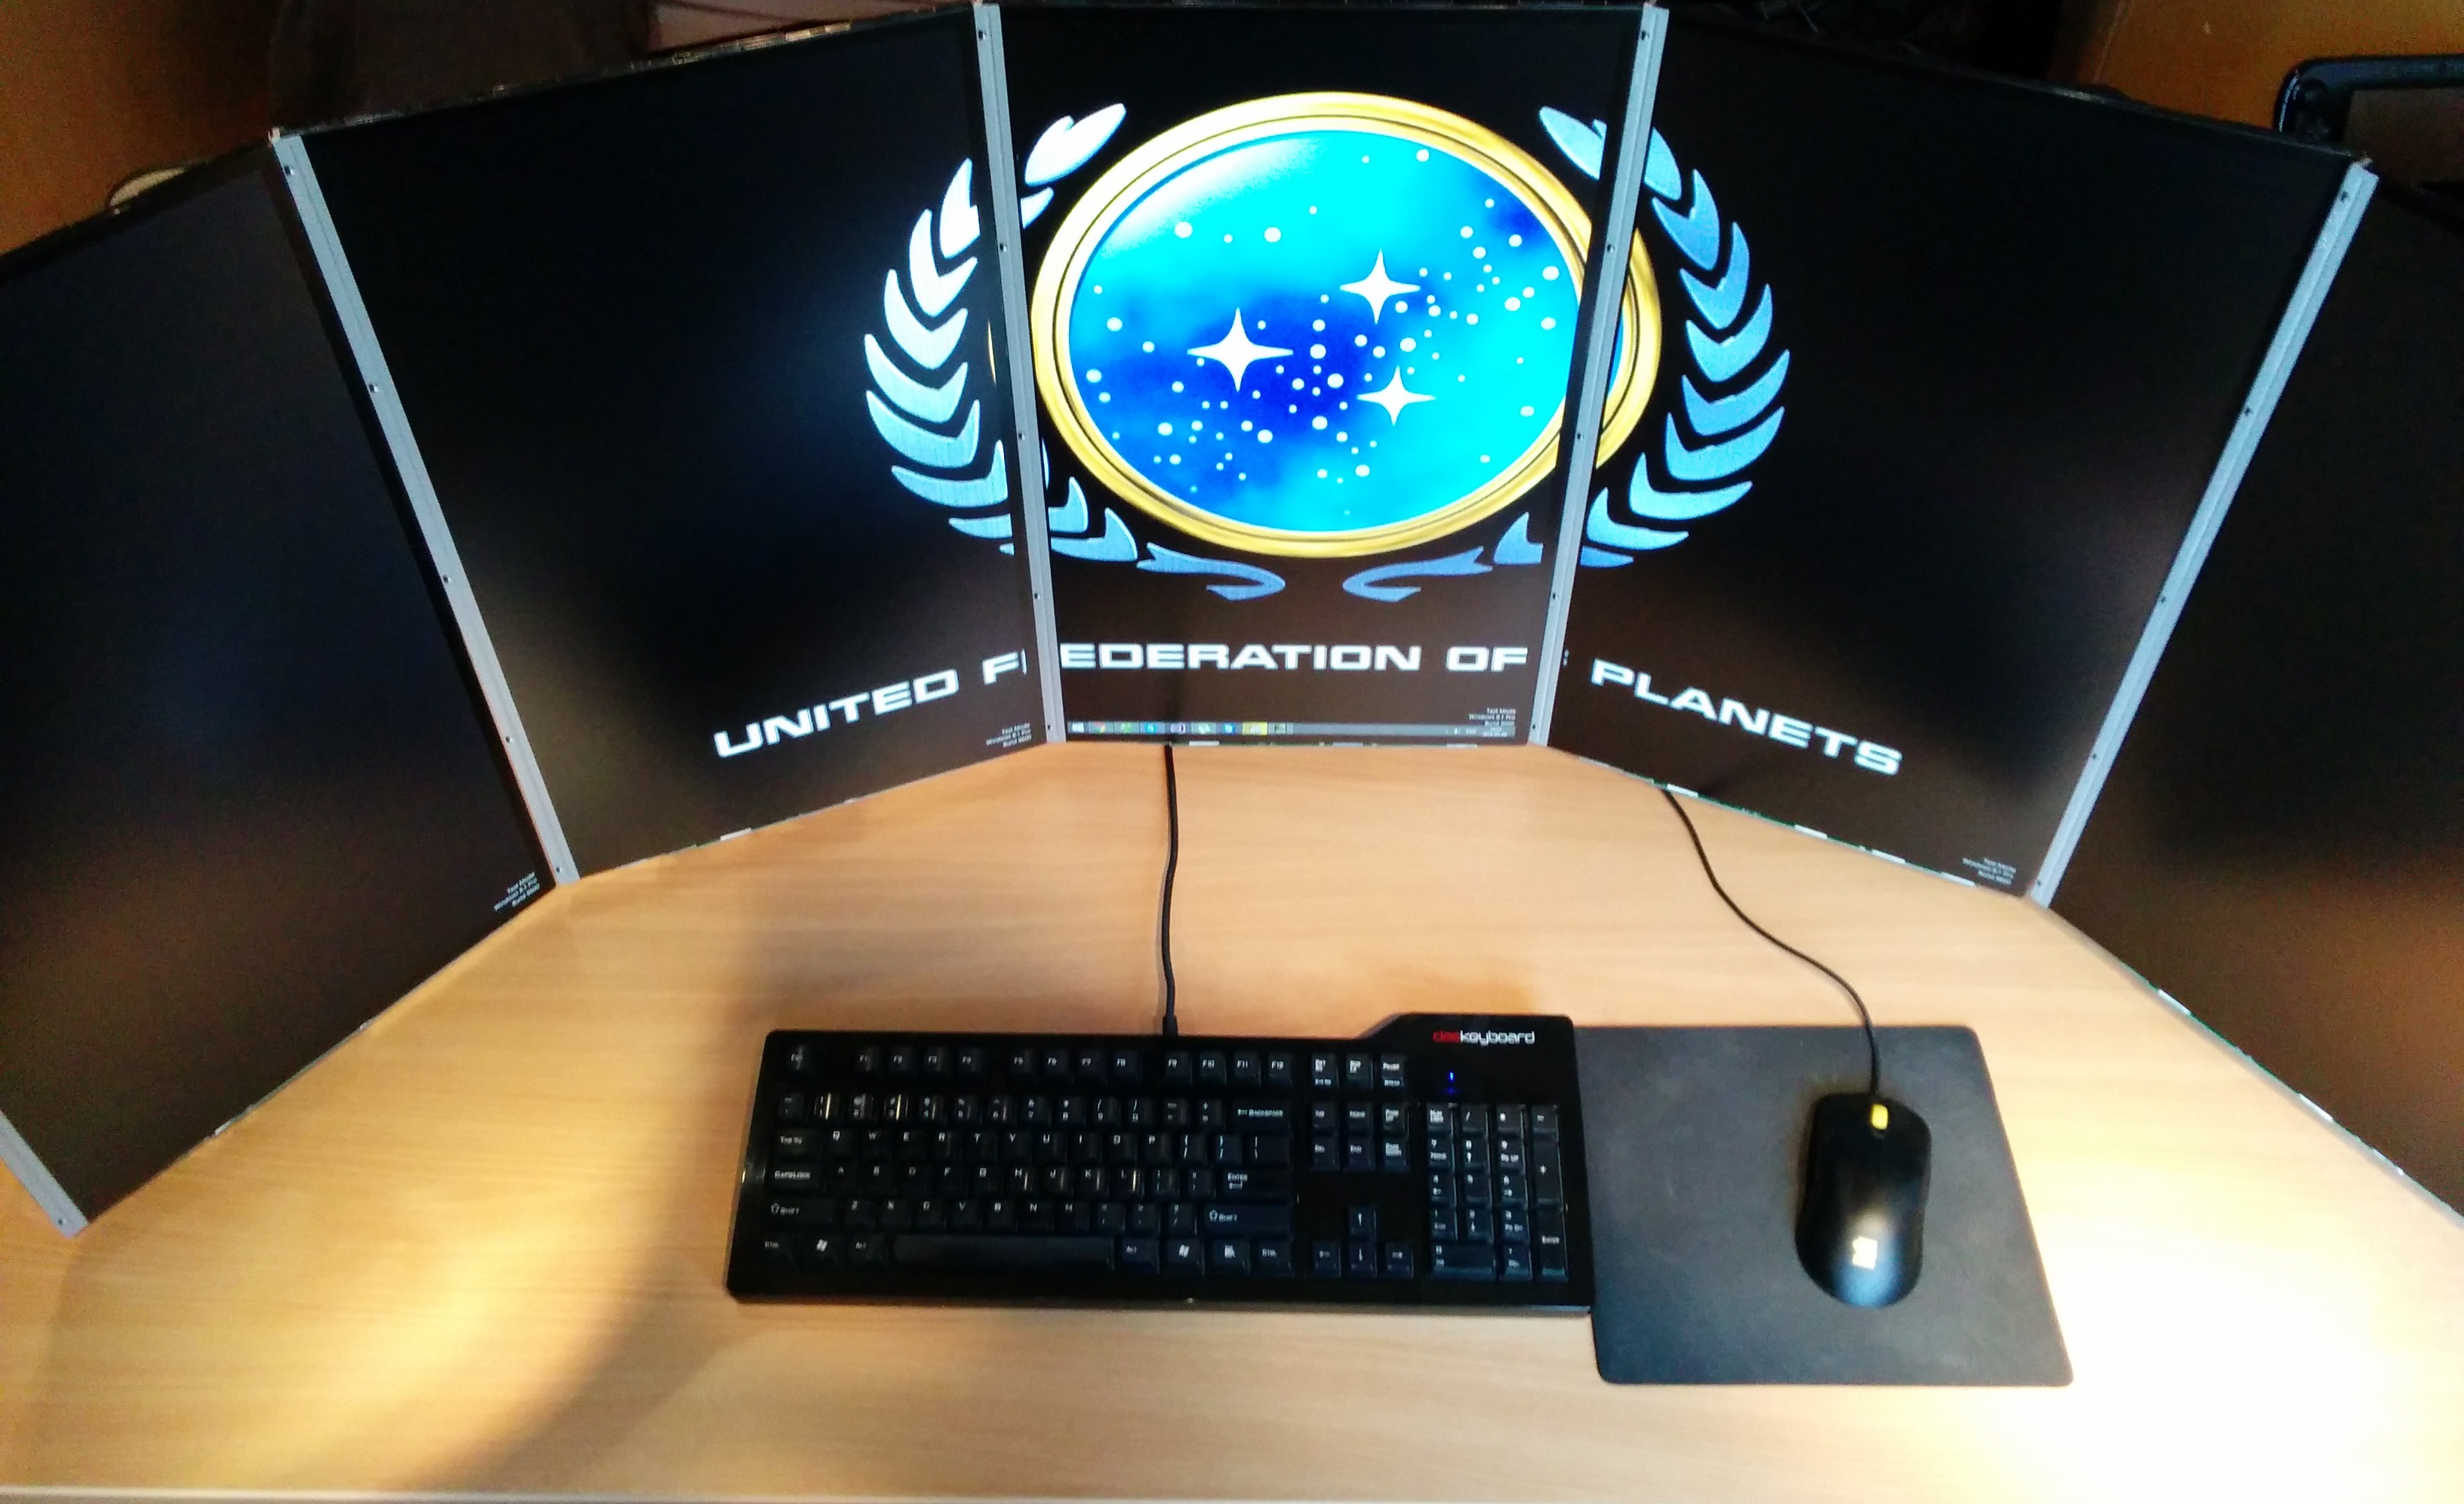
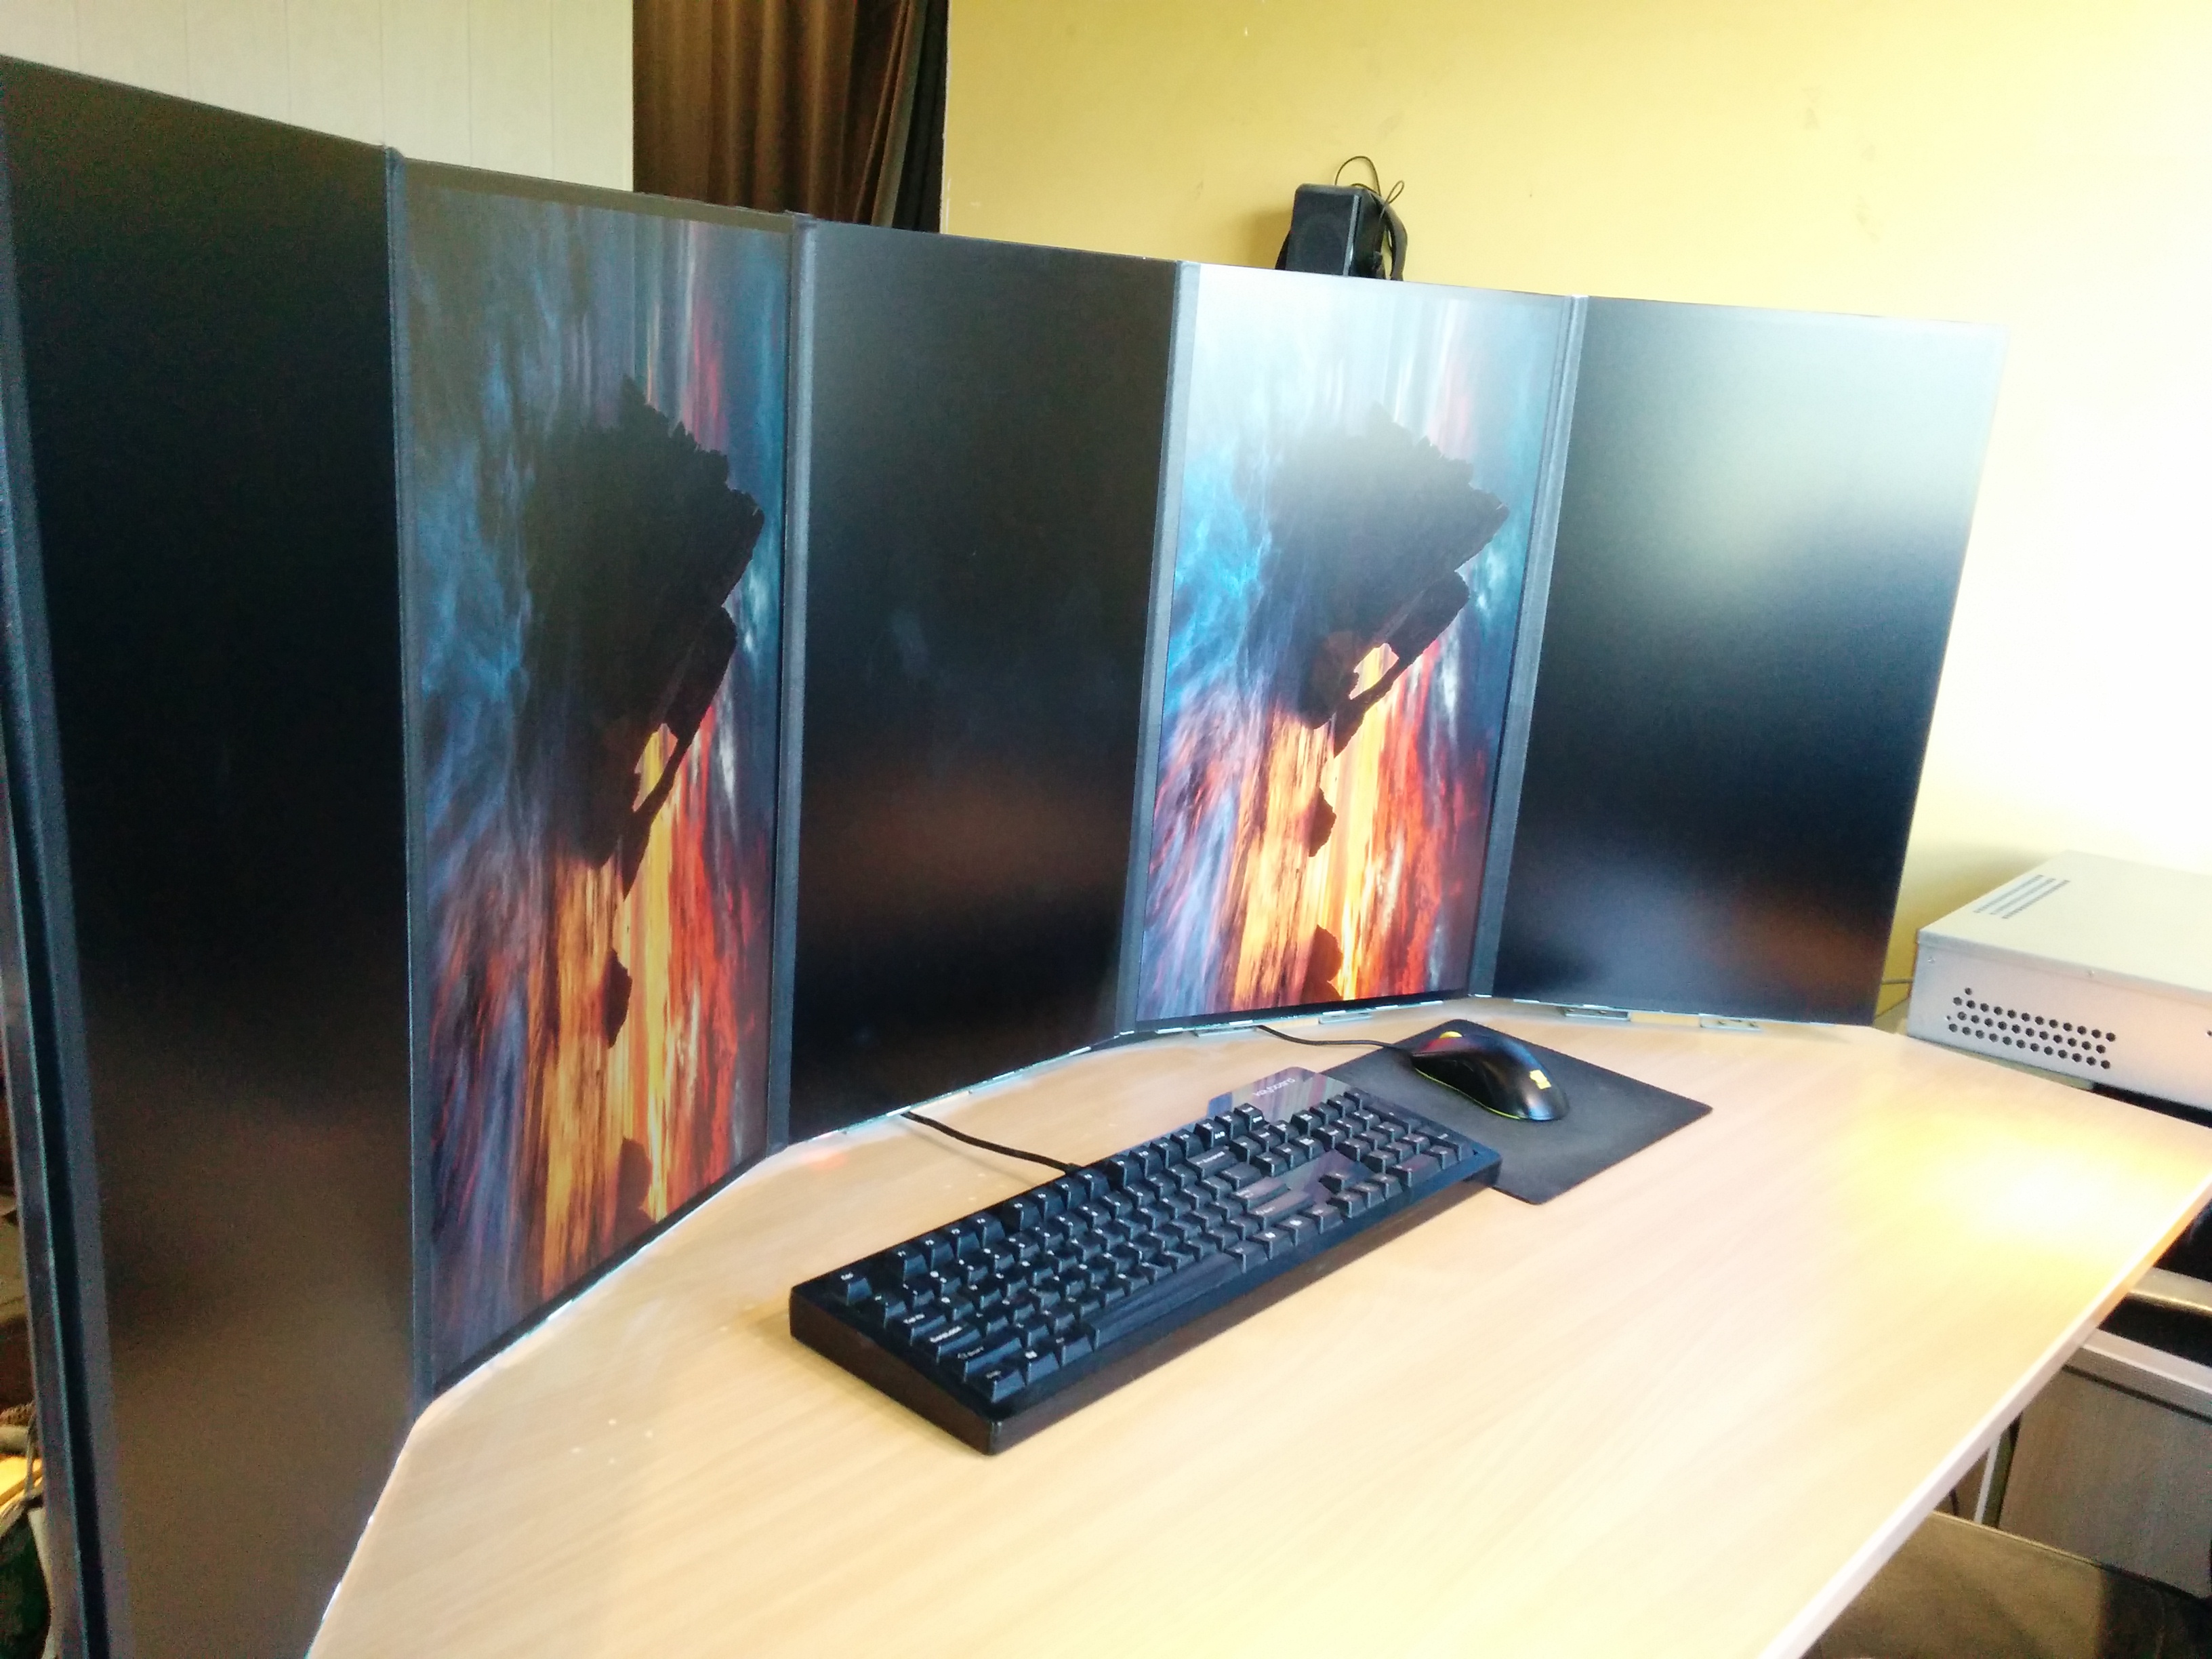
- Done!
-
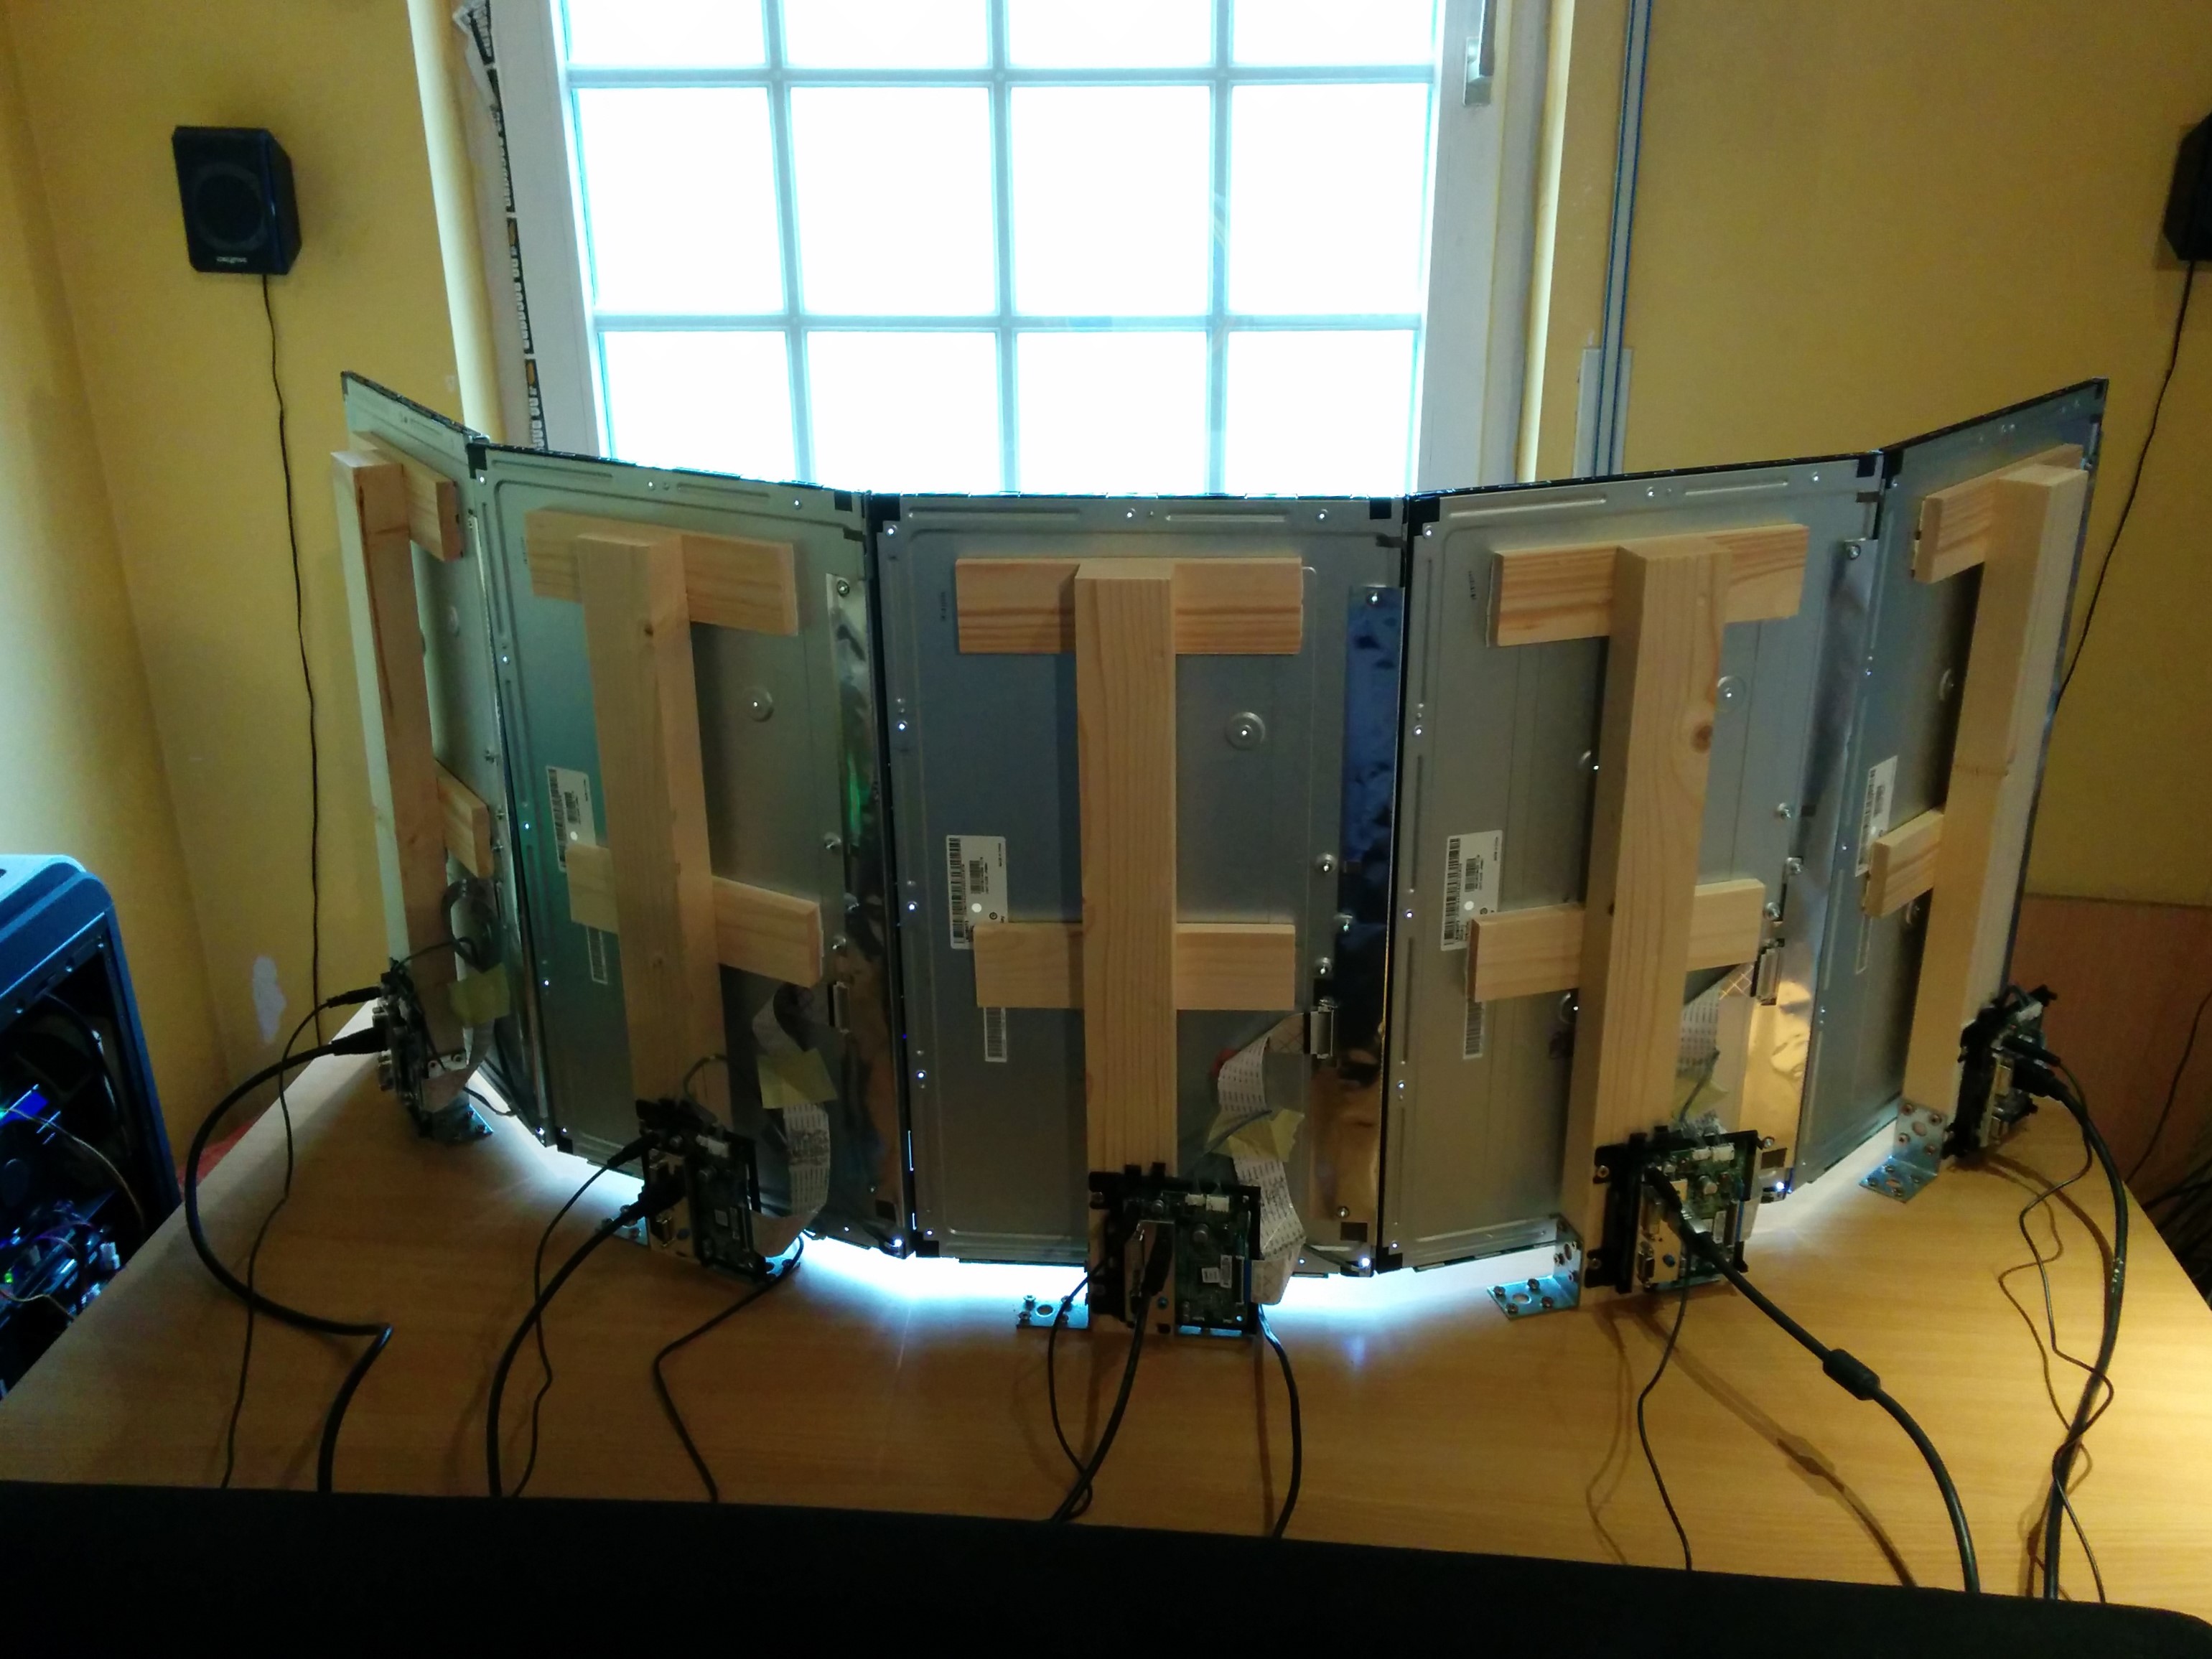
- View from the back.
-
- Bezels taped off.
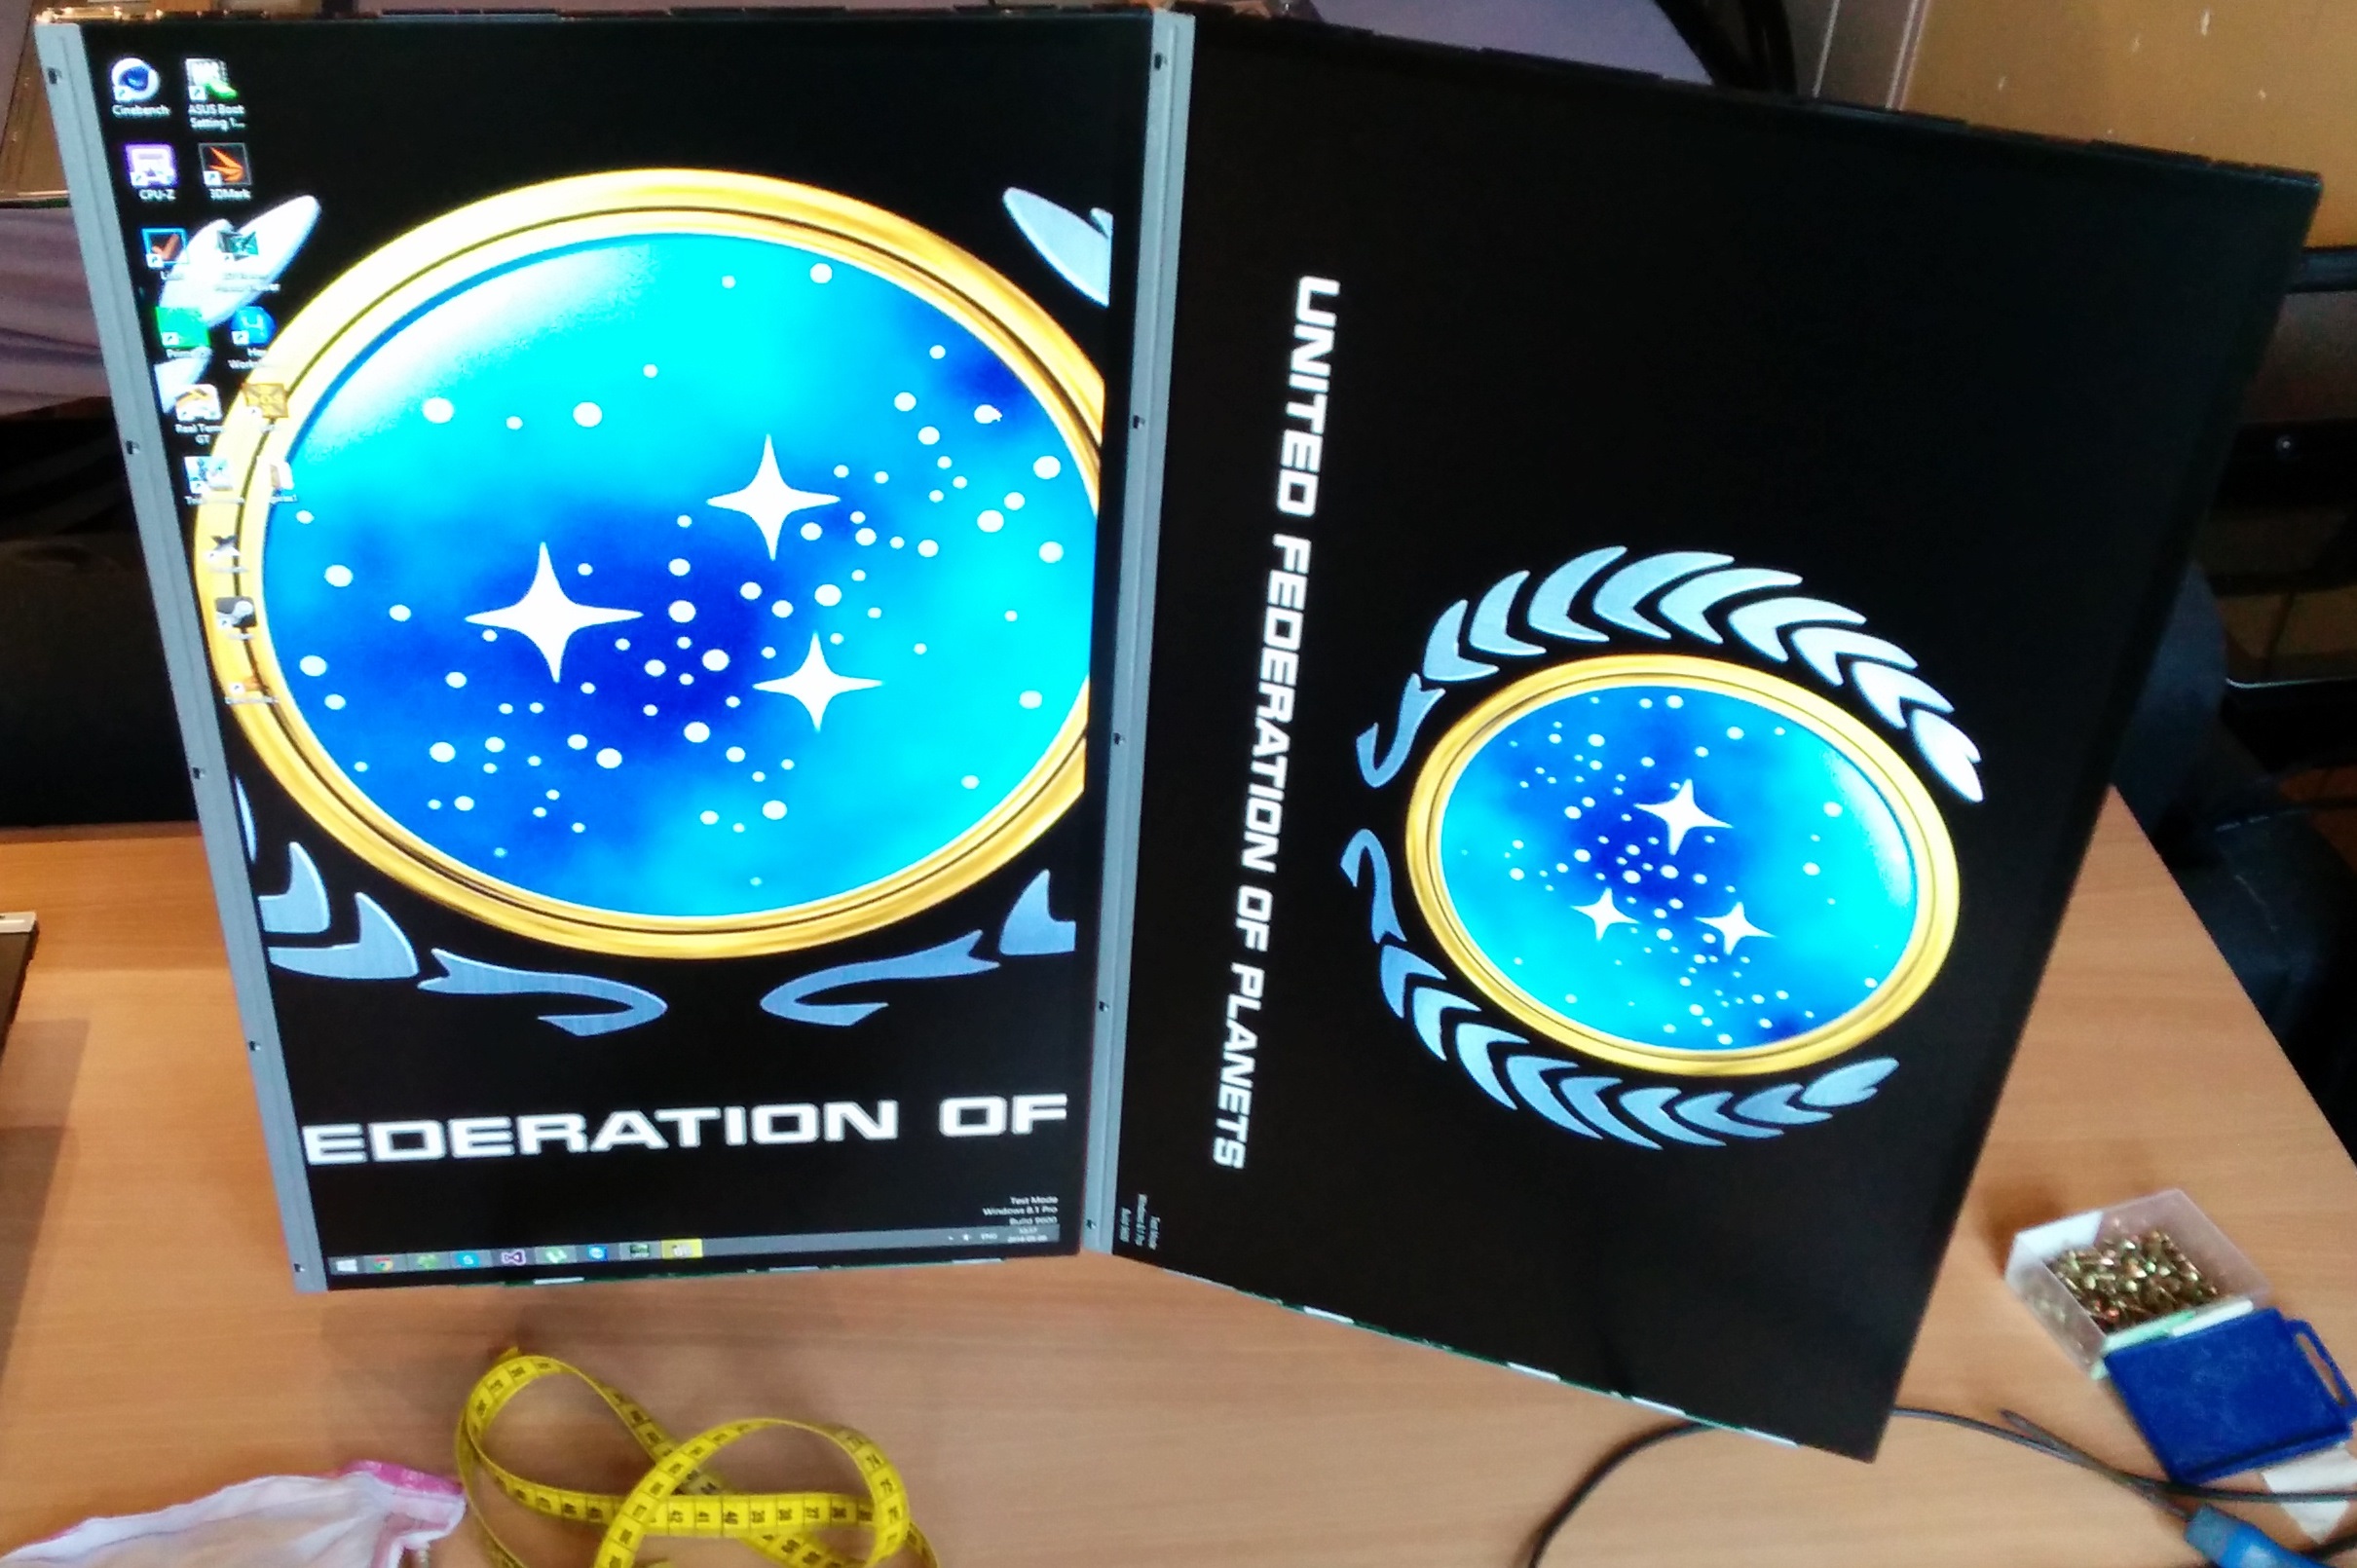
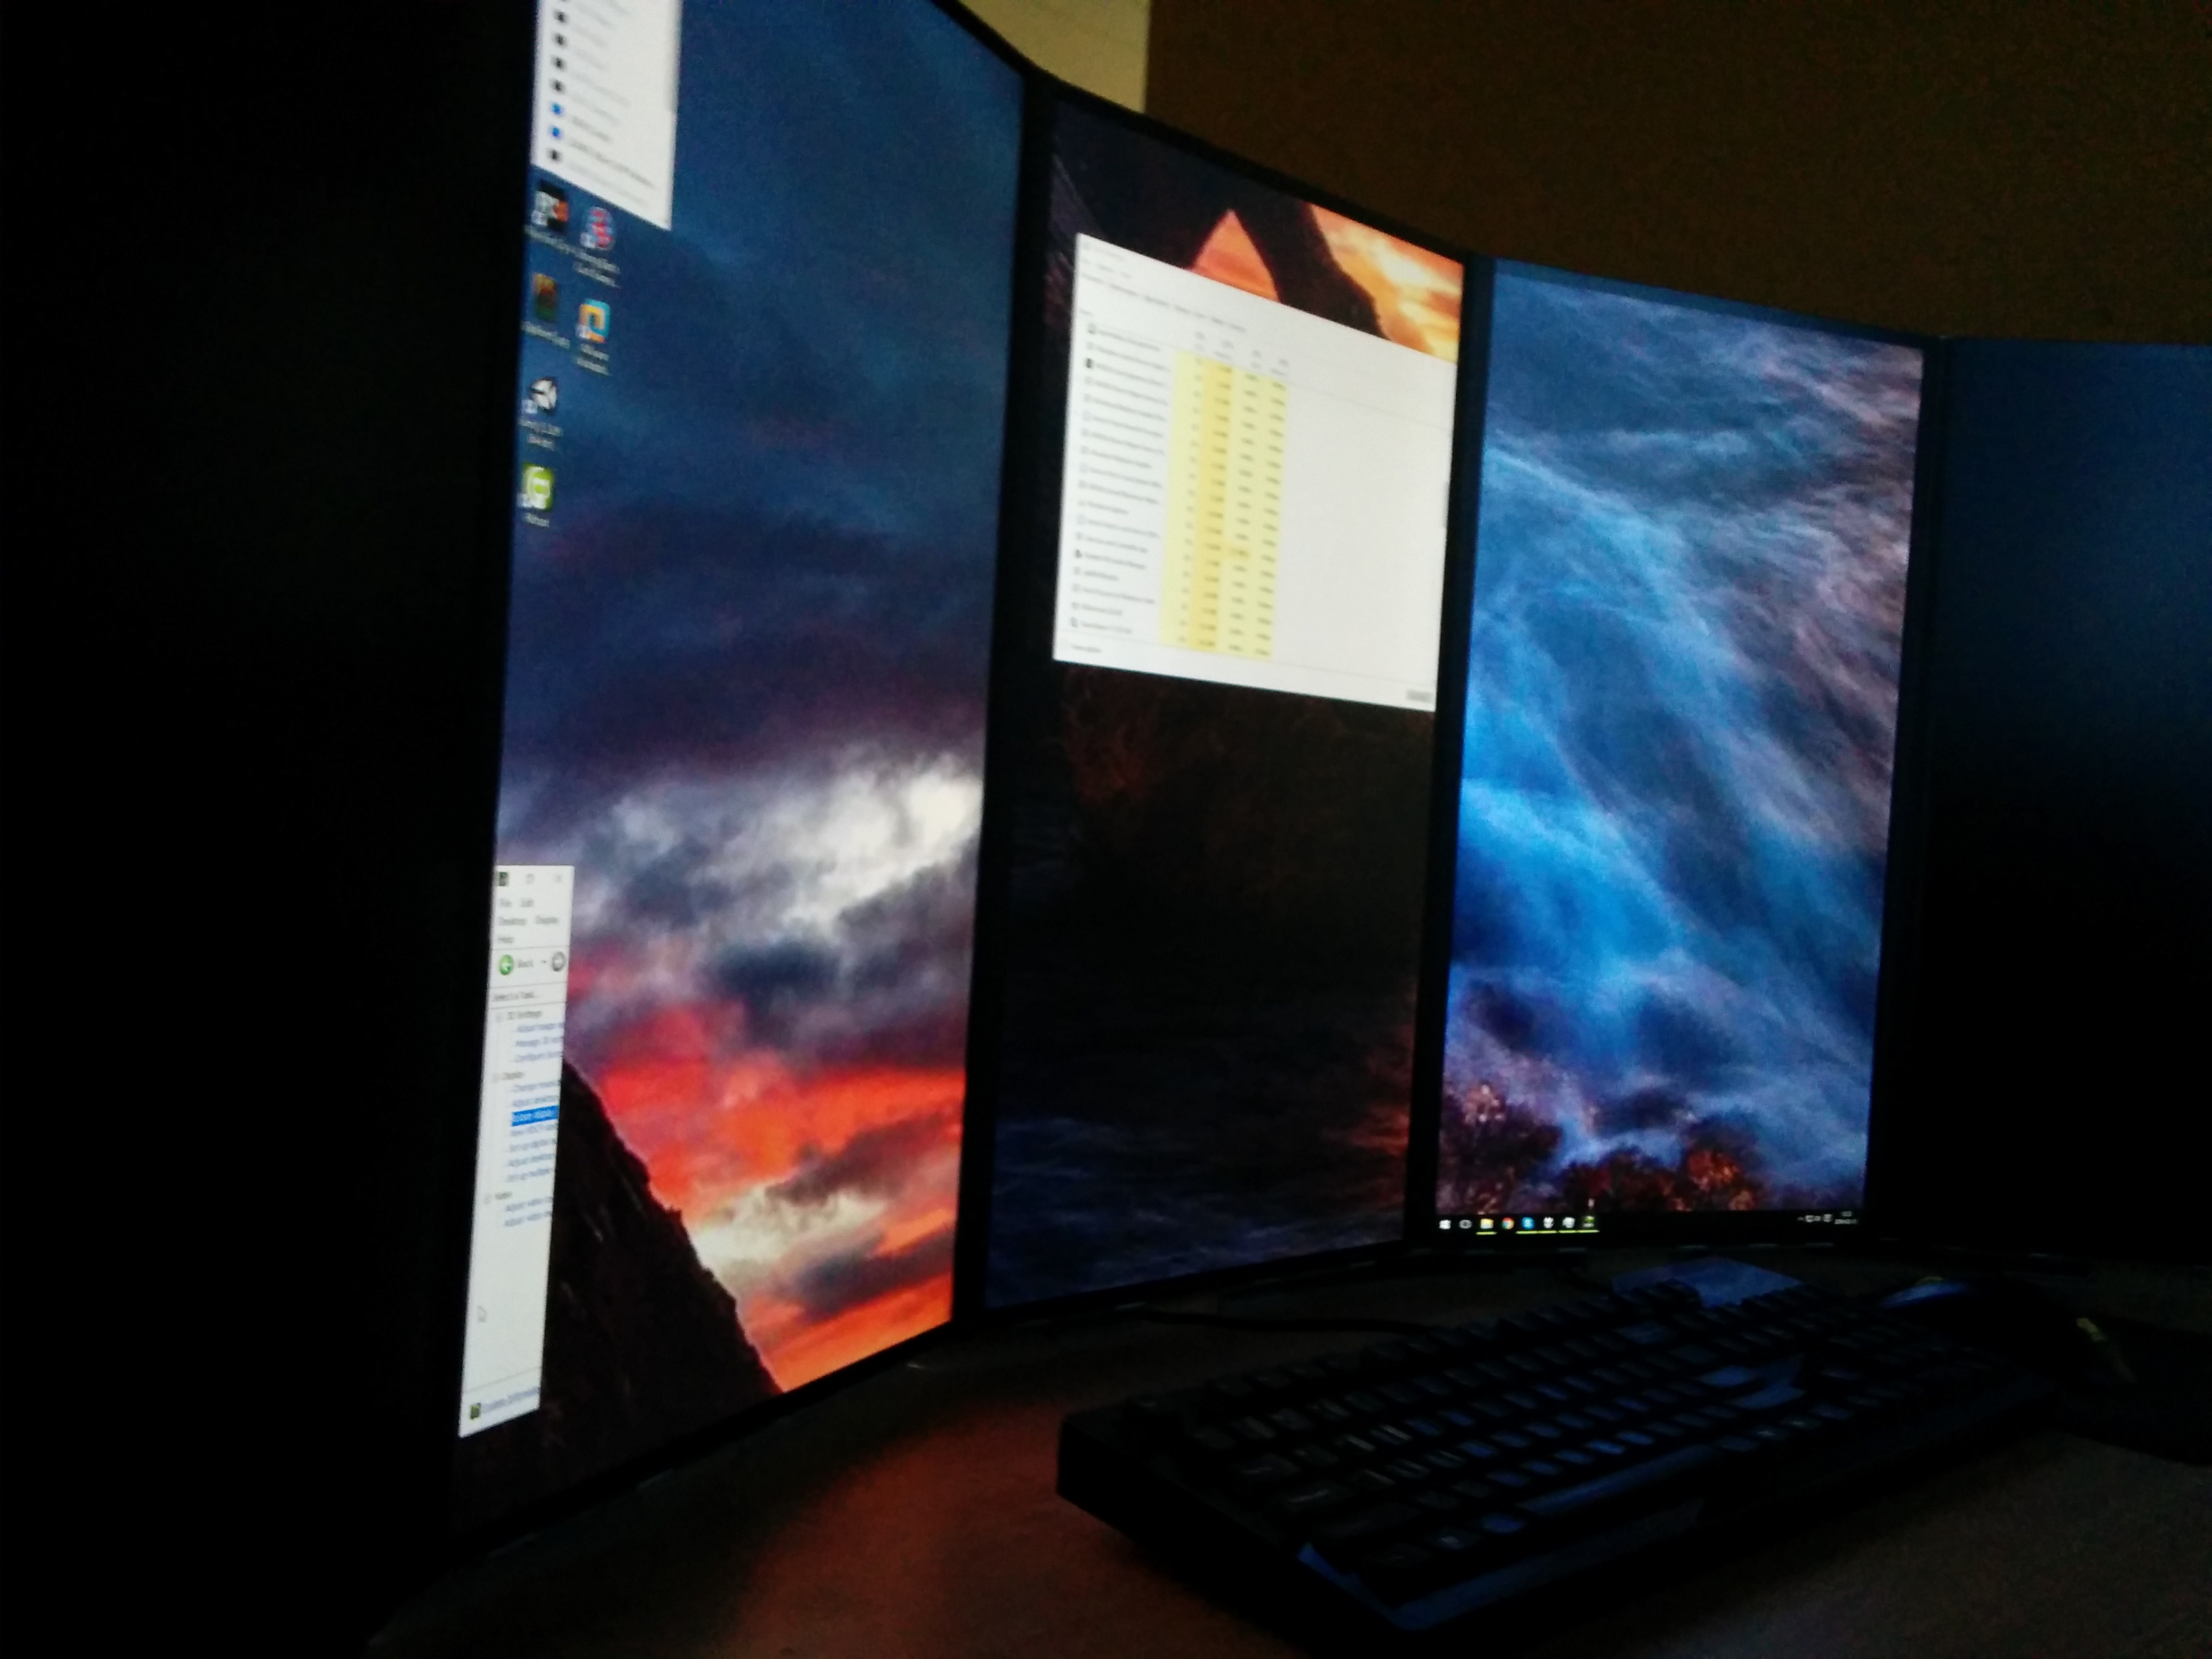
 Switching on all screens at the same time is
very easy. They seem to remember the last state that they were in when unplugged, and Windows won’t
screw up your config as long as the HDMI ports stay plugged in. This allowed me to use a
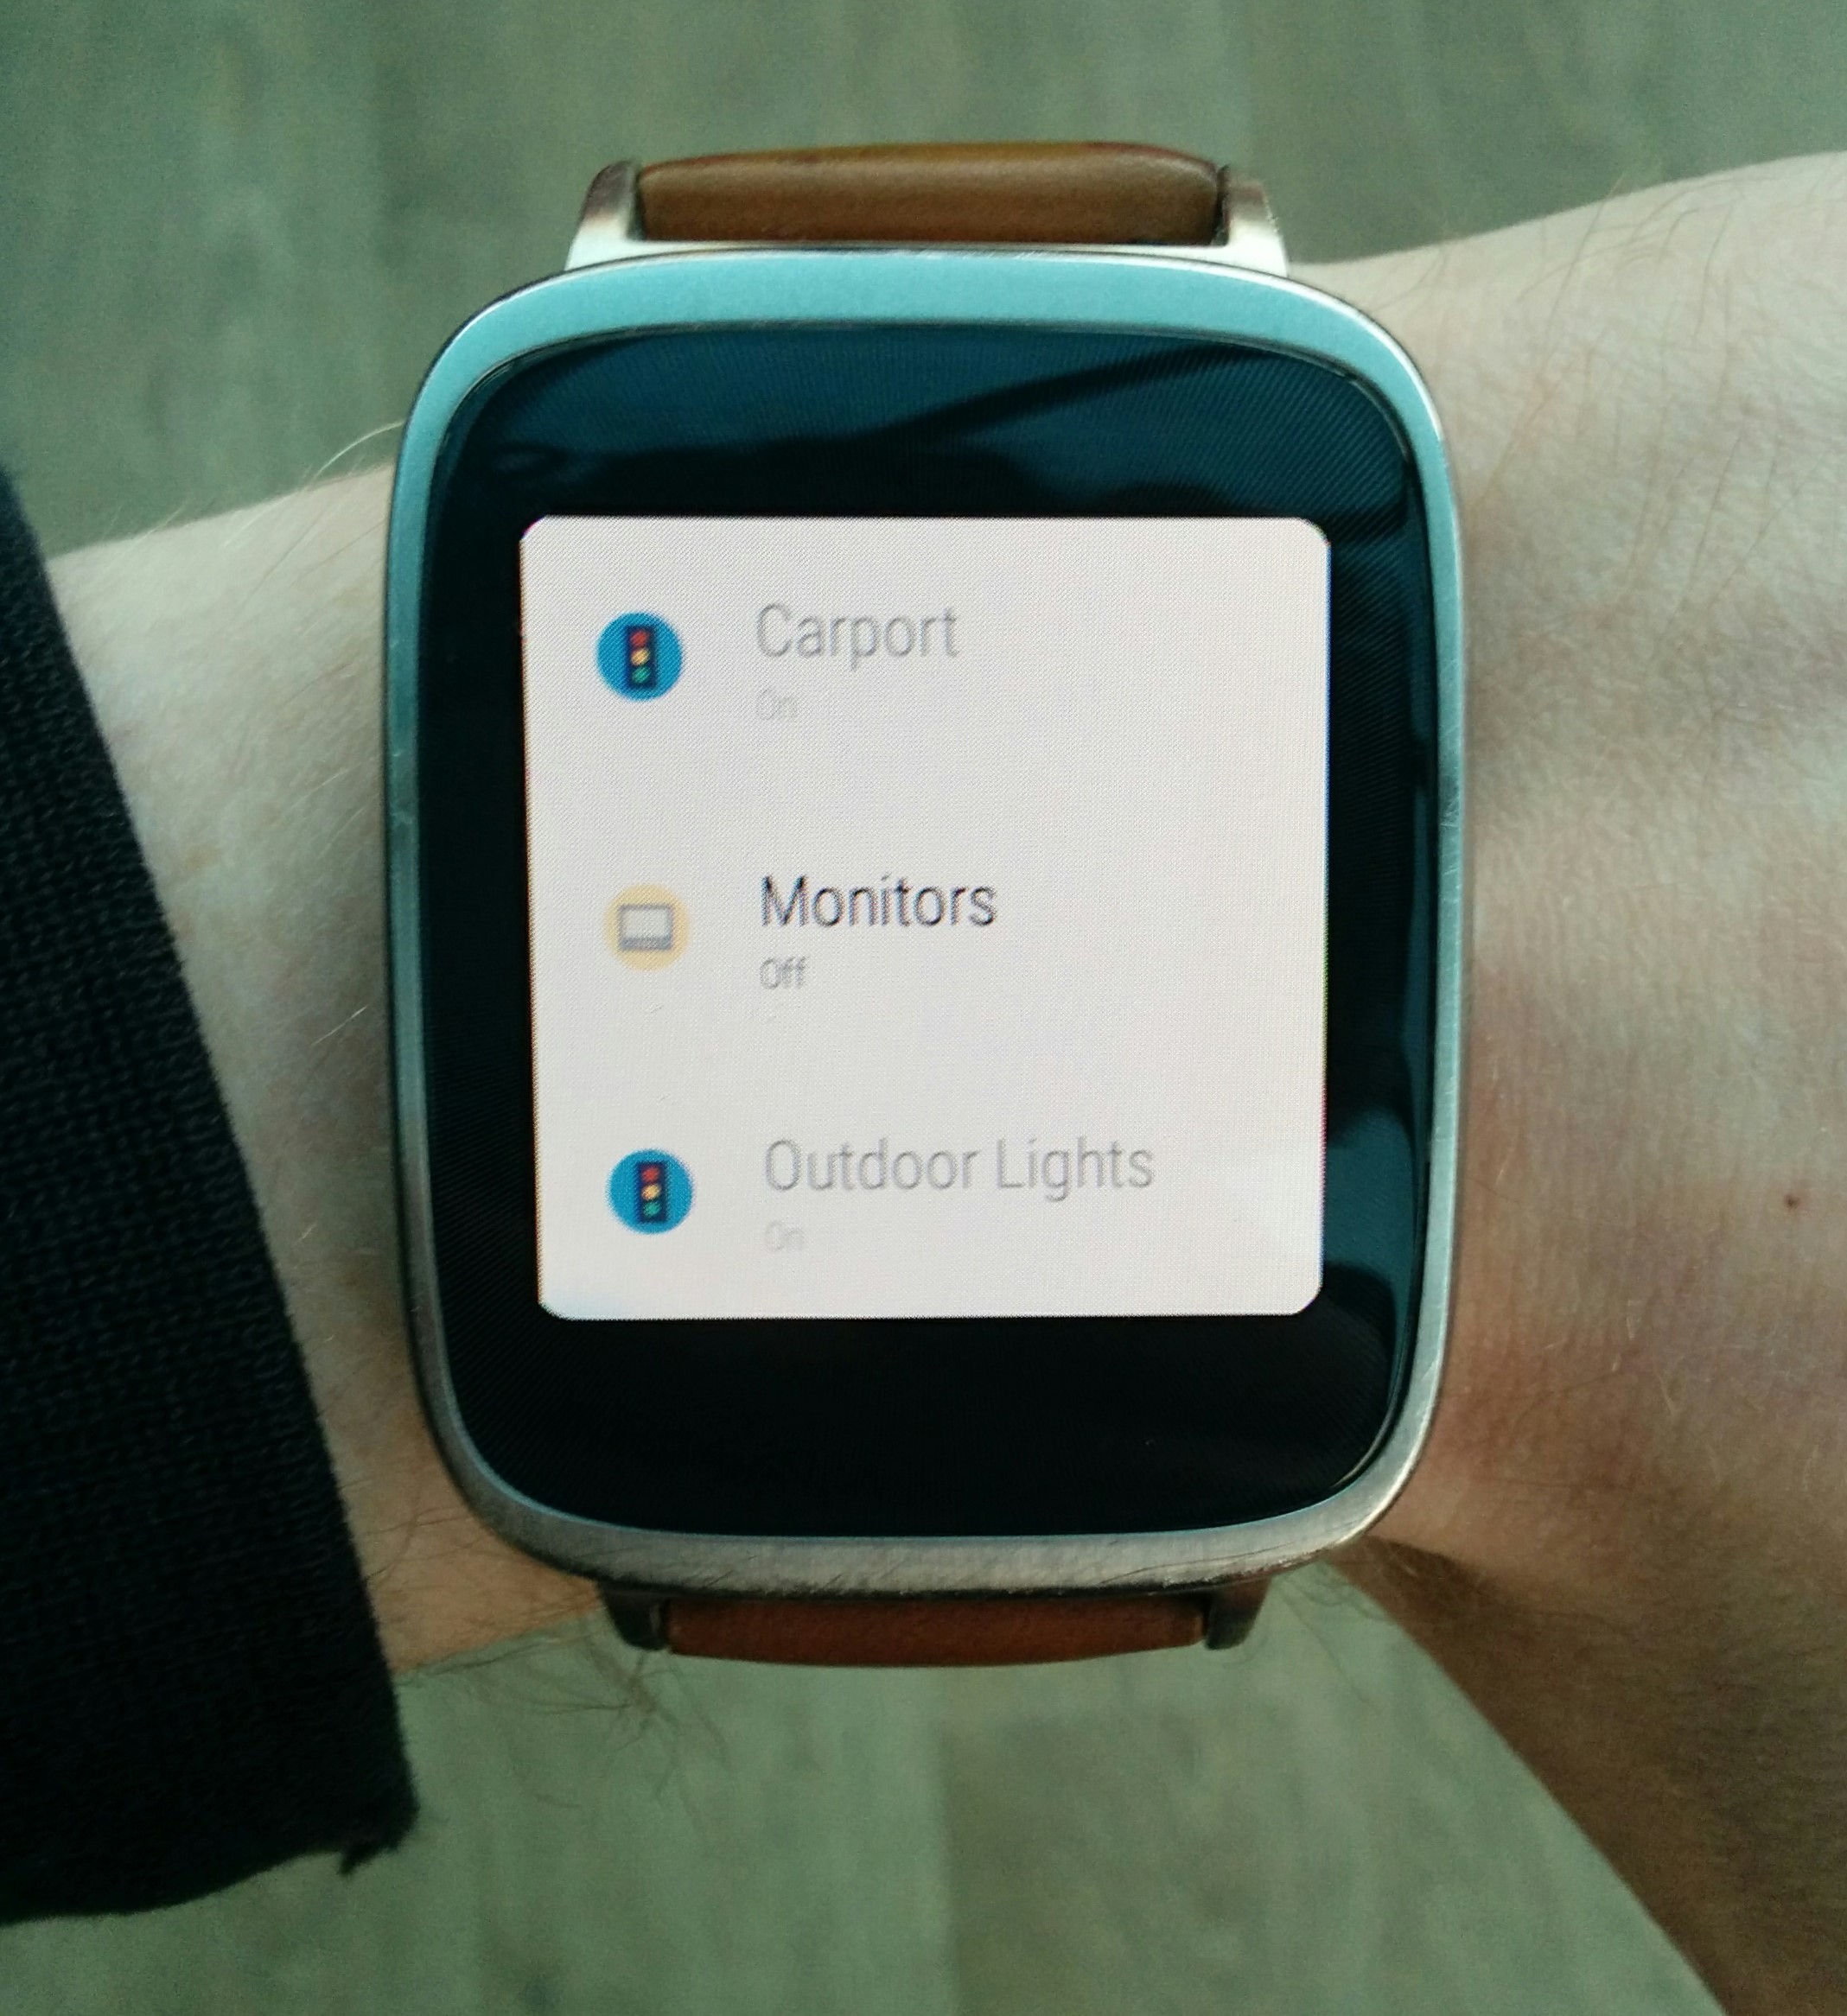
single RF power switch, which I can remote control using my smartphone/watch or a
simple button, to turn them all on/off together. A setup like this is especially handy when
I’m just using the TV and don’t want them lighting up the room, and probably saves a little bit of
power.
Switching on all screens at the same time is
very easy. They seem to remember the last state that they were in when unplugged, and Windows won’t
screw up your config as long as the HDMI ports stay plugged in. This allowed me to use a
single RF power switch, which I can remote control using my smartphone/watch or a
simple button, to turn them all on/off together. A setup like this is especially handy when
I’m just using the TV and don’t want them lighting up the room, and probably saves a little bit of
power.
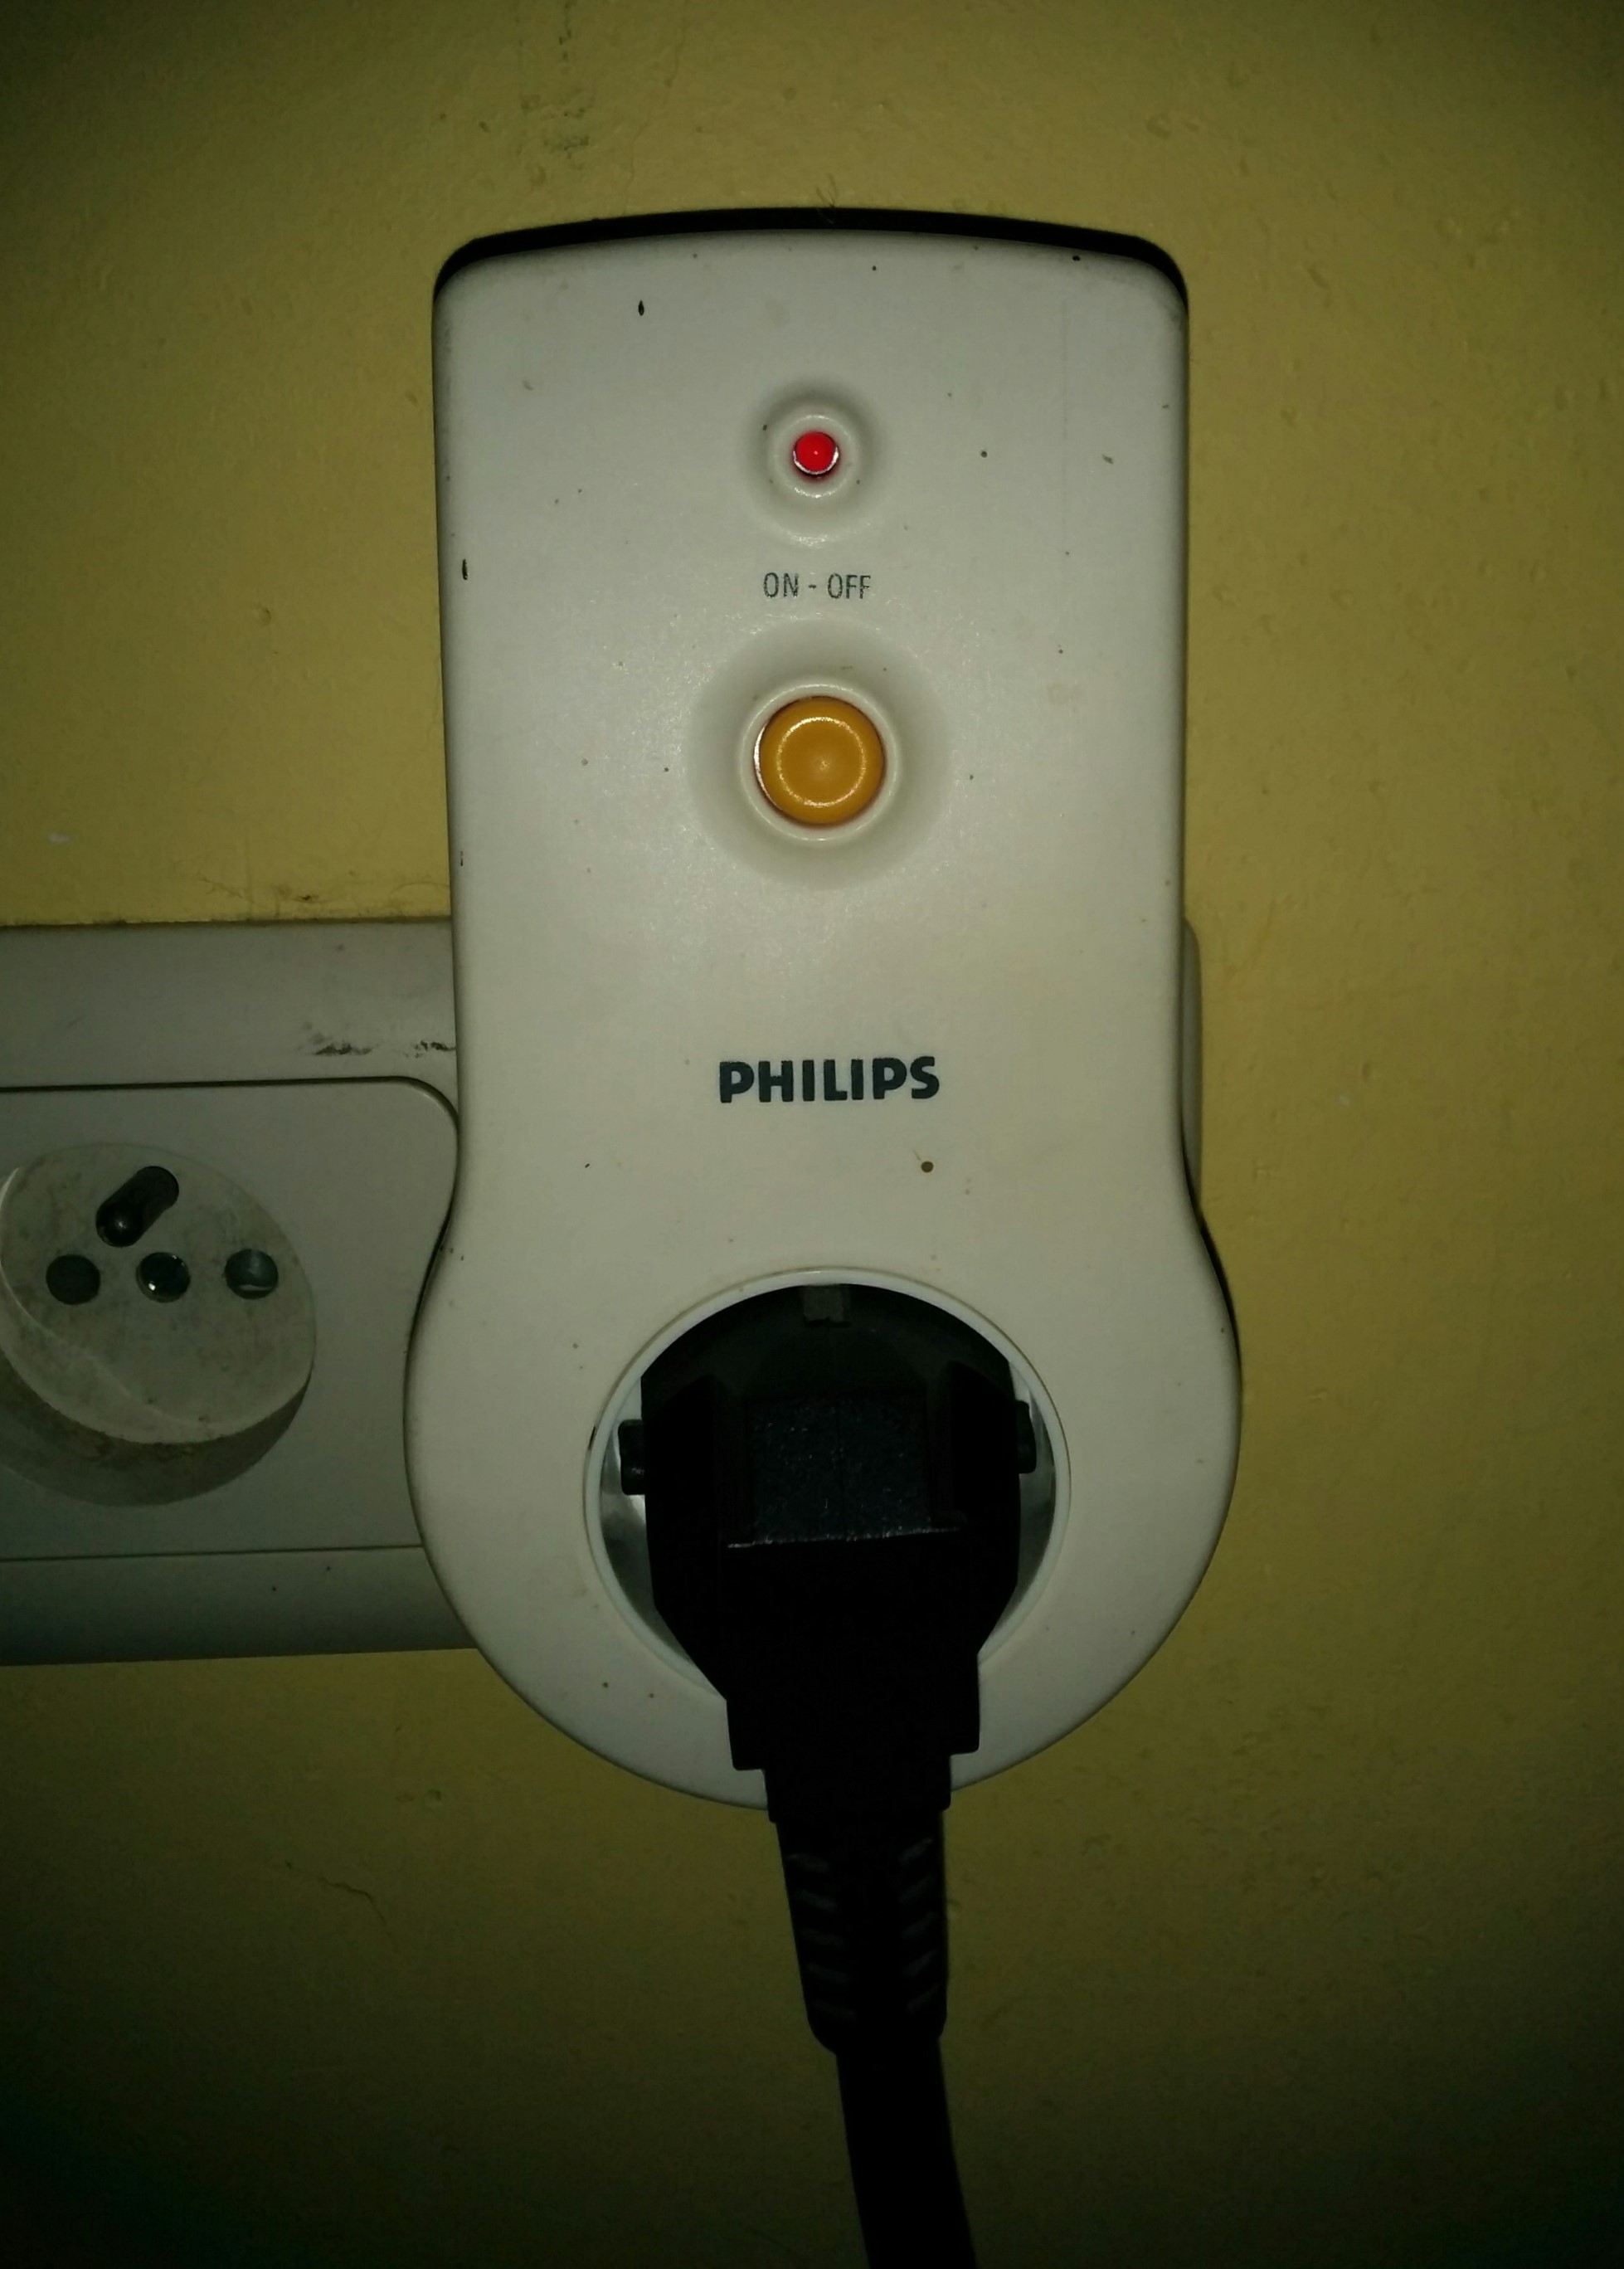 If you’re doing something similar you could just use a
regular power strip with a switch. I just happened to have already made a home automation system for my
lights using a 433 MHz RF transmitter and a Raspberry Pi. But that’s something for another post.
If you’re doing something similar you could just use a
regular power strip with a switch. I just happened to have already made a home automation system for my
lights using a 433 MHz RF transmitter and a Raspberry Pi. But that’s something for another post.
Setup
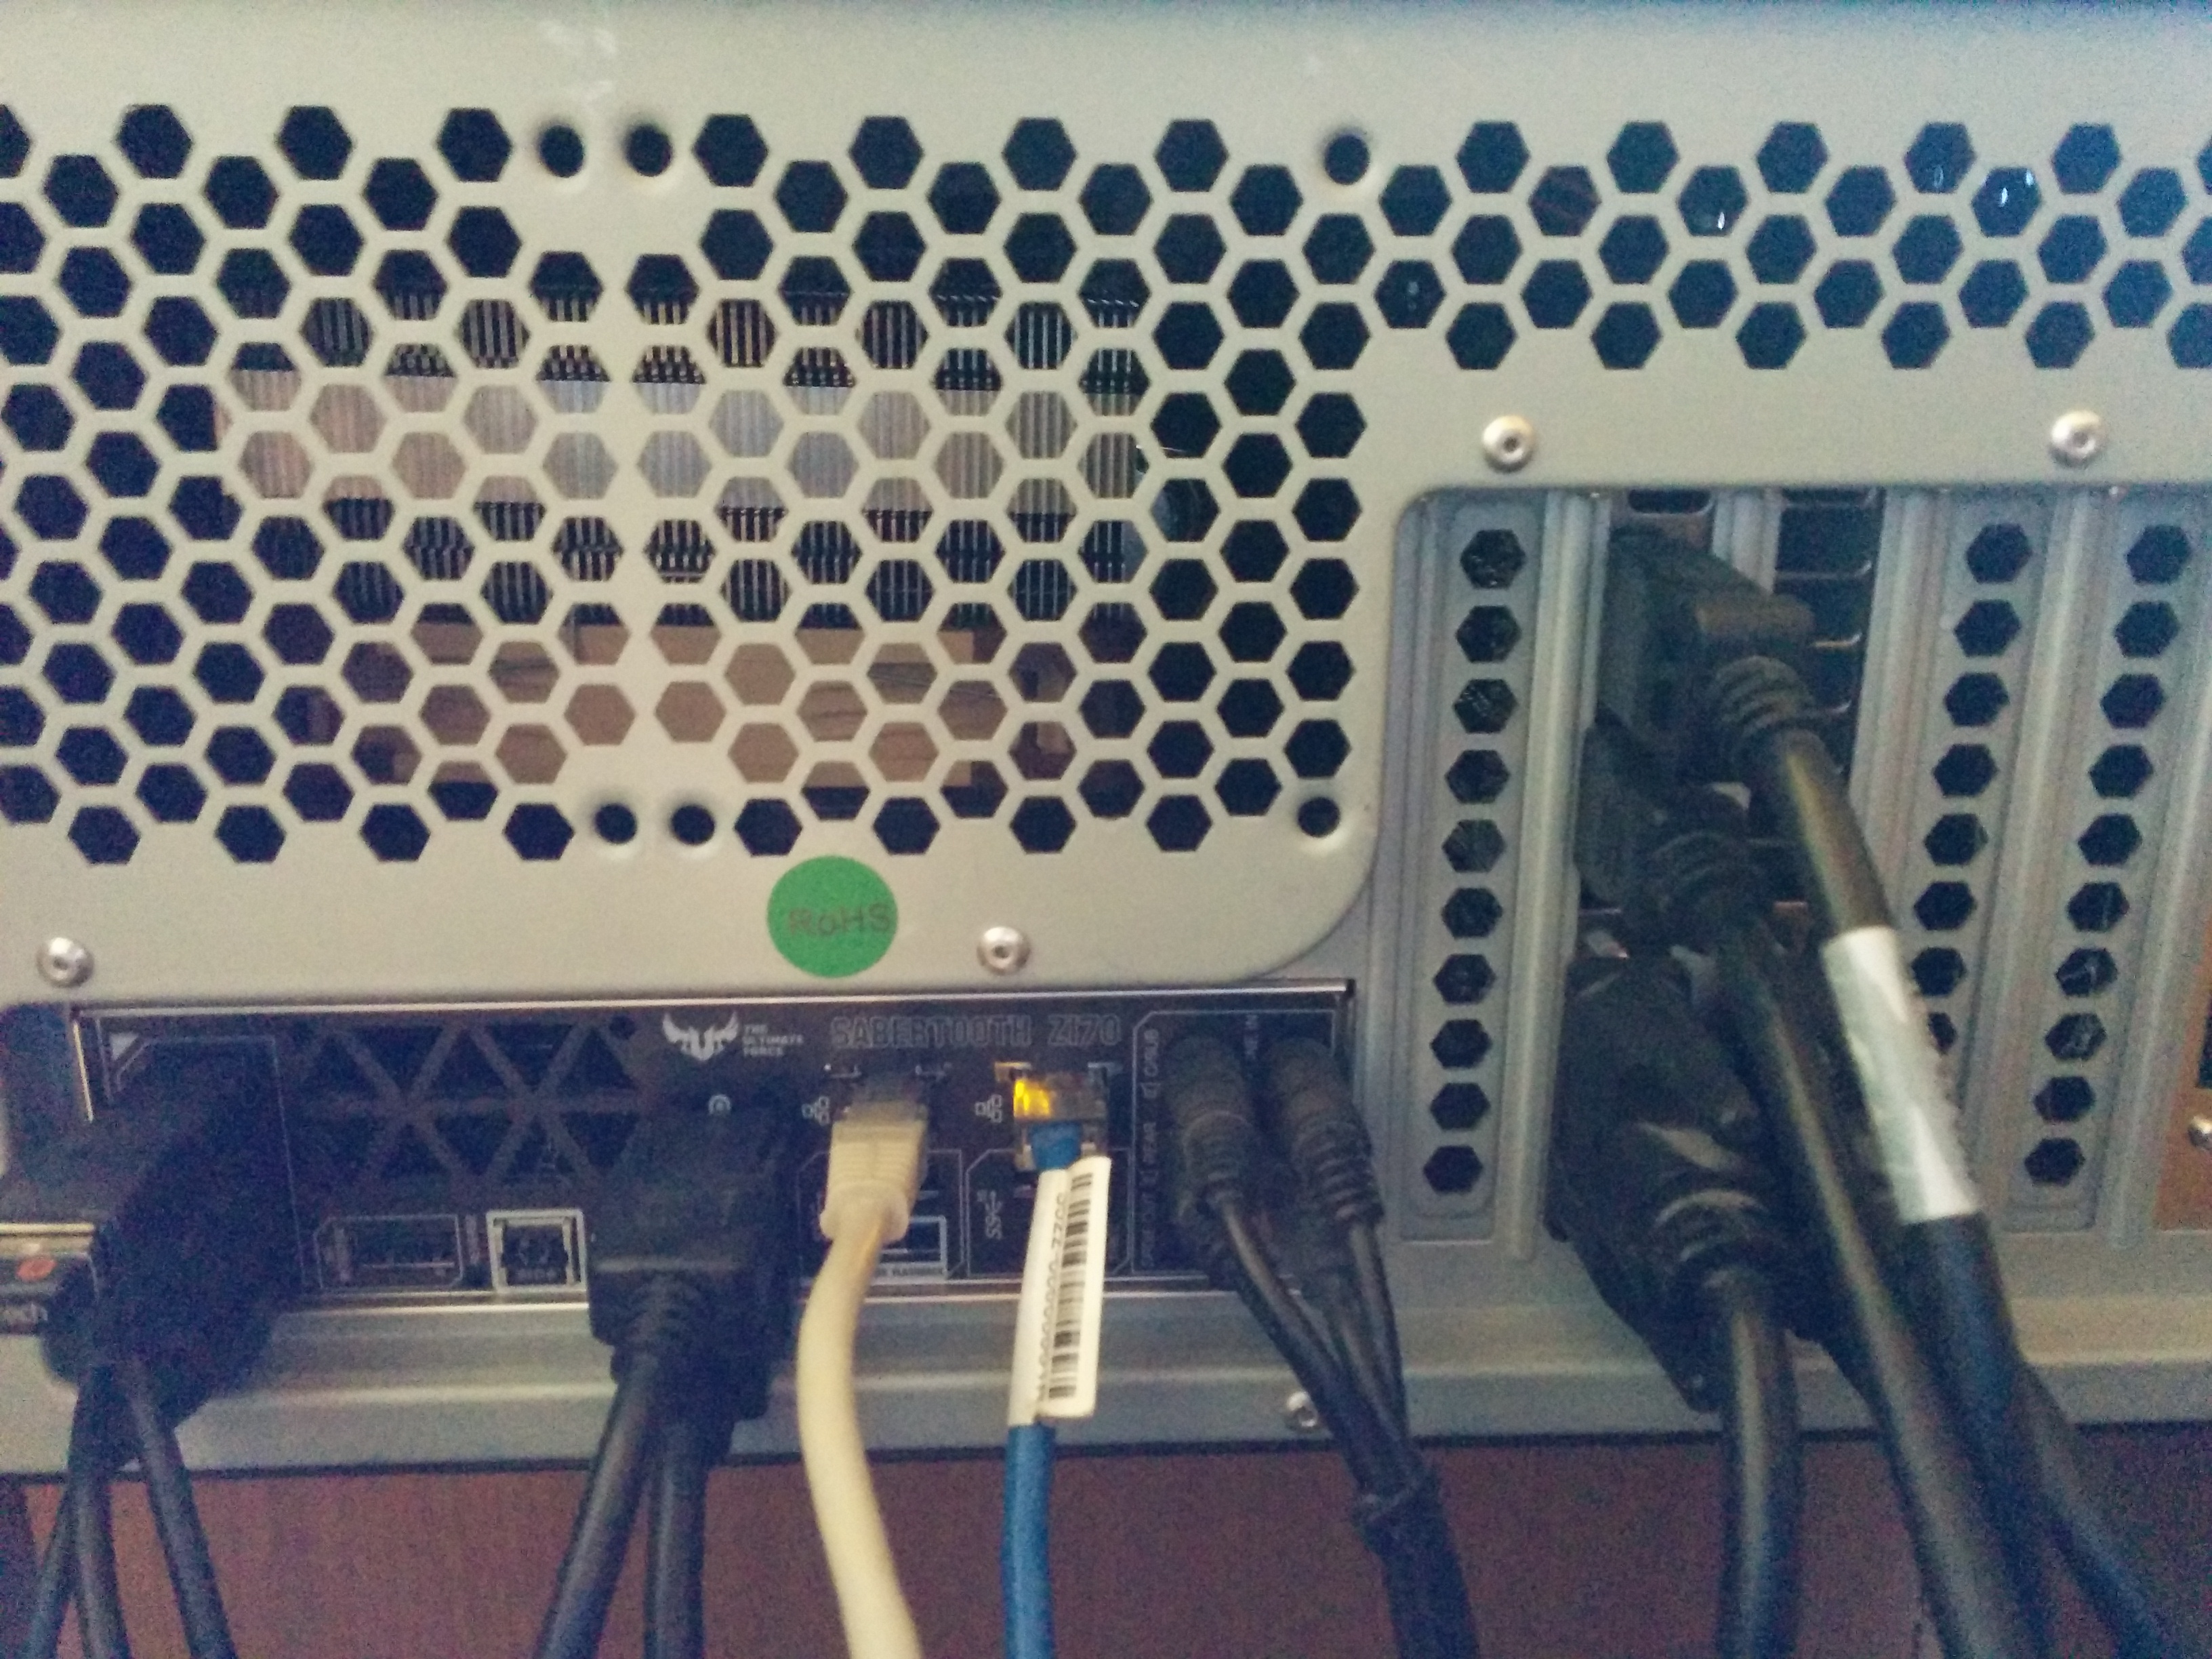
Using a few HDMI adapters my 780 Ti drives the center 3 and my TV, while the outer 2 screens are driven using the on-board GPU. I also put the center 3 in NVIDIA Surround, which altogether is a nightmare to setup and maintain. Windows updates, driver updates, remote desktop sessions, you name it. Pretty much whatever you do will break something.
This is the process I have to go through for pretty much any update:
- Enable full range color for the center screens
- Setup 3D Vision
- Enable NVIDIA Surround w/ bezel correction
- Enable all other screens (they will be disabled when setting up Surround)
- Set the center screen Surround array to the correct orientation
- Enable 3D display mode in Windows control panel (to re-enable 3D vision)
- (Re-)enable the outer screens (NVIDIA driver loves to disable these)
- Set the outer screens to portrait
- Enable full range color for them
- Set them to 60 Hz instead of the default 59 Hz (why?) using Windows display adapter properties
- Set the order of all the screens using Windows display settings
- Move the taskbar to the correct screen
- Move desktop icons to the correct screen(s)
- Move applications to the desired screen(s)
- Pray you don’t have to do a driver/Windows update soon
And that’s without including most of the setup for 3D Vision which I also use in a fairly hacky
way on my TV, but that’s again something for another post. Getting separate surround and 3D Vision
working is possible, but only in the right order, and for any changes you want to make you will first
need to disable Surround and go through most of the setup process again, or dive into the
registry.
Luckily for me, after the initial process is done you can simply change your main monitor to decide what
you want to play on. The only thing to note here is that you have to disable 3D Vision using CTRL+T
whenever playing on the Surround monitors (or disable it from starting by default using the
registry), and you will have to lower AA levels because your GPU thinks it’s running out of VRAM
with 3D Vision and Surround both enabled even though you only use one at a time.
-
- What they’d typically look like after an update.
-
- And after setting up Surround…
-
- Sigh…
-
- That’s better!
WHY
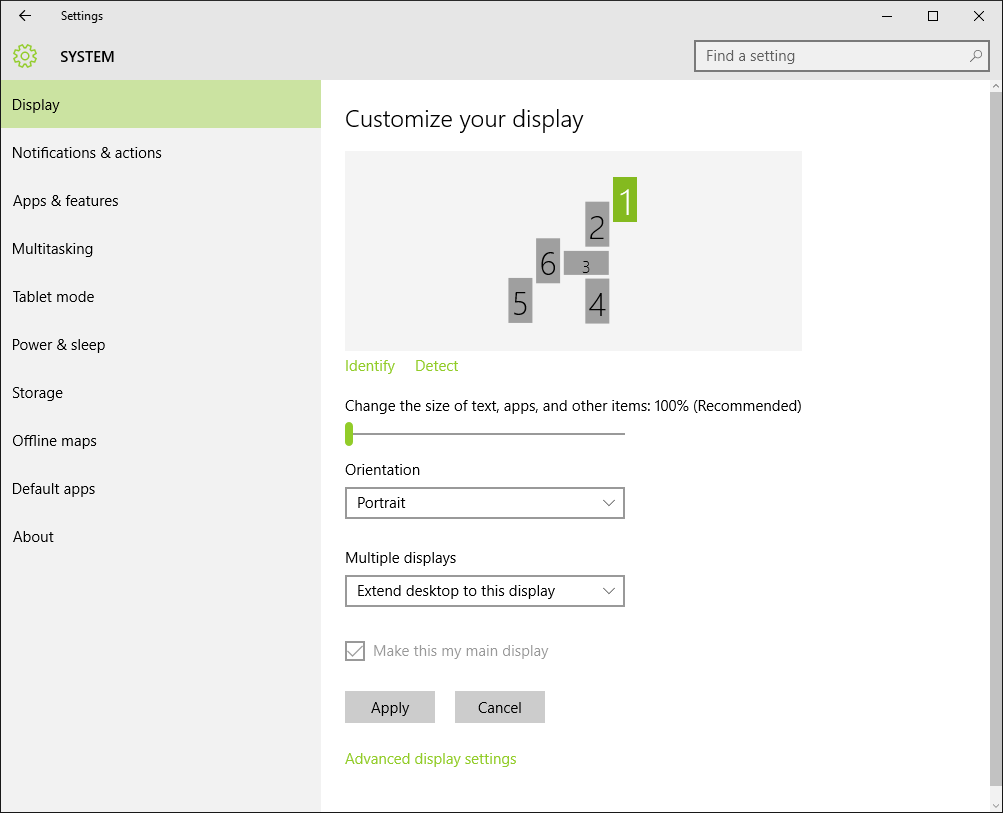
Another thing worth noting is that setting up Surround is a *****! In Windows 10 when the side panels are disabled, you have to set it up in landscape, then rotate. But when the side panels are enabled, you suddenly end up with this ->
To fix this I had to:
Phew!
- Setup surround in a 1×3 configuration
- Enable the outer screens
- Set rotation to portrait in NVIDIA control panel
- Re-enable the outer screens
- Set rotation to landscape (flipped) (???) in Windows display settings
Usage
Browsing the web
Ideal for procrastinating!
Web browsing comes very natural on this setup. It’s easy to just expand a window to the full monitor using Windows’ keyboard shortcuts or dragging it to the top of the screen. And most webpages nowadays are made for tablet/phones in 16:9 orientation, so most of them work fine, and usually even better than in landscape. Though there was one instance where a website did ask me to turn my tablet in order to continue. Kinda hard to do when your tablet is screwed to your desk.
Gaming

I don’t play multiplayer games often, so most of my gaming is done from the couch, using an Xbox
One controller, 3D Vision and my TV.
However for the exceptions (mostly Blizzard games and an occasional round of TF2 or Chivalry) I used the
center 3 screens for a total resolution of 3240×1920 or 3414×1920 after applying bezel
correction (which comes to 174 extra hidden pixels, or 87 per bezel). The
bezel-corrected aspect ratio is almost a perfect 16:9, so it works pretty
well for most games, until a nameplate is hidden behind a bezel and you have to move
the camera. For fast moving games you quickly learn to ignore the bezel, but those I would
generally be playing on my TV. One thing that I should also note is that you have to have a decent
GPU to power this, but that would be the case with any Surround setup.
Some games however will just not accept the surround setup even when diving into the config files. Chivalry for example has to be played in windowed mode or else I’d get a black screen after the intro cinematics.
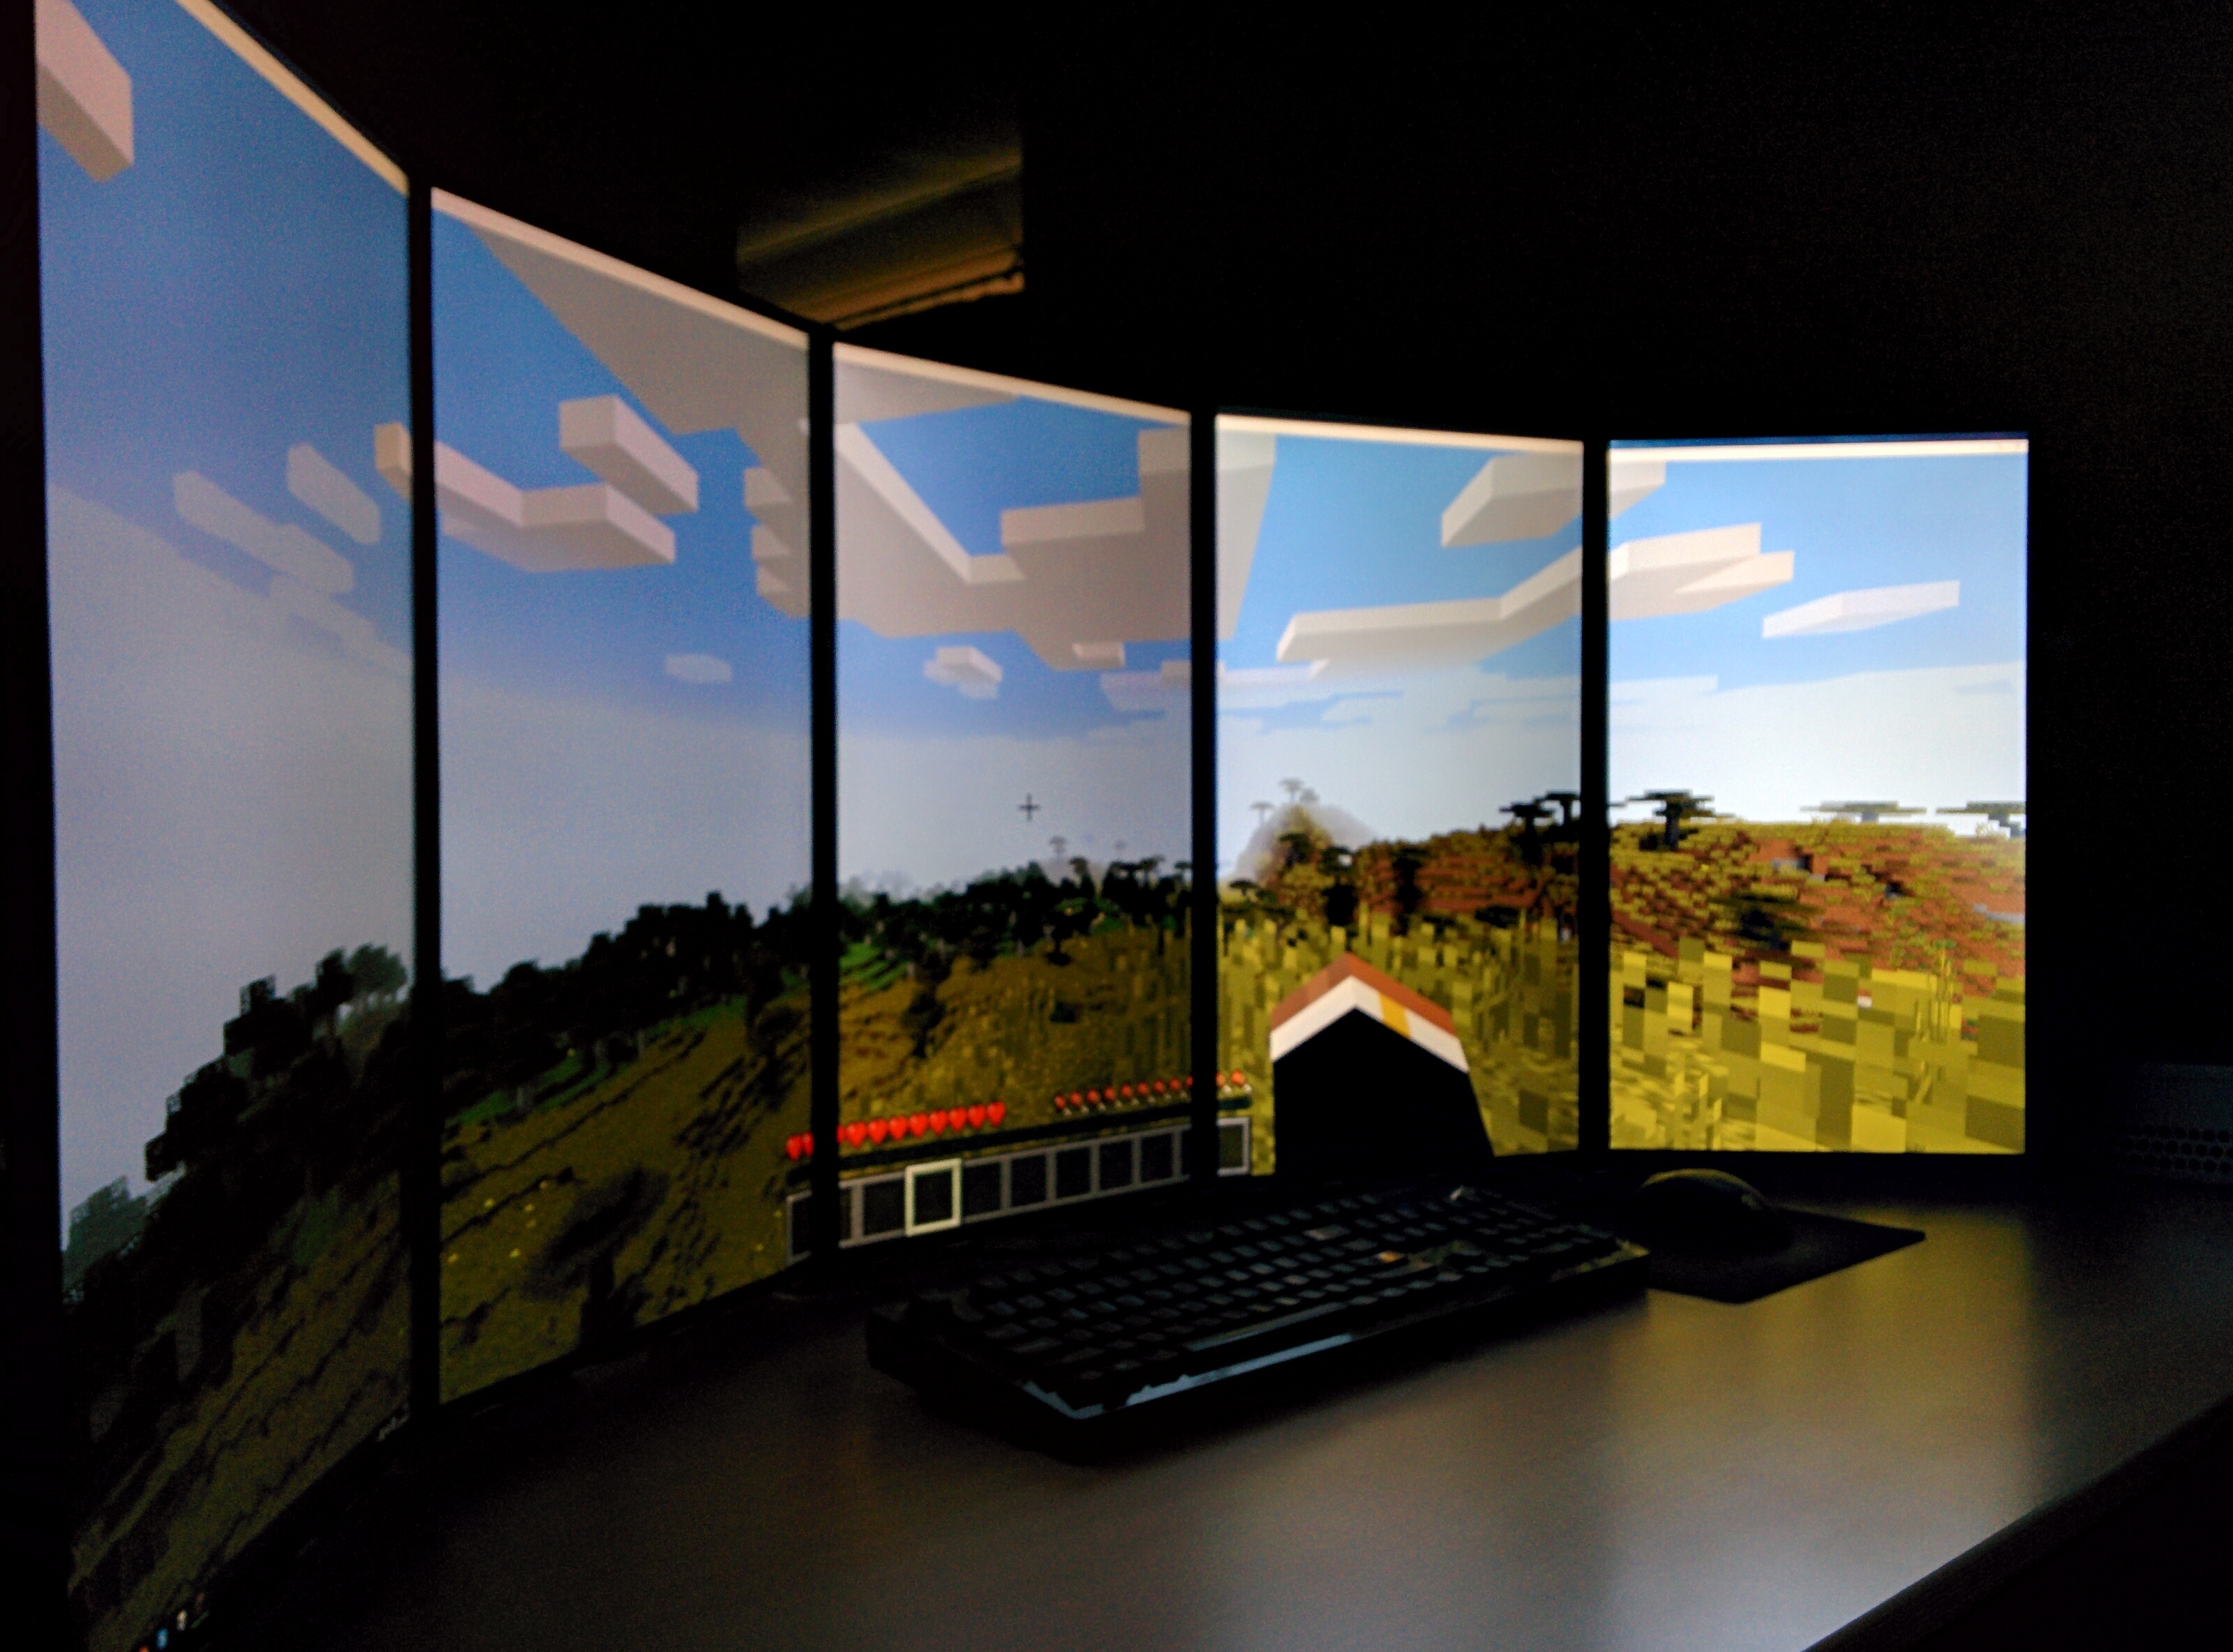
I did try to use all 5 displays for things like Minecraft, and while it does work with some window trickery, it is generally fairly slow. Having your peripheral vision completely filled is nice though!
Video
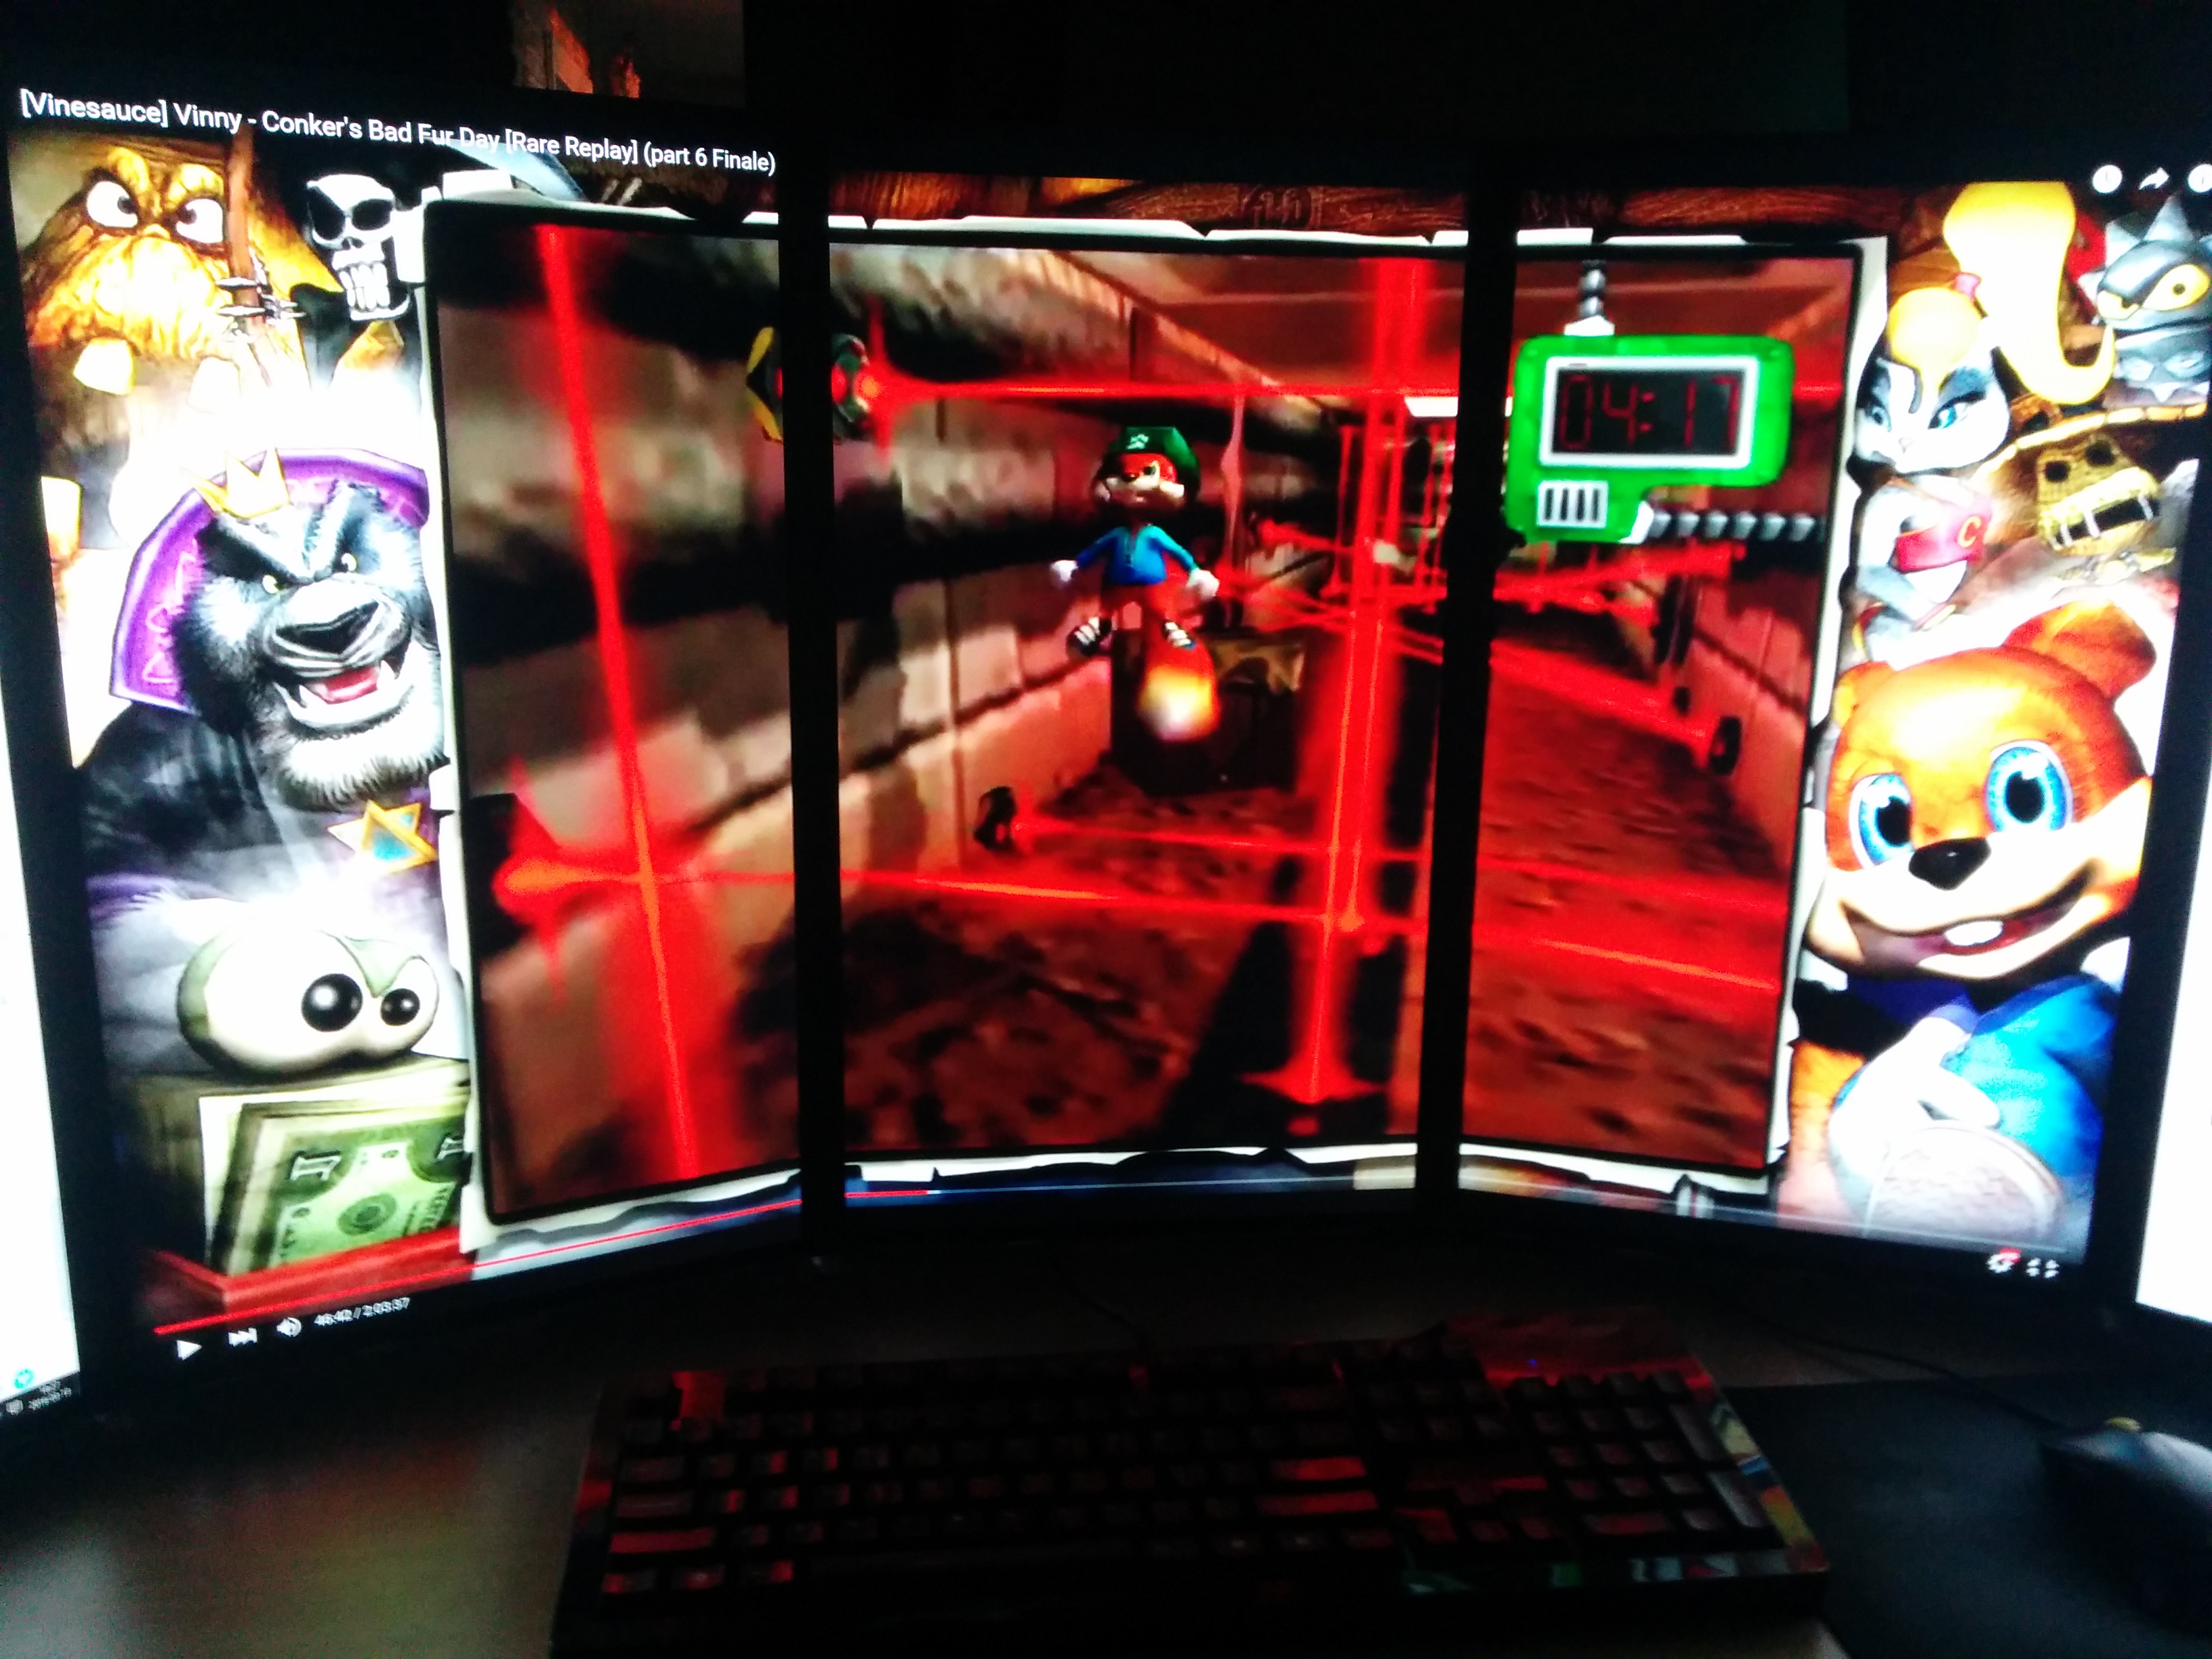
For video content again I mostly use my TV, with the exception of random YouTube videos encountered while browsing. Bezels are not really a problem here as long as there is no subtitling going on, again you quickly learn to ignore them. This is where going through the hassle of setting up NVIDIA’s Surround really pays off though; while browser windows align themselves to the individual screens, maximizing a YouTube video will actually expand and fill the middle Surround array! And with 5 screens, you can still have an additional browser window open on the right monitor, and Explorer/Skype/foobar2000 on the left.
In my old setup however I’d often play something in the background on my TV like a Twitch stream, not really paying full attention to it while working on something else. Having no single 16:9 screen made this either impossible, or I would have to settle for scaling it down to a corner of one of the side monitors.
Programming
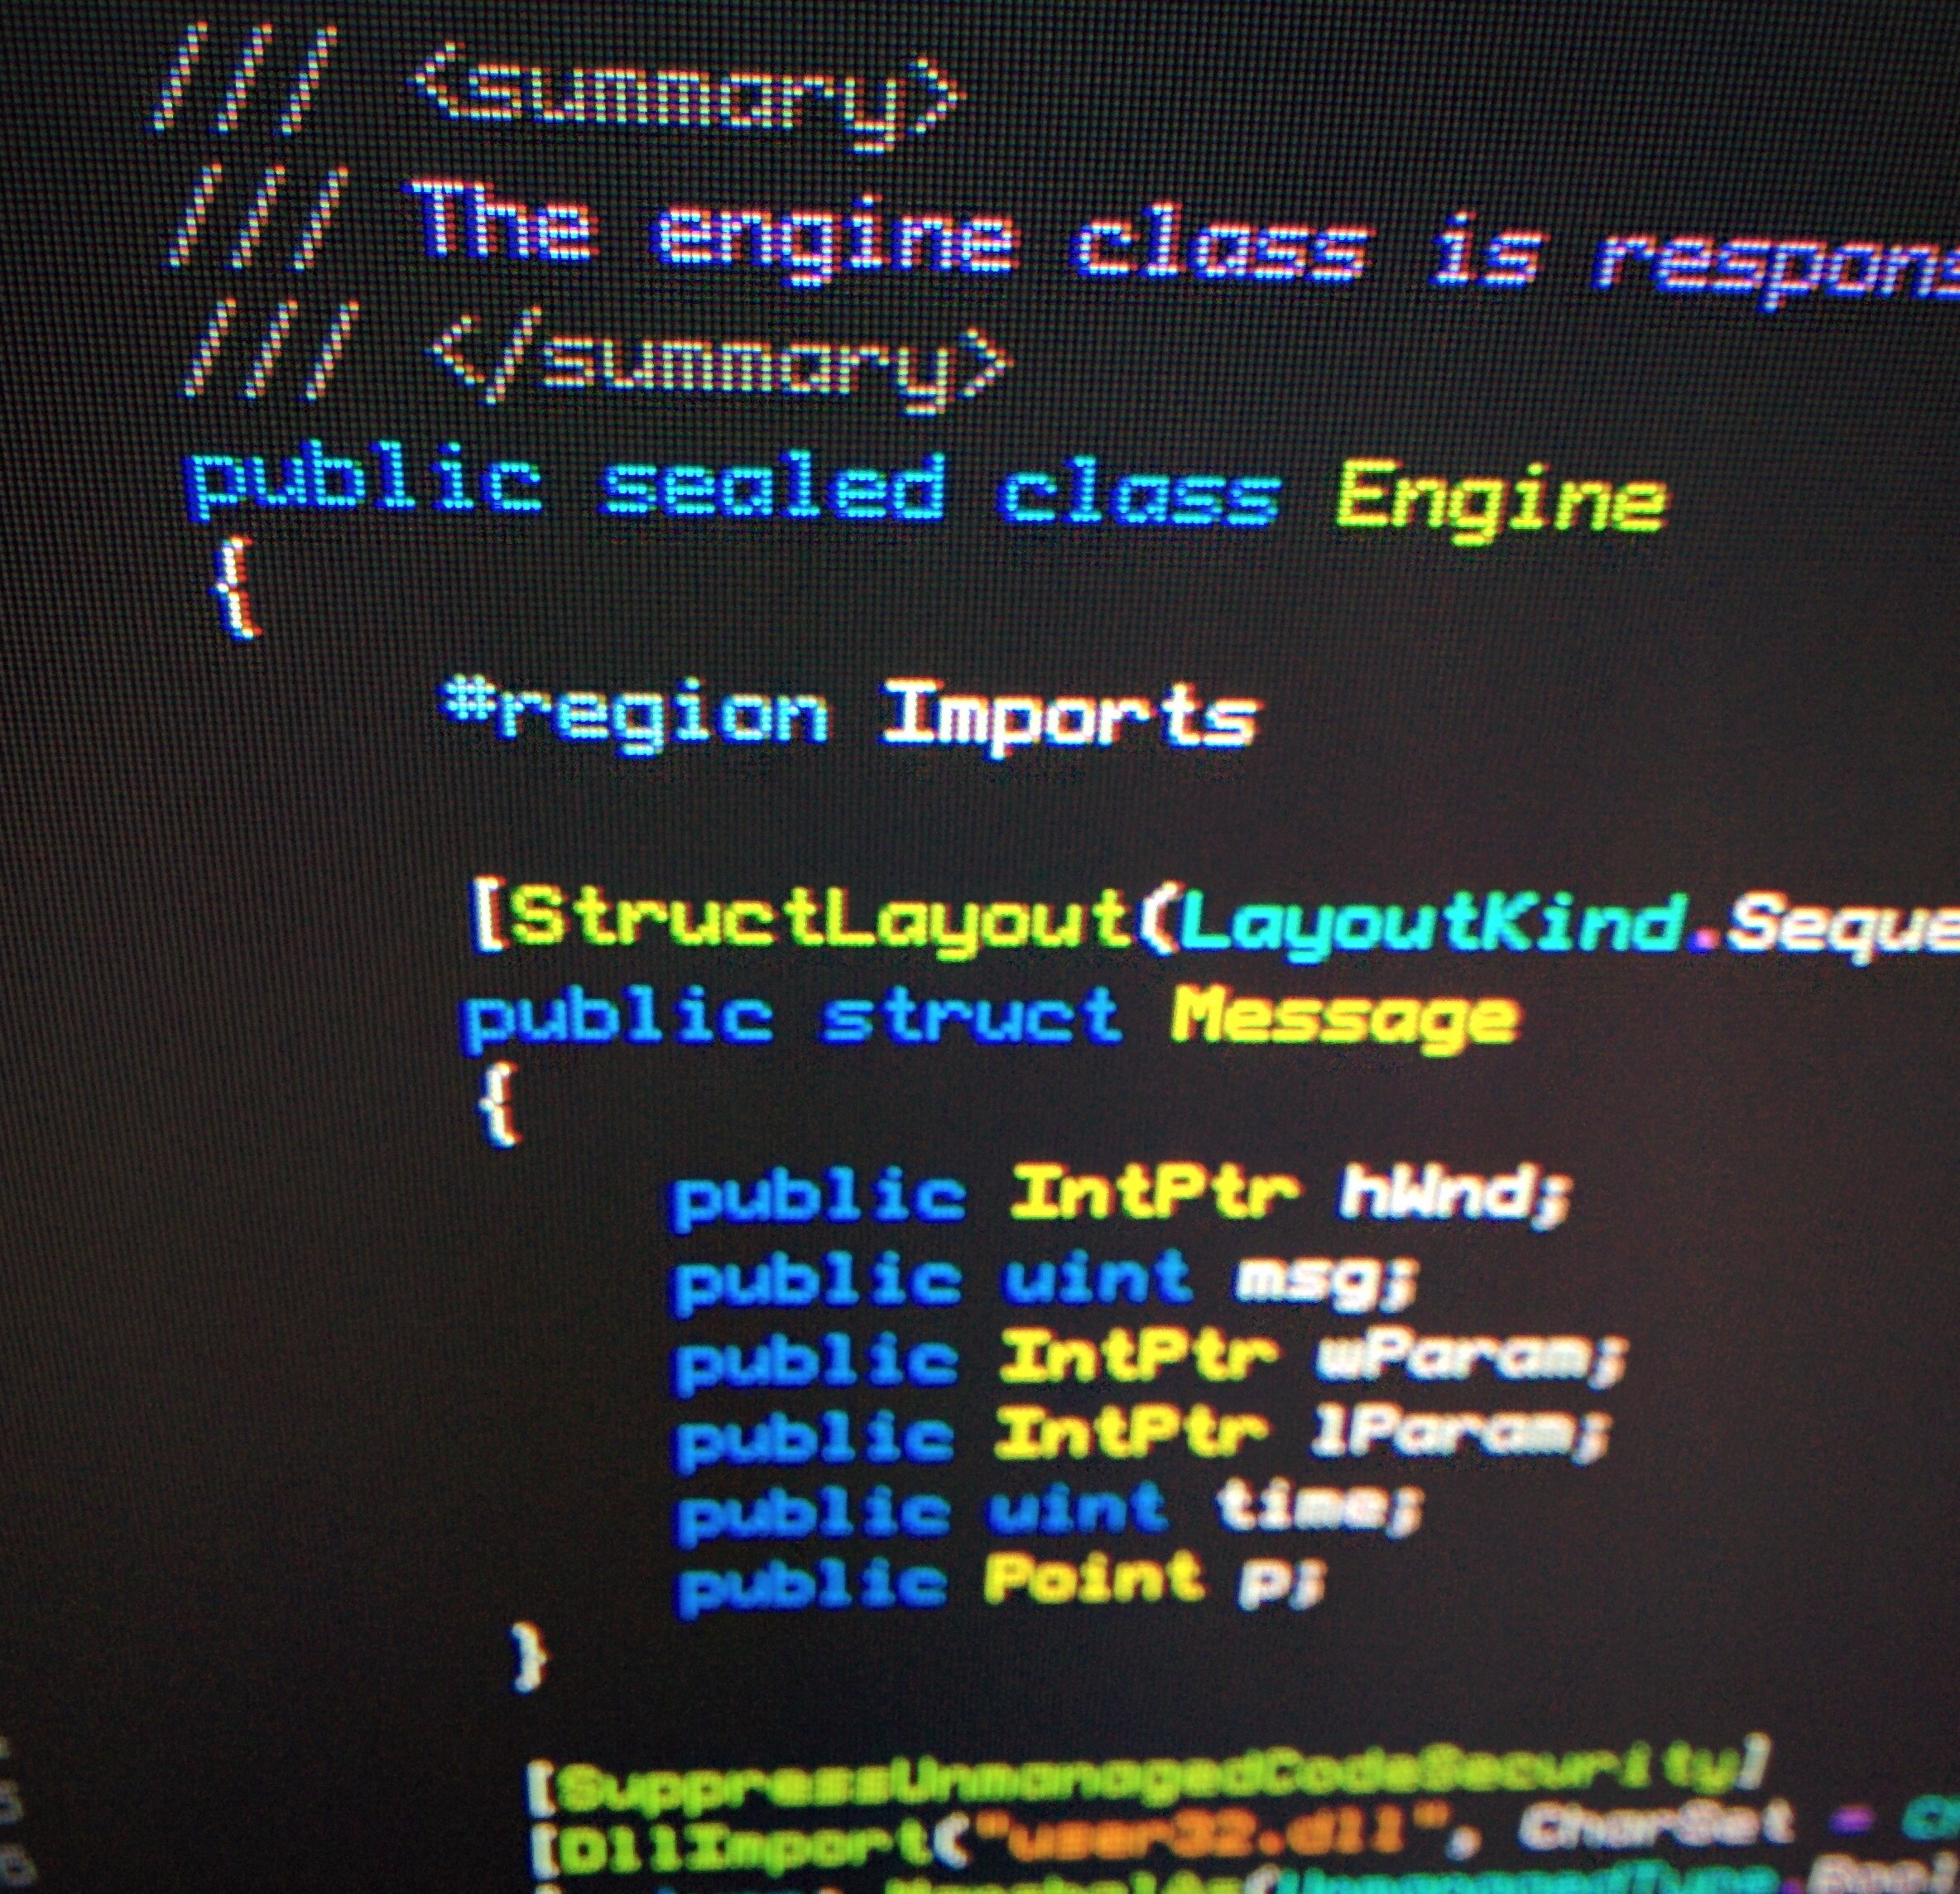
The relatively low DPI is ideal when using a font like ProFont and no anti-aliasing.
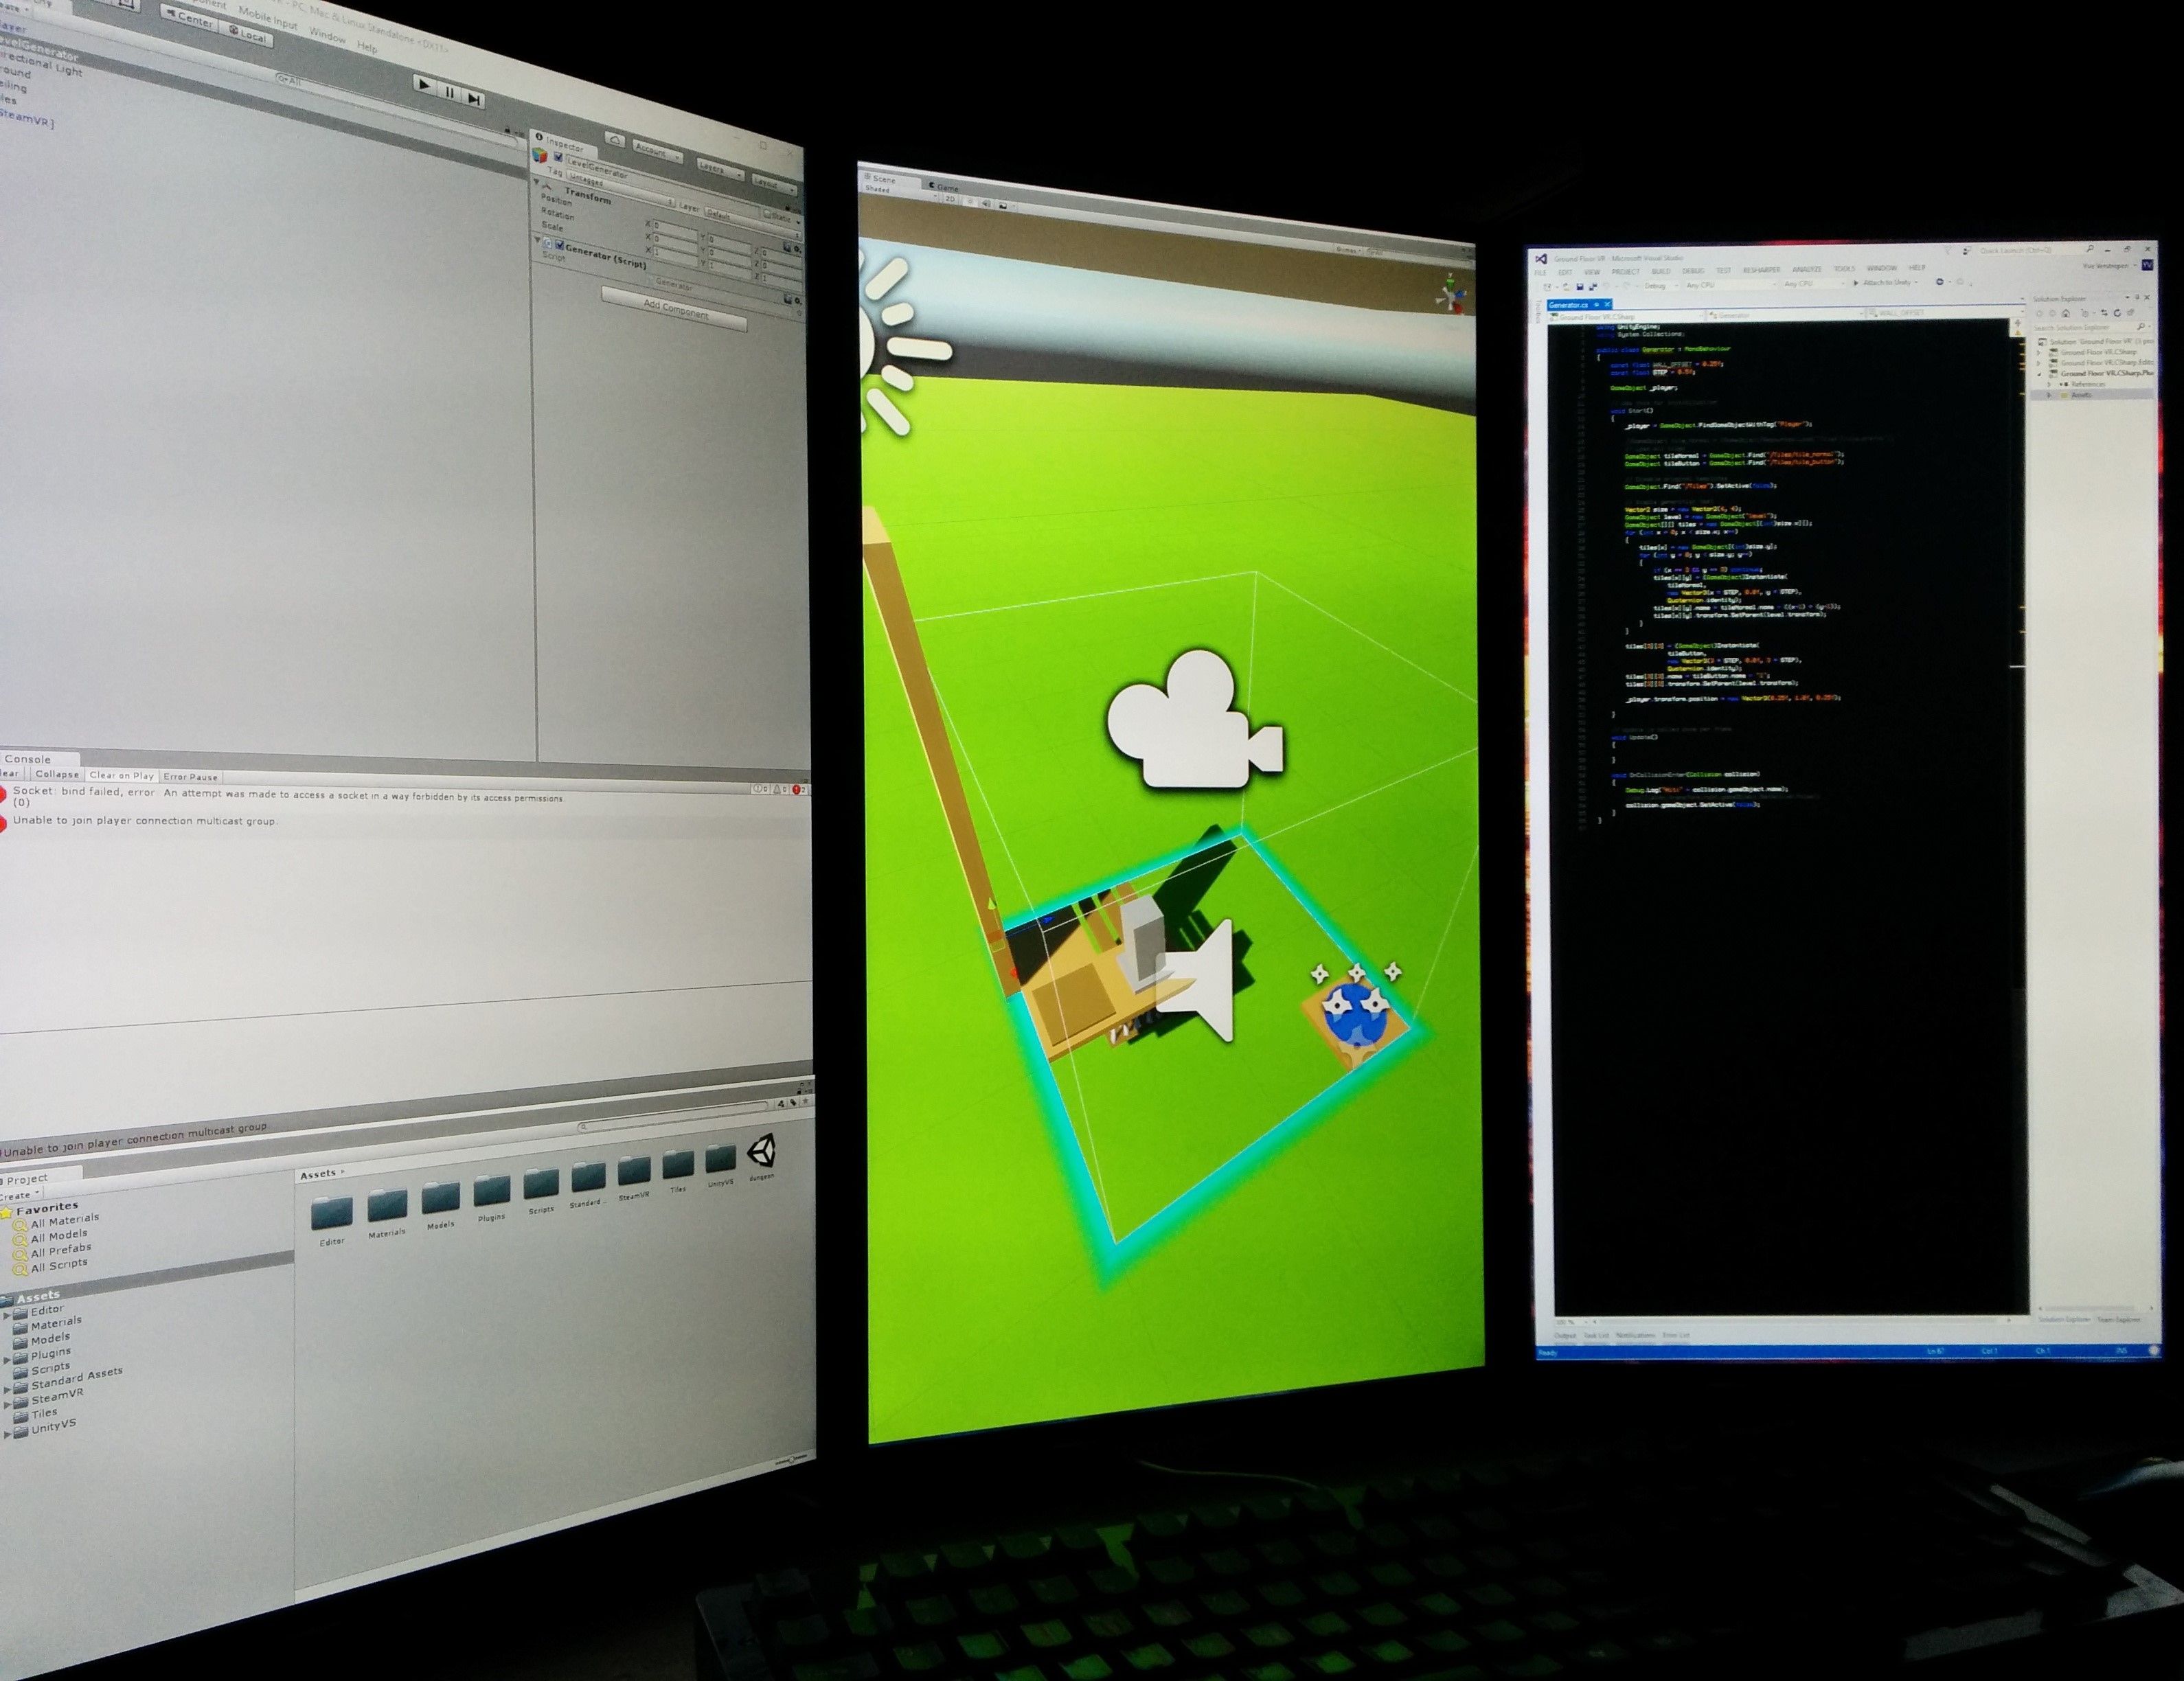
Now programming is where this setup really shines, and mostly why I build it in the first place. With the center 3 taking up your development environment and the remaining two used for browsing/utility, it’s programming heaven. Having very large portions of code laid is really handy for quickly jumping around in your code, and having three windows next to each other is great for both code comparison and having your base and inherited classes next to each other for reference.
Game development however is something else: with only the TV being the standard 16:9 ratio, every test I’d do either had to happen on the TV or the Surround array with the bezels in the way. Unity is pretty easy to accommodate however by having everything in separate windows on different monitors while working in the editor.
Productivity
And lastly, a quick overview of what general productivity is like on a setup like this.
For your day to day stuff like Word and Excel, this is as close to ideal you will get without having a more exotic aspect ratio like 2:3 like on the surface. Using multiple tools like WinSCP, Calculator, Explorer, PuTTY really shines here as you have so much screen estate!
There is one exception though, remoting. TeamViewer and RDP are not ideal at all, and you will end up having to move the remoting window around a lot to deal with the bezels.
Another thing to note here is that while Windows 10 has great build-in functionality for larger screens and putting multiple windows next to each other in landscape, it has virtually no support for doing the same in portrait. Your best bet here would probably be multi-display management software such as DisplayFusion, which I didn’t test.
Was it worth it?
After using them for almost two years now, these are some of the most prominent advantages and disadvantages I experienced:
Advantages
- Lots of screen estate
- Perfect for programming
- Amazing for browsing the web
- Great for using a lot of tools at the same time
- Ideal DPI ratio for fonts like ProFont
- Peripheral vision filling display
- Easy to lose track of mouse cursor
Disadvantages
- Setup process
- Re-configuration process when updating, RDP sessions and resolution changes
- Low DPI compared to modern ultrawides/4K displays, though this can be an advantage
- BIOS and setup is a pain, have to hold your head sideways
- Bezels can get in the way of game/video/RDP 16:9 content
- Manual window positioning and re-positioning
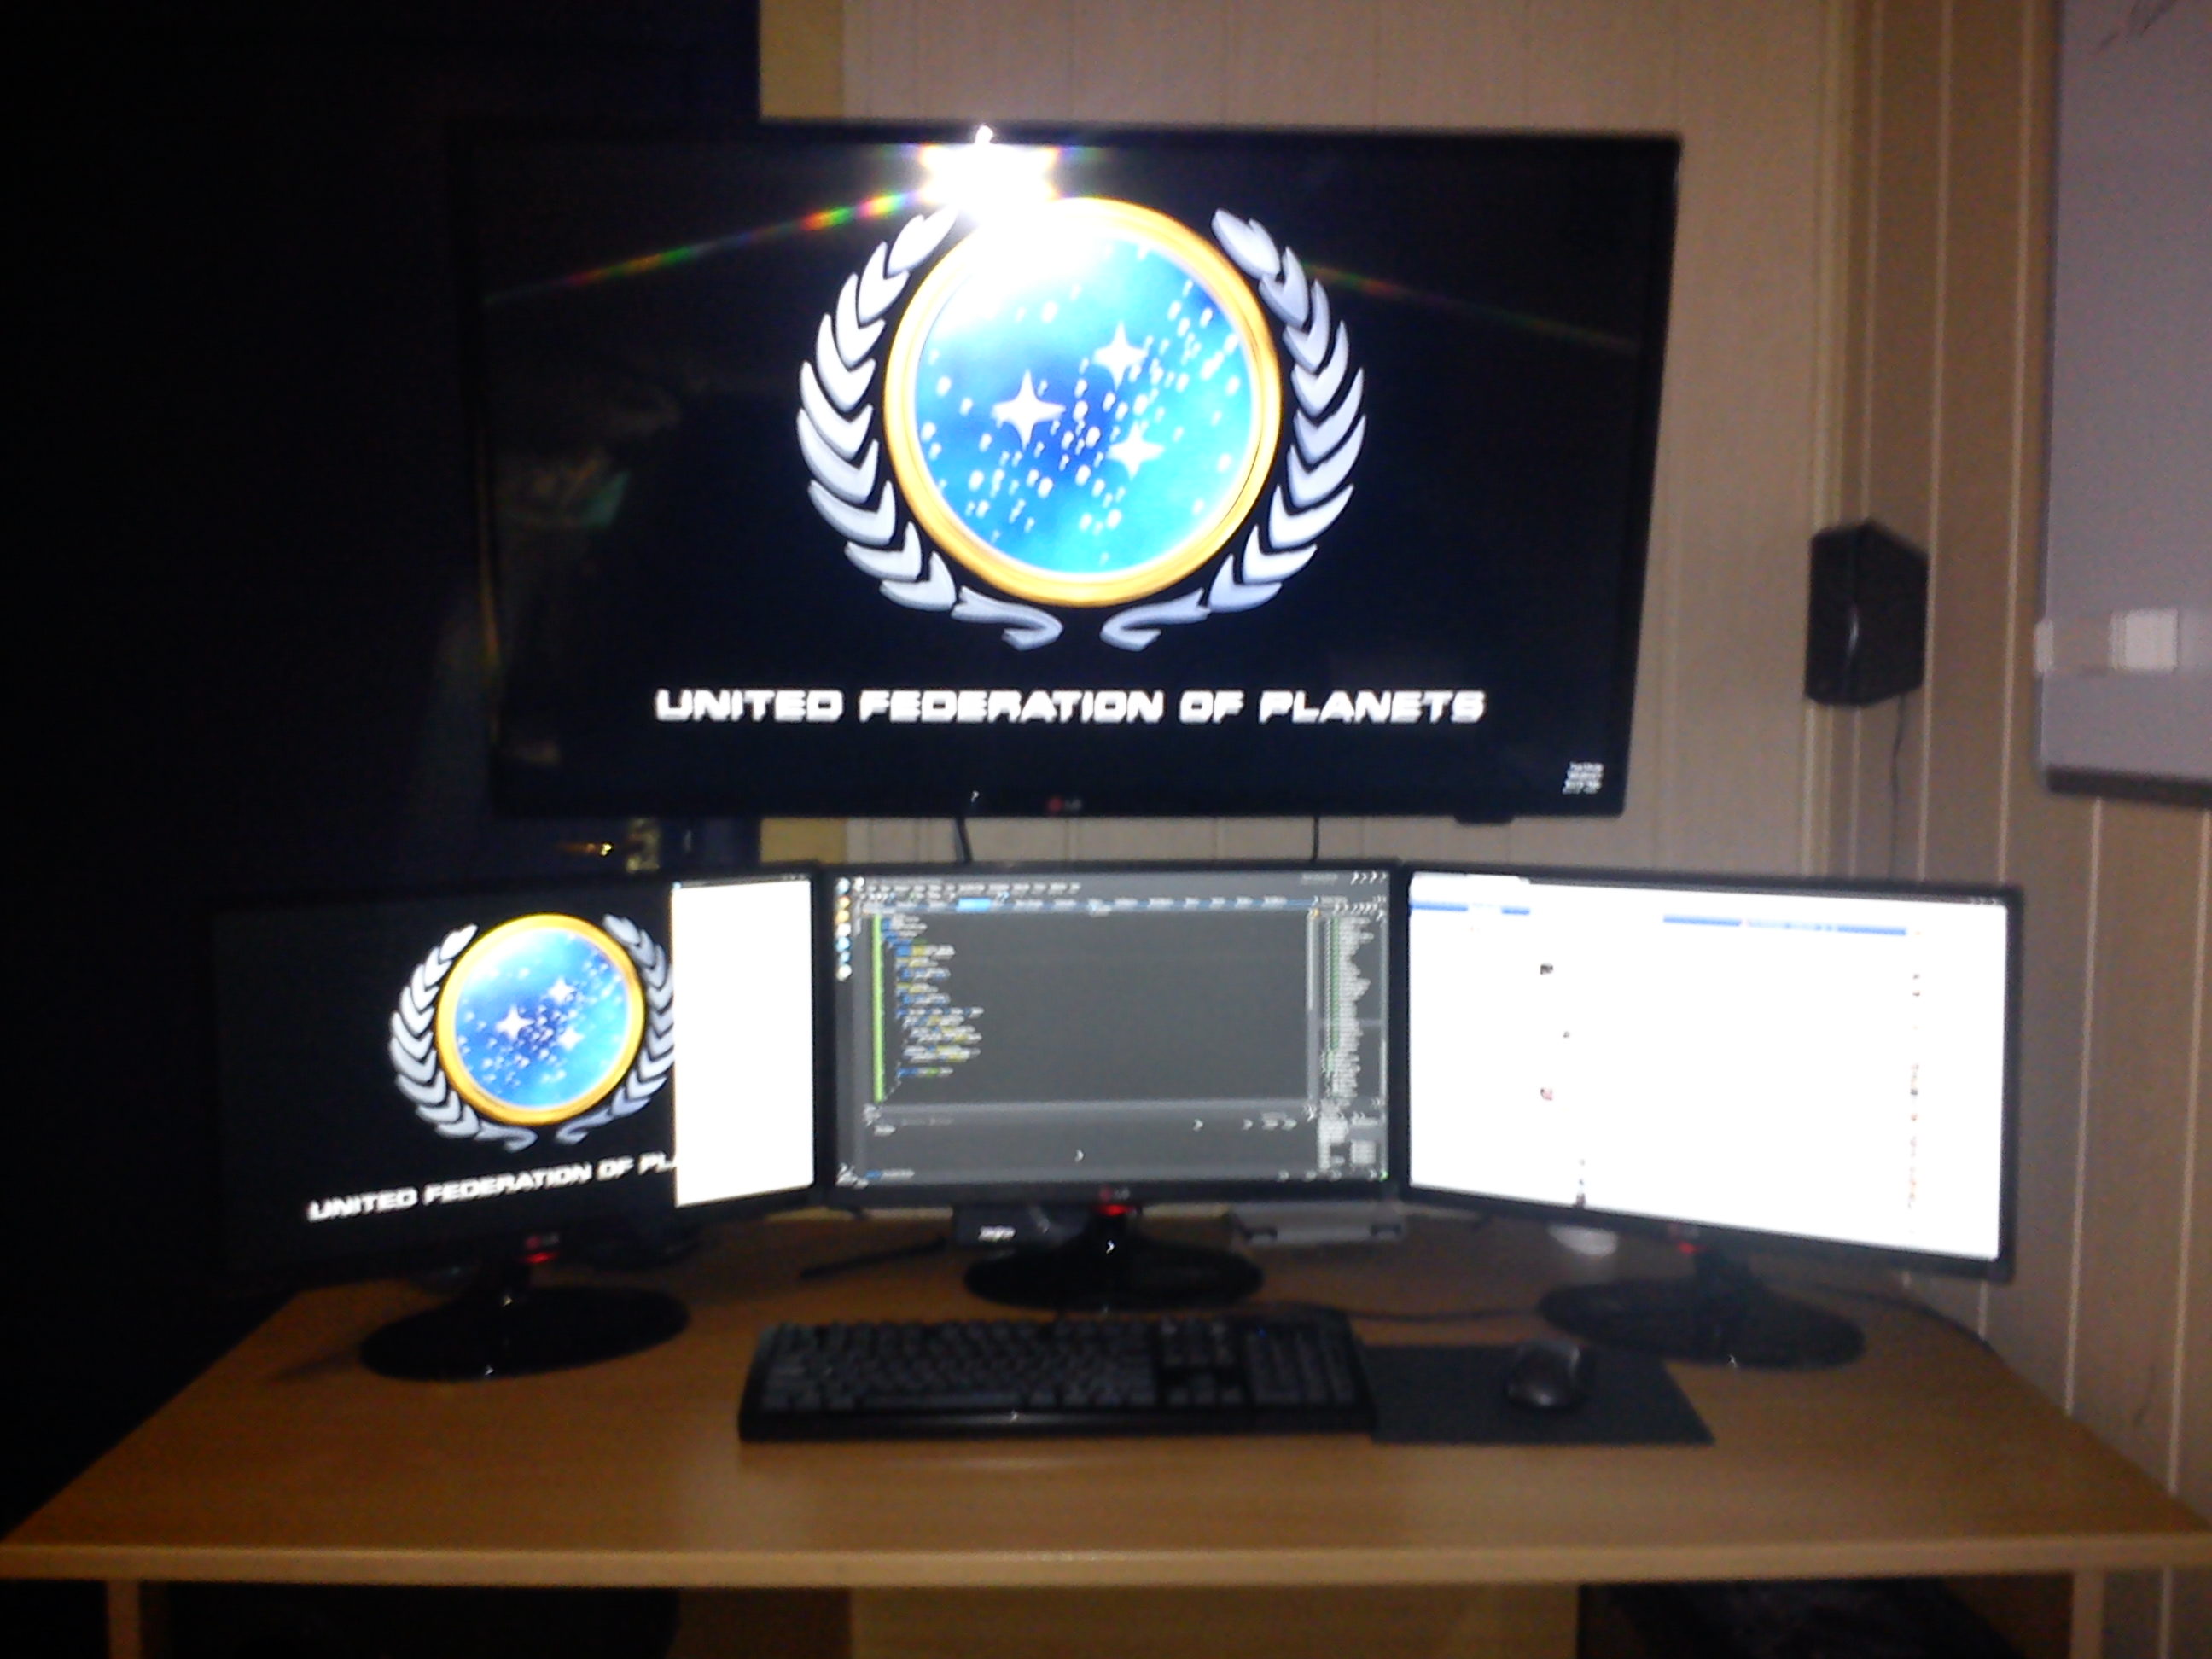
All in all I’d say it was worth it, except maybe for the setup process. I will be moving to a slightly more conventional setup, with 2 monitors in landscape stacked on top of each other, and 2 in portrait on the side. Partially because I miss landscape in some situations, partially because I spend more time working on my laptop nowadays and partially because I’m moving my desk to make room for the Vive.
If I had to do it all over again nowadays however I’d probably just go with a single 34″ ultra-wide for about the same price:
- Costs about the same
- A little bit less screen estate, but not enough to justify
- Most ultra-wides come with a 3 windows side-by-side utility which is enough for just about any activity
- You don’t get completely dwarfed by the size of the screens:
- There is still room behind my desk, and if I have to look over them I have to stand up
- And seriously, 5 23” desk-filling panels in portrait keep your neck muscles active!
Though I probably wouldn’t be able to help myself and still add one of my regular 23” screens on top, mostly for background viewing of things like talks, twitch streams etc., and perhaps as a browsing window while gaming.
Would I recommend this? In a nutshell, if you already have some monitors available and you like working in portrait it might be worth it just to buy the extra 2 and spend some time creating a setup like this. Otherwise, just grab an ultra-wide.
One of the plusses for my current setup is that it has a relatively low DPI which is ideal for programming fonts such as 9pt ProFont Windows, unscaled and with anti-aliasing turned off, and that is something I will sorely miss when my next upgrade to a higher DPI screen comes along.
It likely won’t be nearly as much fun constructing though!

BONUS: The view from the back looks amazing at night!